English
English
9
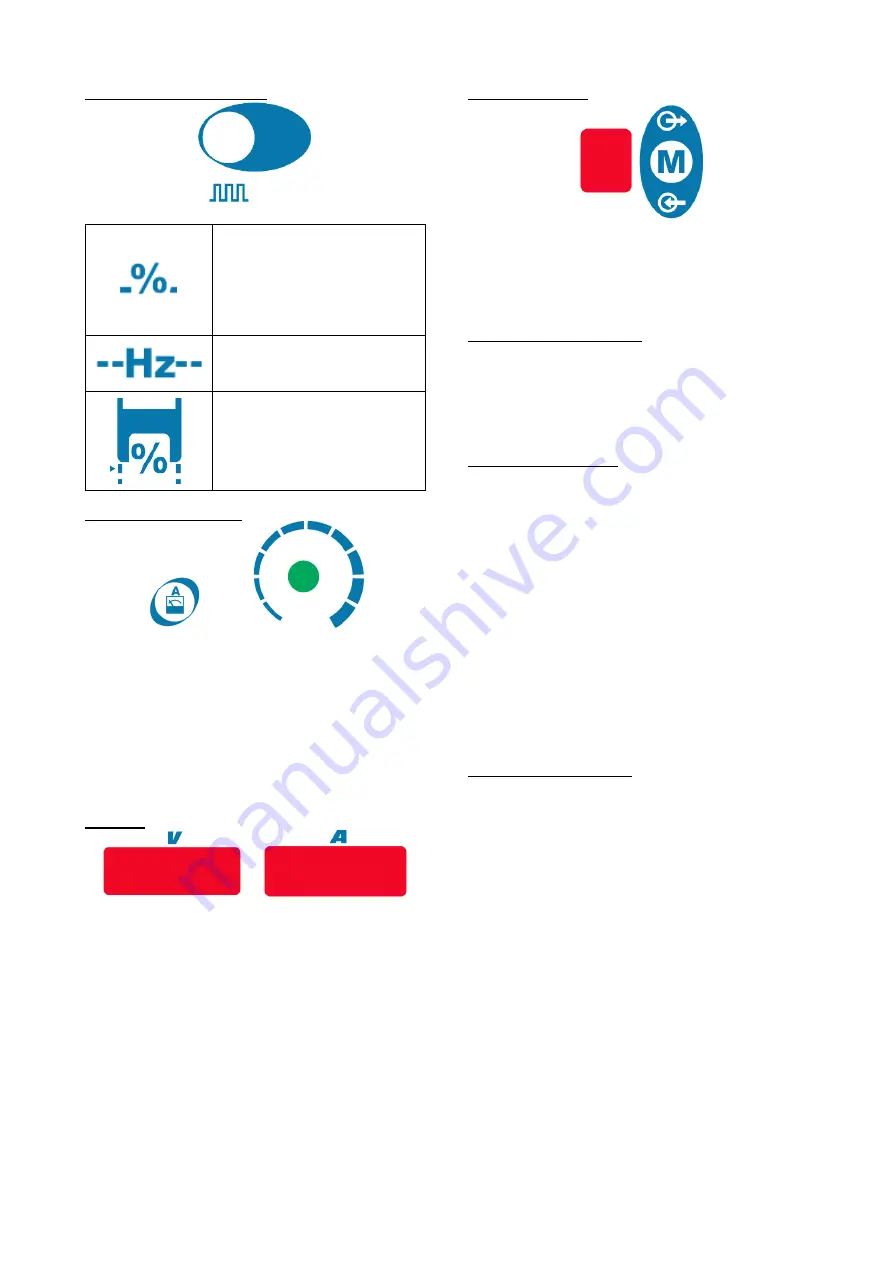
Pulse Sequencer Functions:
Percent Peak Current:
This
functions sets the amount of
time the pulse waveform spends
at the peak current setting. This
function is set as a percentage
of the total time for the pulse
cycle.
Pulses-Per-Second:
Sets the
total number of pulse cycles per
second of time.
Percent Background Current:
Sets the background amperage
of the pulse waveform.
Background amperage is set as
a percentage of the peak
current.
Main Amperage Control:
The main amperage control button is intended to be a
quick selection method to adjust the main amperage
setting. This function will allow users to quickly exit the
sequencer portion of the U/I, eliminating the need to
cycle through all possible sequencer functions to adjust
the main amperage or exit the sequencer menu.
This knob is also a multi-purpose command: see the
“Operating Instruction” section for a description of how to
use this command for parameter selection.
Displays:
The right meter displays the preset welding current (A)
before welding and the actual welding current during
welding, and the left meter shown the voltage (V) at the
output leads.
A flashing on both displays indicate that the value read is
the average value of the previous welding operation.
This feature shown the average value for 5seconds after
every welding time.
If a remote control is connected (the Remote LED is
ON), the left meter (A) indicates the preset and the
actual welding current following the instruction explained
in the “Remote LED” description above.
The dispays are used to indicate during setting of
parameters, the name and the value of them. Also are
used for menu indication and error codes displaing.
Memory Selection:
The memory function is designed to allow the operator to
save up to 9 specific welding procedures. This memory
button will have two functions:
1. Save memory settings
2. Recall memory settings.
Selecting Memory Functions: Pressing the memory
button will allow the user to toggle between “saving” a
memory, “recalling” a memory or operating without using
a memory setting.
1. Pushing 1 time “M” icon, SAVE icon turned on.
2. Pushing 2 times “M” icon, RECALL icon turned on.
3. Pushing 3 times Icon and diplays turn off.
Saving Memory Settings:
In order to save process settings into a memory location
it is first necessary to press the memory button so that
the “memory save” icon is highlighted. Once highlighted,
the number on the screen will flash to indicate this
number can be changed by turning the control knob
below, and the voltage and amperage meters will say
“MEM SET”. Once the desired memory location has
been selected using the control knob, pressing and
holding the memory button for 3 seconds will save the
settings in that location. During the 3 second hold period
the “memory save” icon will flash. After 3 seconds the
displays will show “MEM SAVE”
OPERATION:
1.) Press Memory button to highlight “Memory Save”
icon;
2.) Turn Control Knob to Select memory location;
3.) Press and hold memory button for 3 seconds.
Recalling Memory Settings:
In order to recall process settings it is first necessary to
press the memory button so that the “memory recall”
icon is highlighted. Once highlighted, the number on the
screen will flash to indicate this number can be changed
by turning the control knob below, and the voltage and
amperage meters will say “MEM RECL”. Once the
desired memory location has been selected using the
control knob, pressing and holding the memory button
for 3 seconds will recall the settings from that location.
During the 3 second hold period the “memory recall” icon
will flash. After 3 seconds the displays will show “RECL
MEM”
OPERATION:
1.) Press Memory button to highlight “Memory Recall”
icon.
2.) Turn Control Knob to Select memory location.
3.) Press and hold memory button for 3 seconds.


