6
Important: Do not run the motor for longer than 2 minutes. After 2 minutes, switch off for
at least a further 2 minutes to allow the motor to cool down.
6. Open the ingredient slot to add ingredients while the blender is running. Twist the plastic
cap counterclockwise and pull the cap upwards to unlock. Drop ingredients through the
opening and put the plastic cap back into position once all ingredients have been added.
CAUTION: Do not remove the lid while the blender is running.
7. When finished blending, turn the dial to OFF (O) position. Make sure blades have completely
stopped before attempting to remove the blending jar from the base.
8. Unplug the blender.
9. To remove the jar, grab the handle and twist the jar counter clockwise until unlocked. Lift
upwards away from the base.
10. Remove the lid to pour the liquid out of the jar.
CAUTION: Always unplug the appliance when not in use.
WARNING: Do not blend hot liquids. Heated liquids/ingredients may be ejected due to
sudden steaming, creating a possible scalding hazard. For your safety, liquids/ingredients
must be cooled to room temperature before blending.
USING THE PERSONAL BLENDING BOTTLE
Note: Do not blend hot liquids in the personal blending bottle.
1. Place the personal blending bottle on a flat surface with the open end facing up. Fill the
bottle with ingredients. Do not fill ingredients past the
MAX
fill line.
Note: For best results, add ingredients in the following order:
a. Liquids
b. Ice
c. Hard Foods
d. Soft Foods
e. Powders
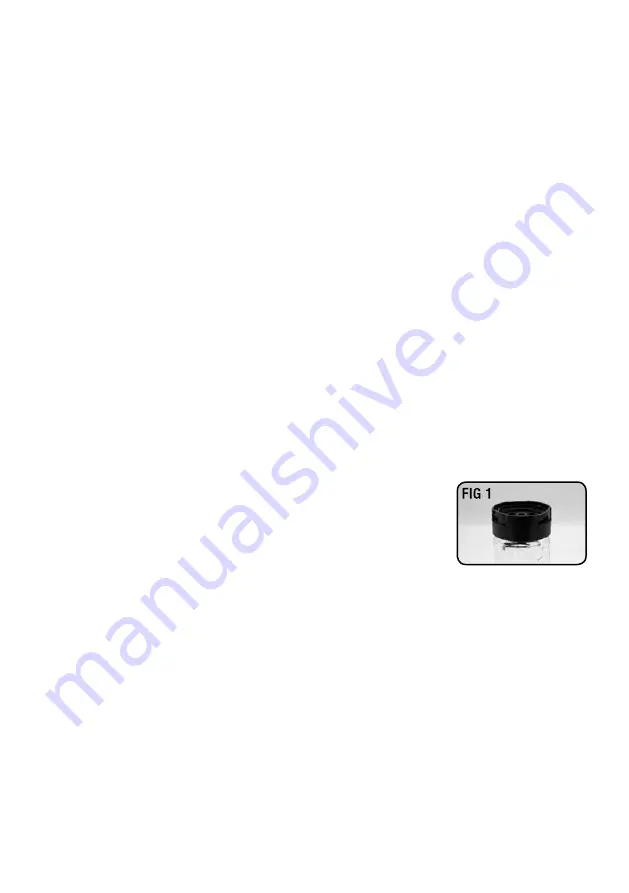
2. Place blade assembly onto the bottle opening with blades down
(see FIG 1.)
3. Rotate the blade assembly clockwise until it is tight. It is
important to tighten the assembly to prevent leaking during
blending.
4. Turn the personal blending bottle upside down and place on the blender base. Twist the
bottle clockwise until it locks into position.
5. Turn the dial to the speed that best suits your desired task.
6. Once blending has finished, turn the dial to the OFF (O) position and twist the bottle
counter clockwise to remove it off the base. Turn the bottle over and place it on a flat
surface.
Note: Always make sure blades have stopped moving before removing the bottle.
Important: If the bottle gets stuck on the blending base or begins to loosen from the jar
base, follow these steps:
a. Unplug the unit.
b. Turn the bottle clockwise to tighten it onto the jar base.
7. Remove the blade assembly by turning counterclockwise. Then carefully remove blade
assembly.
8. Place the personal blending bottle drinking lid on the bottle and enjoy your delicious
drinks on-the-go.
Caution: Blades are sharp. Handle carefully.
Содержание STUDIO RHCBL500
Страница 9: ...9 Notes...


