background image

18

Heavy Duty True RMS Digital Multimeter/English

Heavy Duty True RMS Digital Multimeter/English

19

13/08/2017 Version No. 001

13/08/2017 Version No. 001

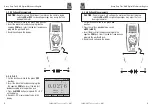
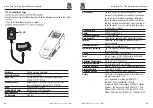
unction

    Then pressing the labeled 

, into save 

menu.


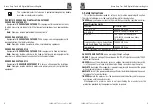
    For common measurement functions, a snapshot of the screen data is saved by 

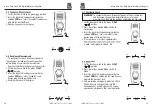
pressing the softkey labeled Save. Then pressing the labeled 

OWN(F

)

 to the 

a e


select Item, pressing the sof

tkey labeled ENTER(F1)

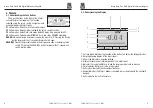
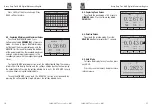
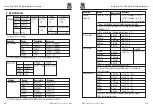
    Viewing data stored in the Meter’s memory 
is performed through the save menu. Press the 
softkey labeled DOWN (F3). Position the menu 
selector next to the menu item labeled ViewM. 
And pressing the softkey labeled ENTER(F1)


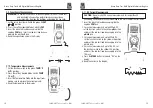
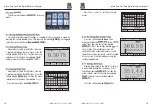
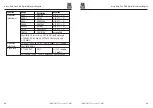
 Viewing data stored in the Meter’s memory 

is performed through the 

 menu. Press the 

softkey labeled 

. Position the menu 

selector next to the menu item labeled 

Graph

.


Pressing the softkey labeled 

ENTER(F1)


V~

0 .3 0 7 8

06/02/14

06:32pm


PREV


0

1

2

3

4

View Men


Ω

06/02/14

06:32pm


Rate: 0.2 s
Range: 50M

ViewGrap


ENTER


PREV


CL

5 V


Press the << and >> soft keys to move 

cursor

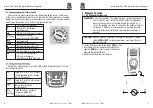
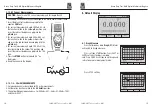
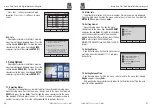
    Press the softkey labeled

. Then 

pressing the labeled 

 to the 

R


select Item, pressing the softkey labeled 

ENTER(F1)

. Press the softkey labeled 

t

 to 

start records. The recording session will 
continue until the allocated memory is used, 
the batteries expire, the rotary switch is moved. 
or the session is terminated by pressing the 
softkey labeled Stop
 

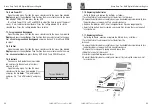
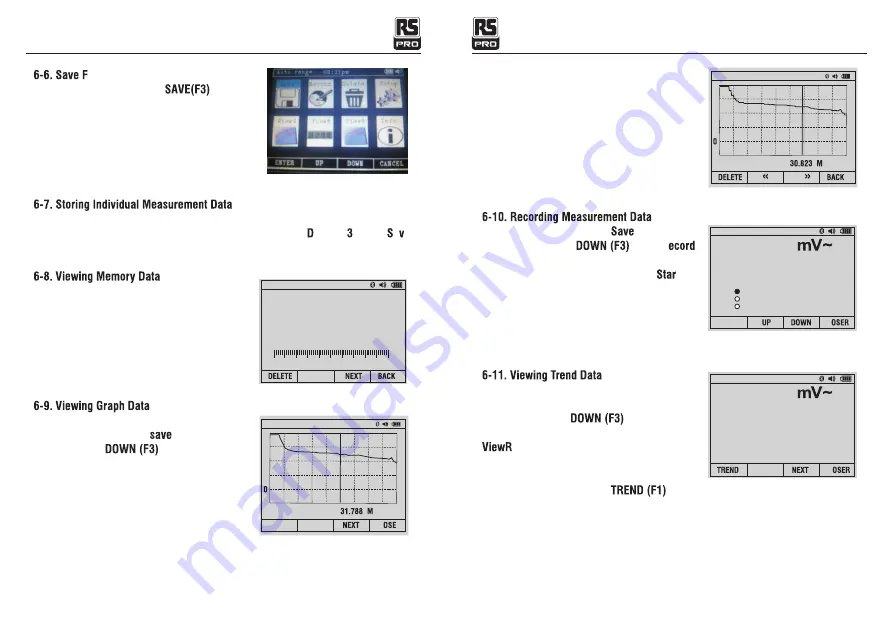
    Viewing data stored in the Meter’s memory 
is performed through the save menu. Press 
the softkey labeled 

. Position the 

menu selector next to the menu item labeled 

 and pressing the softkey labeled 

ENTER(F1)

 
    Press the softkey labeled 


Ω

06/02/14

06:32pm


Rate: 0.2 s
Range: 50M

ViewGrap


3 6 6 .5 5

Auto


range 

06:32pm


ENTER


CL

Set Duration:  00Days  00Hrs  01Min
Set Sample Interval:  00Min  01Sec
Start Record

3 5 1 .4 4

Auto


range 

08:27pm


PREV


CL

Recording

Star t Times: 06/02/14 08:26:09pm

Duration:  00days  00hrs  00min  37sec
Samples:  37   Rlog0002


Содержание RS-989

Страница 1: ...Centre Phase 2 No 618 Yan an Eastern Road Shanghai 200001 China www rs components com Europe RS Components Ltd PO Box 99 Corby Northants NN17 9RS United Kingdom www rs components com Japan RS Compone...

Страница 2: ...e Proper use and care of this meter will provide many years of reliable service 2 Safety WARNING CAUTION MAX This symbol adjacent to another symbol terminal or operating device indicates that the oper...

Страница 3: ...quipment Input Protection Limits Function V DC or V AC mA AC DC A AC DC Frequency Resistance Capacitance Duty Cycle Diode Test Continuity Temperature Surge Protection 8kV peak per IEC 61010 Maximum In...

Страница 4: ...button for greater that 1 second will return Auto Range HOLD REL Freezes the present reading in the display and allows the display to be saved If Pressing the HOLD REL button for greater that 1 secon...

Страница 5: ...nd CONTINUITY measurements Frequency measurements Temperature measurements AC dc amps measurements AC dc milliamps measurements 4 20MA measurements AC dc microampere measurements up to 5 000 uA CAP 4...

Страница 6: ...to indicate AC DC on the display 4 Read AC DC measurement value in the display Bluetooth 5 20A for 30 sec MAX every 15 min TEM P C A P 4 2 0 TEM P C F RANGE SETUP SAVE HOLD Auto range 00 00 True RMS M...

Страница 7: ...F4 Continuity Check WARNING To avoid electric shock disconnect power to the unit under test and discharge all capacitors before taking any resistance measurements Remove the batteries and unplug the l...

Страница 8: ...4 Read the temperature in the display Bluetooth 5 20A for 30 sec MAX every 15 min TEM P C A P 4 2 0 TEM P C F RANGE SETUP SAVE HOLD Auto range 00 00 True RMS Multimeter 0078 0 F F1 HOLD REL RANGE F2 F...

Страница 9: ...test lead banana plug into the 10A jack 5 Press the MODE button to indicate AC on the display 6 Read the current in the display 5 13 4 20mA MEASUREMENTS 1 Set up and connect as described for DC mA mea...

Страница 10: ...collected data Pressing the softkey labeled Close exits the MIN MAX record session without saving the collected data To save the MIN MAX screen data the MIN MAX session must be ended by pressing the...

Страница 11: ...F1 V 0 3078 06 02 14 06 32pm PREV 0 1 2 3 4 View Men 06 02 14 06 32pm Rate 0 2 s Range 50M ViewGrap ENTER PREV CL 5V Press the and soft keys to move cursor Press the softkey labeled Then pressing the...

Страница 12: ...CLOSE Fno Graph According to graphically display measurement information Fno Mode Releted to the rotary switch function Fno Save Accesses the memory management menu for saving measurement setting up...

Страница 13: ...Bluetooth You can use the Bluetooth communication link and transfer the contents of a meter s memory to a PC Open the setup menu Position the menu selector next to the menu item labeled Bluetooth and...

Страница 14: ...uare which represents the method of calculation of the voltage or current value Average responding multimeters are calibrated to read correctly only on sine waves and they will read inaccurately on no...

Страница 15: ...g time reading will increase 2 C 500 A 5000 A 50mA 500mA 10A 500 A 5000 A 50mA 500mA 10A 20A 30 sec max with reduced accuracy All AC current ranges are specified from 5 of range to 100 of range 5nF 1...

Страница 16: ...in 20 to 80 duty cycle and 100kHz 5Vrms min 20 to 80 duty cycle and 100kHz 10 00Hz 10KHz Sensitivity 2Vrms 0 1 to 99 90 Pulse width 100 s 100ms Frequency 5Hz to 150kHz Resolution 0 001Hz 0 01Hz 0 0001...

Отзывы: