Page 10 of 15
Removing Trapped Air
After filling the grease gun, trapped air should be removed by following these steps:
1. After filling the grease gun barrel (1) with grease (using methods previously mentioned) and
reassembling the gun, keep the barrel at least 2-3 turns open.
2. Release the plunger handle (17) and push it in.
3. Push the plunger handle (17) to remove any trapped air pockets.
4. Tighten the grease gun head (13) to the grease gun barrel (1). The grease gun is now ready to
use.
Before Each Use
•
Do not exceed the maximum working pressure of 5,000 PSI.
•
Use only original accessories compliant with these guns.
•
Keep hose away from heat, oil, and sharp edges. Check hose for wear and make sure that all
connections are secure.
•
Excess pressure at the greasing point can damage the grease nipple, bearings, and even the
machine.
Operating Instructions
⚠
WARNING
•
Always wear the proper protective equipment, including ANSI Z87.1 compliant eye protection.
•
High Pressure Fluid Hazard. Do not use a hose pressure rating that is less than the grease
gun.
•
Do not exceed the max pressure of 5000 PSI.
•
Ensure that the trigger is in the OFF position when connecting to the air supply.
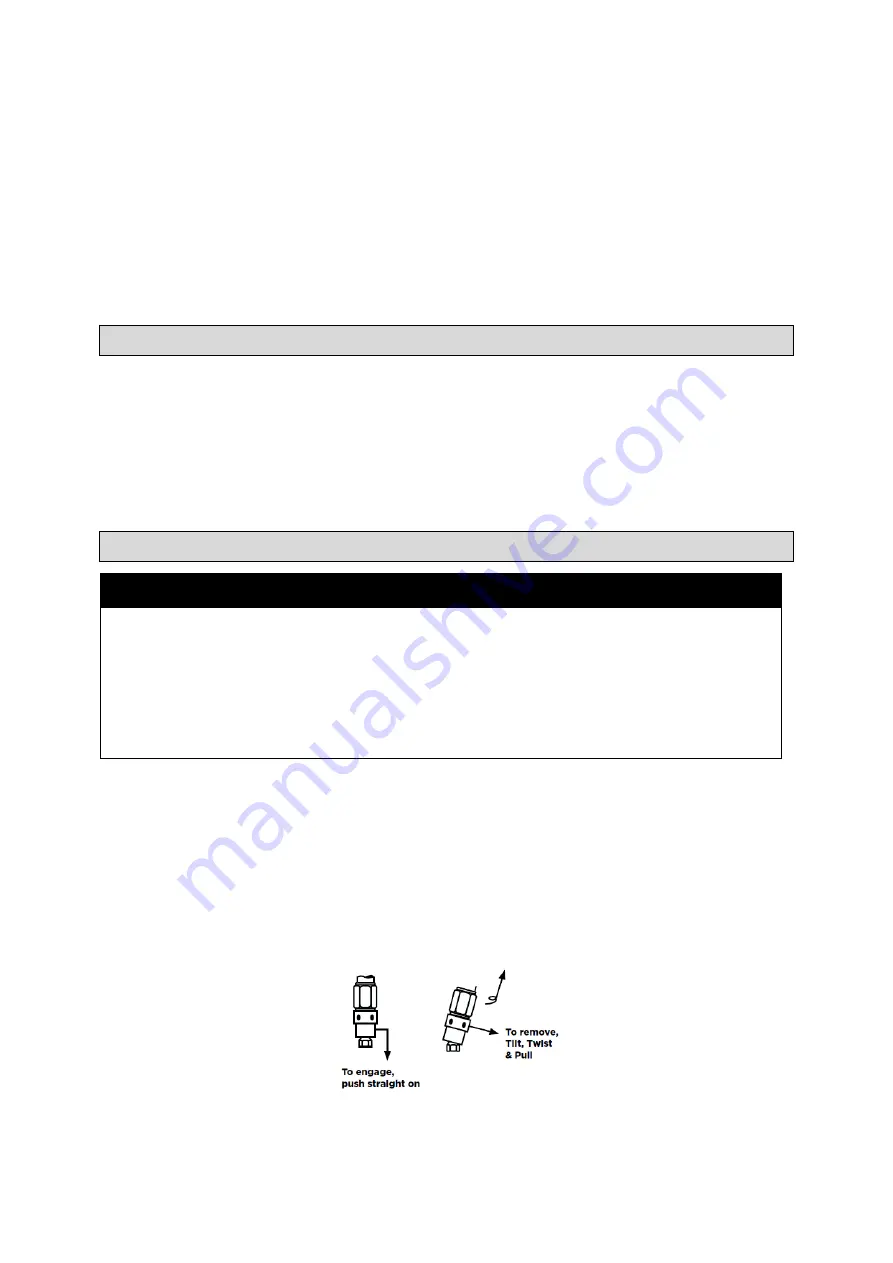
1. The grease coupler (18) provided at the end of the flexible hose (19) has a jaw-type construction.
The coupler jaws will snap on to a grease fitting and maintain a tight fit.
2. When connecting the grease coupler (18) to the grease fitting, press the grease coupler (18)
straight onto the grease fitting to form a snug fit.
3. Start operating the movable handle (5) with the grease coupler (18) as square to the grease fitting
as possible.
4. Once greasing is completed, tilt the grease coupler slightly (18), twist, and pull back. The tilt and
twist action will allow easy removal of the grease coupler (18) from the grease fitting.
.


