INSTALLATION
UltraView DVI Manual
4
Installation
Installation of the UltraView DVI is very simple. The steps to do so are outlined below.
1. Ensure that power is disconnected from UltraView DVI.
2. Connect the DVI cables, USB cables (male-A to male-B), and audio cables from the computers to the
respective ports on the UltraView DVI.
3. Optionally connect RS-232 for control functions.
4. Connect USB keyboard and mouse to the two USB ports labeled “KB/MS”.
5. Optionally connect USB peripherals (flash drives, printers, etc.) to the USB ports labeled “USB 2.0”.
6. Connect speakers to the Audio Out port.
7. Connect the display monitor to the DVI connector labeled “OUT”.
8. Apply power to the UltraView DVI.
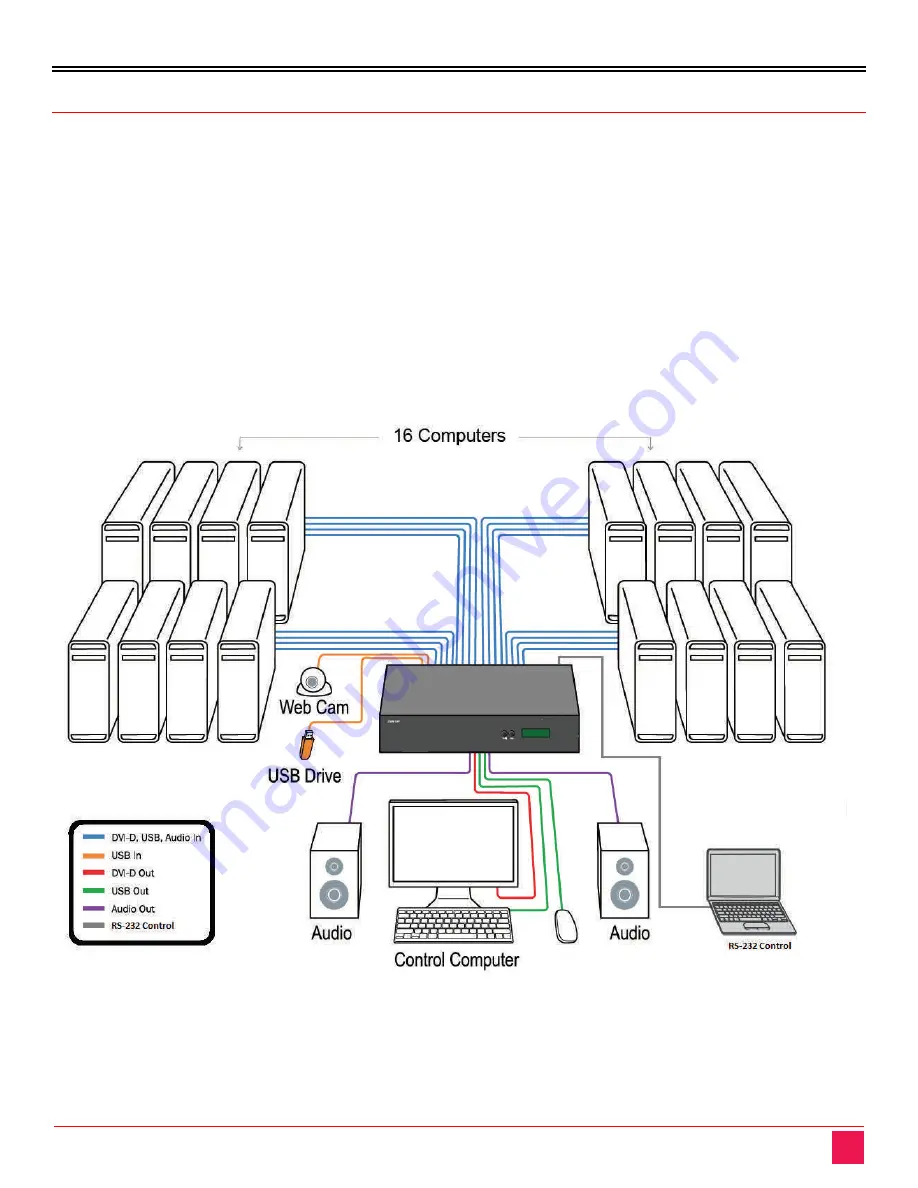
The completed installation will appear as in the figure below.
Figure 3. UltraView DVI Installation
Note:
It is not advisable to use CPU cable lengths greater than 20 ft (6 m), as longer cables may result in video
disturbances and /or intermittent USB keyboard/mouse performance.


