13.
Installation
1.
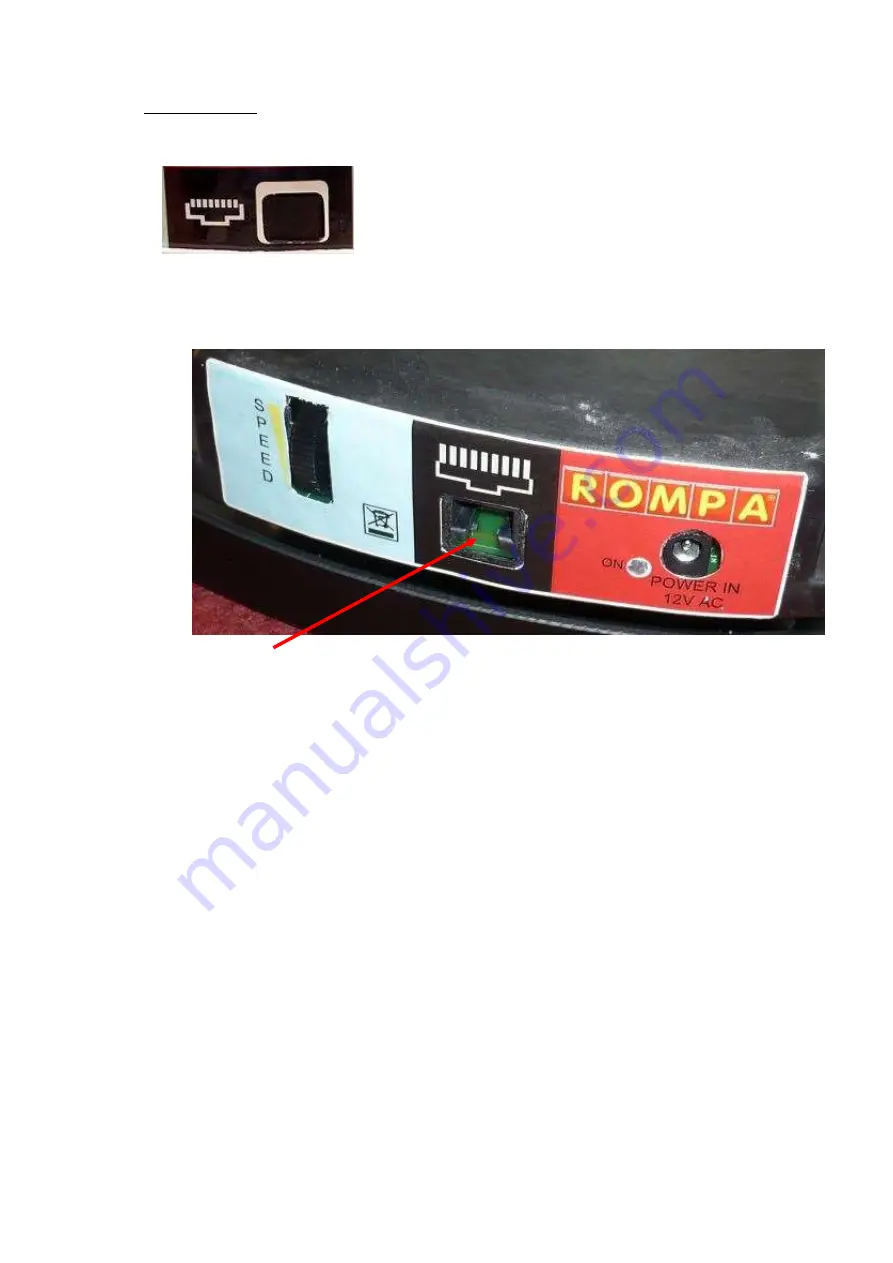
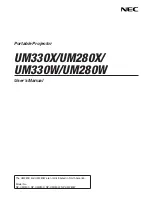
Switch off the Bubble Tube completely. Connect the 5 Button Switch Box to the RJ45
socket in the base of the Bubble Tube (the socket to the right of the SPEED dial). The
protective cover will have to be removed first and stored in a safe place so it can be
replaced after use.
2.
To select a coloured light press one of the four buttons (red, green, yellow, blue) on the
top. The selected colour will only be activated for a few seconds (the exact time depends
on how you have set the SPEED and DELAY buttons) before the cycle of colours resumes.
The selected colour will not remain indefinitely till another colour is selected using the
switch box. Experiment with the SPEED and DELAY buttons until you find a setting that
best suits your requirements. For example, set SPEED to a minimum to keep the colour
change as slow as possible.
3.
To stop the bubbles press the central button on the top. Release the button to make the
bubbles start again. On the underside of the Switch Box there is a dial labelled BUBBLES
with two options – NORMALLY ON and NORMALLY OFF. Switch between these so that one
way the bubbles start if the central button is pressed and the other way the bubbles will
stop if the central button is pressed.
4.
To adjust the speed of the light change/flash rate use the SPEED and DELAY buttons
underneath labelled COLOURS.
YOU CAN ADD AN EXTERNAL SWITCH (JACK) – When a ROMPA® switch is plugged into the
Jack Socket on the side of Push Button Switch Box, most other controls will be over-
ridden, i.e. Push Buttons, Colours etc.
RJ45 socket


