


D.Video recording duration: Duration of the current video recording file is displayed on the middle line
of LCD segment screen, such as “ ”. The video recording duration will start displaying when
pressing “Record” key once, and it will stop when pressing “Record” key once again.
Note:The video recording duration respectively on LCD segment screen and TFT display screen is
displayed synchronously;
E.Indication of battery power: The battery power icon “ ” can be viewed on the bottom left corner of
LCD segment screen and it will indicate the current battery power after starting up. More black grids
indicate the higher power, and it is lower conversely.
Note:The battery power indication icon will not display under standby or shutdown state;
F.USB connection: The USB mode icon “ ” can be viewed on the LCD segment screen and it indicates
whether the machine is connected with the computer. The green indicator light on the left twinkles
slowly.The icon will be lightened after connecting with computer in startup state and it will not be
displayed when not connecting with computer;
G.TF card capacity indication: The TF card capacity icon “ ” can be viewed on the bottom right corner
of LCD segment screen to indicate the capacity of TF card. More black grids indicate the higher spare
capacity, and it is lower conversely. The green indicator light on the left remains on when the card is
out of memory.
At this time, the following items will be shown on TFT display screen:
A.Work mode: The video recording icon “ ” on the top left corner of TFT display screen indicates that
it is in video recording standby state;
B.Battery power: The battery power icon “ ” on the bottom left corner of TFT display screen indicates
the spare power of battery;
C.Resolution of video recording:720/30,WVGA/60,QVGA on the bottom left corner of TFT display screen
indicates that the system is in 720/30,WVGA/60,QVGA resolution video recording standby state;
D.Spare storage capacity: Information of whether it has external card " " and spare storage capacity
" " can be viewed on the bottom right corner of TFT display screen;
E.It cannot respond to operations of "<" and ">" under the preview state;
F. The Rollei Bullet 3S 720P can be charged with the attached power supply or USB cable. The “Red
Indicator of Working/Charging” on the top of the machine will twinkle slowly in charging and it will
be bright constantly after fully charging. The charging duration is about 3.5h;
Note: Before use, please check if there is enough battery power. In case of a low battery power, please charge the
Rollei Bullet 3S 720P via the attached power supply or USB cable. The “Red Indicator of Working/Charging ”will
twinkle slowly in charging and remain red with the battery icon“ ” displayed on the TFT display screen after
charging.
(2)Format the Micro SD card
Please select a high-speed Micro SD card only and format it with your Rollei Bullet 3S 720P before
recording any video and voice or shooting any photo. If the Micro SD card has ever been used on other
devices, please format it with your Rollei Bullet 3S 720P before any operation for normal usage.
Note: Please confirm whether files in internal memory and in Micro SD card are needed before operating. Locked files
will be removed with the Format-function.
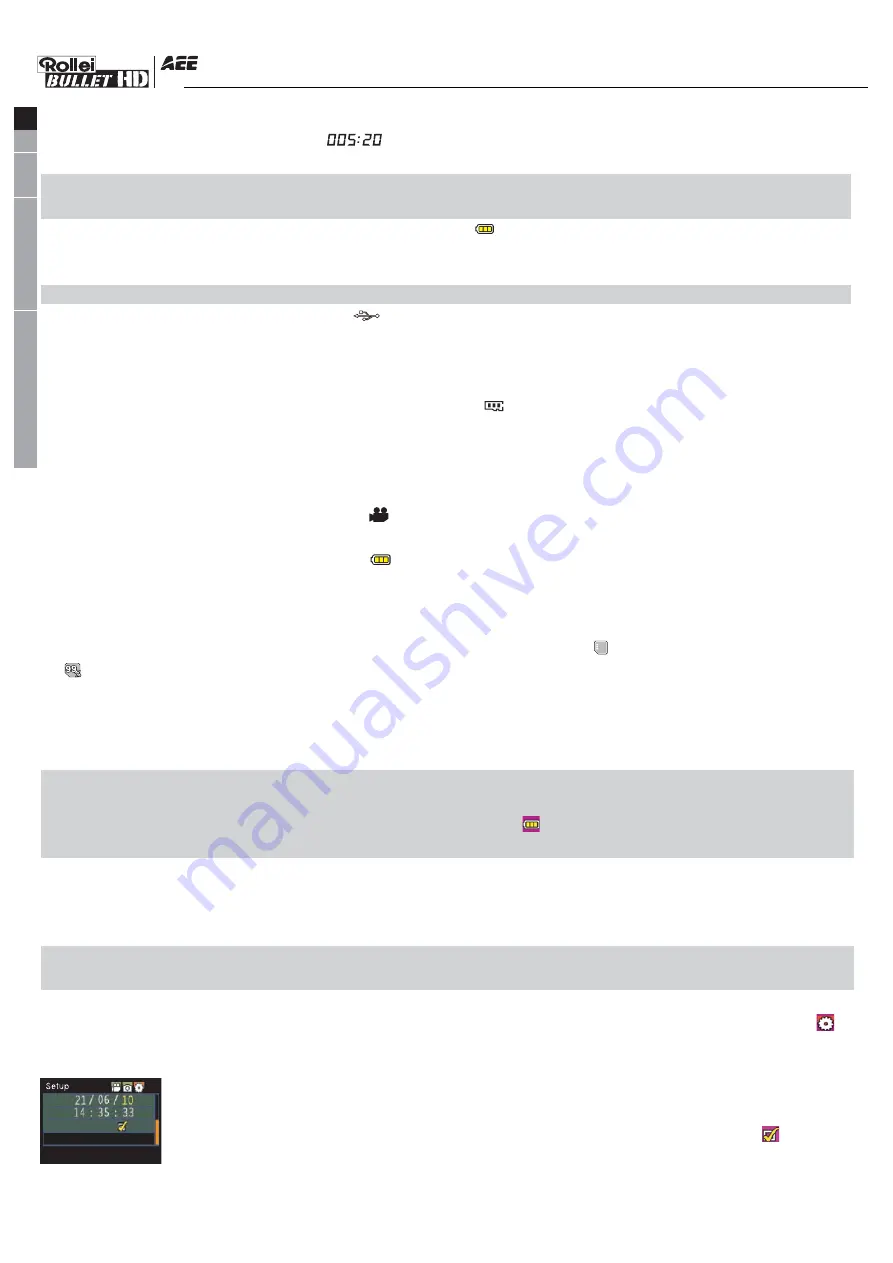
(3)Set the date/time
In preview mode, press “M” key to enter the menu interface, press “>” key to shift to the setup interface “ ”,
press “ - ” key to select the menu “Date/Time”, and then press “OK” key to enter the setup interface of
“Date/Time”(Note: To press “M” key can exit from the setup interface).The yellow number
indicates the current cursor position. To press “<” or “>” key can move the cursor and select
date or time. Press “OK” key to confirm, and this number will turn red and value of date or time
can be changed.Then press “ OK ” key again to finish; Finally, move the cursor to “ ” via “<”
or “>”key and press “OK” key to confirm date or time changed.
-5-
EN
DE
FR
ES
EL
SV
NL
PL
RU
HU
PT
FI
NO
IT
DA
TR
Содержание Bullet 3S
Страница 1: ...Exquisit Micro SD Card...