Roland RD-170 Скачать руководство пользователя страница 28

RD-170

 Edit parameters and Setup memories

28

r

Setup: saving and recalling your EDIT settings

The RD-170 contains 16 Setup memories where you can save your configurations for quick recall on stage, in the 
studio, etc. If you are planning to take the RD-170 on the road (or if you need more than 16 Setups), be sure to 
archive the contents of these memories via MIDI (see p. 32).

Saving your settings

Here’s how to save all settings discussed in this 
chapter along with the remaining part parame-
ters you can set via the front panel (velocity, 
Reverb status, etc.).

Note that you need to save your settings before 
switching on 

[SETUP]

 or switching off the 

RD-170. Otherwise, your changes are lost.
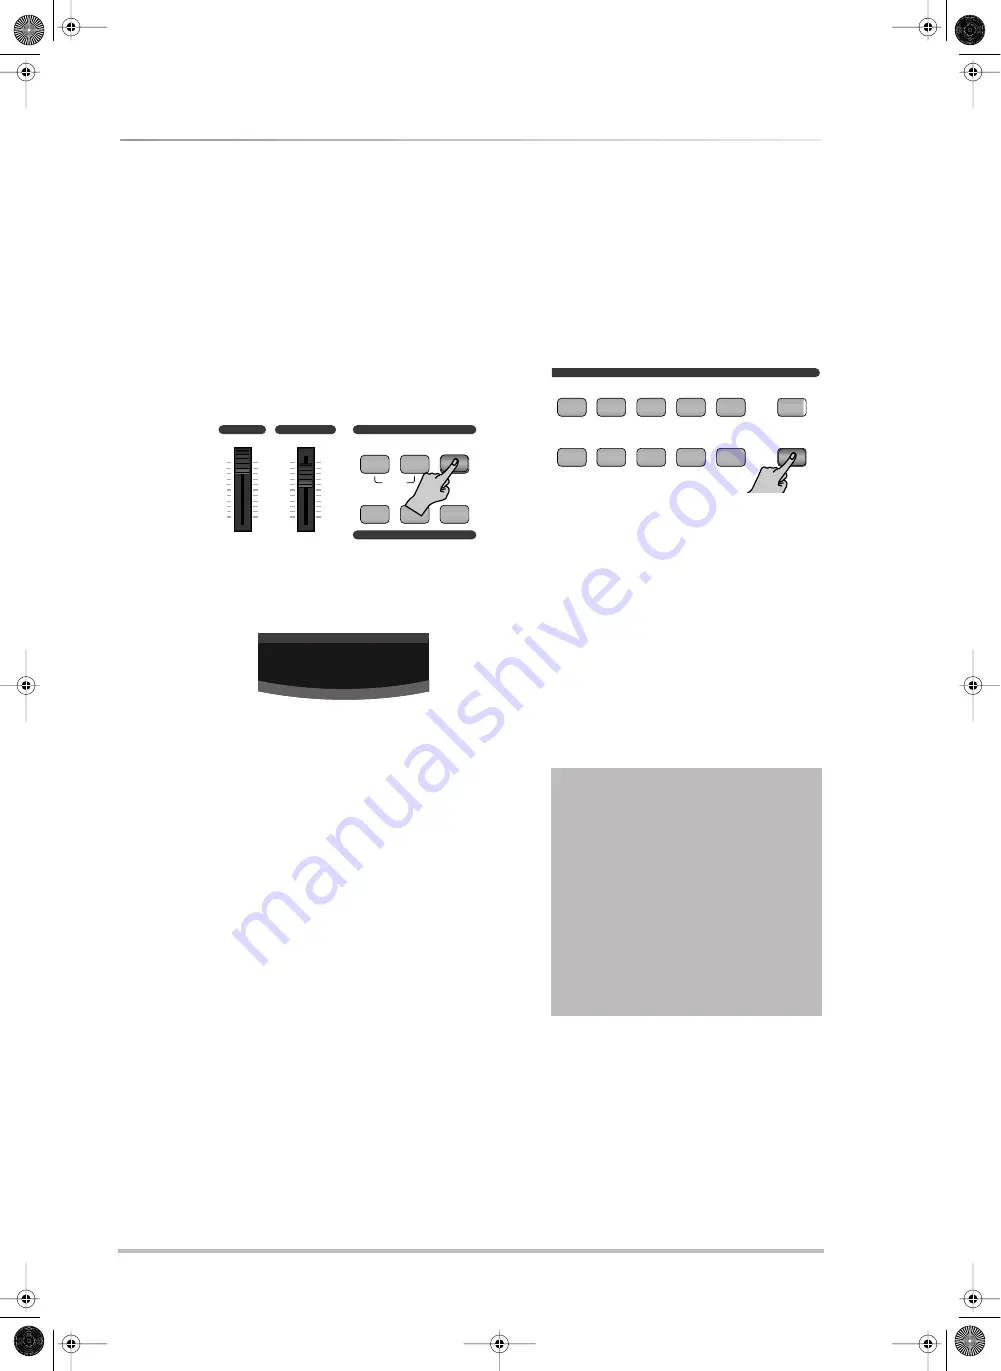
(1) Press the 

[WRITE]

 button.

The 

[SETUP]

 button as well as all numeric but-

tons 

[1]

~

[16]

 (except the one that corresponds 

to the last memory you selected) now flash in 
orange. The display looks as follows:

(“12” refers to the number of the last Setup you 
selected. This could be any other number 
between “1” and “16”.)

(2) Press the numeric button that corresponds to 

the memory where you would like to save 
your settings (

[1]

~

[16]

).

The 

[ENTER]

 button flashes.

(3) Press the 

[ENTER]

 button to confirm your 

selection.

Press 

[EXIT]

 (or 

[WRITE]

) if you do not wish your 

settings after all. The 

[WRITE]

 button goes dark.

Loading Setup memories

Here’s how to select one of your 16 Setups. 
Please note that SETUP is a mode you select. It 
remains active until you switch off the 

[SETUP]


button or press the 

[SYSTEM]

 or 

[EDIT]

 button.

(1) Press the 

[SETUP]

 button.

The 

[SETUP]

 button lights and one of the 

numeric buttons (probably 

[1]

) flashes. If this is 

the first time you’ve pressed 

[SETUP]

 since 

switching on the RD-170, button 

[1]

 lights. Oth-

erwise, the numeric button of the last memory 
you selected lights.

(2) Press the numeric button 

[1]

~

[16]

 that corre-

sponds to the Setup memory you wish to 
recall. You can also use 

[DEC÷NO]

/

[INC÷YES]

 to 

select the previous/next memory.

That button now lights in orange. If you con-
nected external MIDI instruments to the 
RD-170, they carry out all changes contained in 
your Setup memory (volume, Send levels, mem-
ory selection, etc.).

Note: 

If you edit a parameter after recalling a memory, 

the numeric button corresponding to that memory 
starts flashing.

(3) Press 

[SETUP]

 again (it goes dark) to leave the 

SETUP mode if you no longer need it.

The RD-170 will go on using the settings of the 
recalled Setup until you change them.

Note: 

When you switch on the RD-170, it starts up with 

a default set outside the SETUP mode. For live perfor-
mances, do not forget to switch on 

[SETUP]

 and to select 

the appropriate memory.

VOLUME

MAX

MIN

BRIGHT

SYSTEM

DEMO

EDIT

WRITE

REVERB

CHORUS

KEY

TOUCH

MELLOW

BRILLIANCE

FUNCTION

EFFECTS/KEY TOUCH

s12

If you notice something you don’t like about 
your Setup (Reverb on the Lower part, for 
example), you can press and hold 

[LOWER]

 (or 

[UPPER]

 to change a setting for the Upper 

part).

Now all applicable buttons (TONE SELECT, 

[REVERB]

[CHORUS]

) flash in green (or red, if 

you’re holding down 

[UPPER]

). Keep holding 

[LOWER]

 while switching 

[REVERB]

 on or off, 

for example, then let go of the 

[LOWER]

 but-

ton. You can also select other sounds using 
this system. (This also works for the 

[UPPER]


button.)

TONE SELECT/SETUP

4

E.PIANO

12

PAD

13

VOICE

14

BRASS

15

WINDS

16

SYNTH

SETUP

5

CLAV/

HARPSI

6

VIBES

7

GUITAR

8

BASS

VARIATION

RD-170 OM_GB  Page 28  Monday, March 17, 2003  10:23 AM

Содержание RD-170

Страница 1: ...wner s Manual thoroughly To avoid confusion let s agree to use the word button for all keys on the front panel and use key only when referring to the RD 170 s keyboard Before using this instrument car...

Страница 2: ...he RD 170 s design fits right in with your heavy duty stage rig while it looks equally good at home in music schools or in a studio Split layer master keyboard Split and layer functions are available...

Страница 3: ...material coins pins or liquids of any kind water soft drinks etc to penetrate the RD 170 In households with small children an adult should pro vide supervision until the child is capable of following...

Страница 4: ...rasp only the plug on the power supply cord when plugging into or unplugging from an outlet or this unit Try to prevent cords and cables from becoming entan gled Also all cords and cables should be pl...

Страница 5: ...used can damage the instrument s exterior finish the stickers provided with this instrument feature a weak adhesive Maintenance For everyday cleaning wipe the RD 170 with a soft dry cloth or one that...

Страница 6: ...20 5 Edit parameters and Setup memories 22 Damper on off 22 Second pedal 22 Octave 23 Stopping the transmission of MIDI data 23 MIDI channel 24 Bank Select and Program Change messages 24 Transmitting...

Страница 7: ...lights Press it together with CHORUS to have access to the RD 170 s Sympathetic Resonance effect see p 16 G CHORUS button Use this button to switch the digital Chorus effect of the internal sound sou...

Страница 8: ...the display shows the name of the assigned parameter P EXIT button Press this button to leave the Demo System or Edit mode depending on which one is currently active Q ENTER button This button is used...

Страница 9: ...al EV 5 expression pedal If you connect a footswitch you can select the Soft or Sostenuto function If you connect an EV 5 pedal it will function as expression pedal for swelling effects Note In either...

Страница 10: ...stand as a safety precaution Turning the power on and off Turn on power to your various devices in the order specified By turning on devices in the wrong order you risk causing malfunction and or dama...

Страница 11: ...owest value 2 Switch off the external amplifier 3 Connect the supplied damper pedal to the Pedal DAMPER socket 4 Switch on the amplifier 5 Play a few notes on the keyboard while press ing the supplied...

Страница 12: ...m volume while the MIN position means you won t hear the RD 170 s sounds This slider has no effect on the MIDI data transmitted by the RD 170 Note The setting of this slider also determines the vol um...

Страница 13: ...r on there are also numerous other settings you can make for these two parts effects response to pedals MIDI channels etc Using one part Whole mode At power on the RD 170 automatically acti vates the...

Страница 14: ...ion of the physical sliders does not always correspond to the actual level settings Note You can also specify which Part s should respond to footswitch and or pedal messages See p 22 5 To return to Wh...

Страница 15: ...6 There are two ways of changing the split point Press and hold SPLIT while setting the desired split point with the DEC NO INC YES buttons The display briefly shows the name of the note you selected...

Страница 16: ...effect off for the selected part To switch it off for the Lower part in Layer or Split mode you must hold down LOWER while pressing REVERB Adding Chorus Chorus is an effect that gives the impression...

Страница 17: ...the main note root of the pitch you wish to transpose to The default setting is 0 no transposition The TRANSPOSE button lights and you can play in the transposed key When it is dark the keyboard retur...

Страница 18: ...This imparts a lighter feel to the keyboard Because stronger notes can be pro duced with less effort this setting is ideal for children or inexperienced musicians M medium This corresponds to the defa...

Страница 19: ...now shows the currently selected time signature probably 0 4 5 Use the DEC NO INC YES buttons to set the desired time signature The possibilities are 6 Press 3 it lights while 1 and 2 flash to select...

Страница 20: ...do not want to hear that part switch off the track by pressing its button before acti vating REC 4 Press the METRONOME button if you wan to use the metronome while recording See p 19 for how to set th...

Страница 21: ...If you release it Yes is displayed 3 Press INC YES to save your song Then press EXIT to leave the System mode Note that you could also press another TONE SELECT SETUP button to select a different Sys...

Страница 22: ...r 2 Press the UPPER red or LOWER green button to select the part whose setting you want to change 3 Use DEC NO INC YES to select On execute Hold messages or off ignore them 4 Press EXIT or EDIT to lea...

Страница 23: ...time to time The RD 170 allows you to stop the transmission of MIDI data by pressing the TX MODE button This button usually lights because the Upper and Lower parts are set to transmit MIDI data If th...

Страница 24: ...these days At the time neither CC00 nor CC32 had dedicated functions and so these two control change mes sages were appointed for bank selection Two bank addresses MSB and LSB a k a CC00 CC32 with 12...

Страница 25: ...the default setting 4 Press EXIT or EDIT to leave the Edit mode or select the other part and change its setting too Note This setting can be saved see p 28 Reverb Send level MIDI This parameter allow...

Страница 26: ...er filters TR MIDI Here are three parameters that allow you to specify whether on or not off the damper pedal foot switch or expression pedal and or PART LEVEL slid ers should transmit TX the correspo...

Страница 27: ...the internal tone generator but they are still transmitted to the MIDI OUT port and hence to external MIDI instruments This parameter can be used for combinations involv ing one internal Upper for exa...

Страница 28: ...lashes If this is the first time you ve pressed SETUP since switching on the RD 170 button 1 lights Oth erwise the numeric button of the last memory you selected lights 2 Press the numeric button 1 16...

Страница 29: ...ing actually used in that period Most music today is composed and played based on the assumption that Equal Temperament the most common tuning method will be used However various other tunings were in...

Страница 30: ...By changing the tuning curve the chords will sound subtly different 1 Press SYSTEM lights followed by 4 Press and hold 4 to display the abbreviated function name 2 Use DEC NO INC YES to select on or...

Страница 31: ...hat is neither used by the Upper nor the Lower part That way any other MIDI data like note messages for example contained on the sequencer track used for remotely controlling Setup changes are ignored...

Страница 32: ...ket to the sequencer s computer s MIDI IN socket 3 If you are working with a computer launch the sequencer program 4 Create or select an empty song 5 Create or select an empty track The track s MIDI c...

Страница 33: ...f the MIDI channels are not set correctly The RD 170 allows you to set three MIDI channels one for the Upper part one for the Lower part and a basic channel Local Control You can connect the RD 170 to...

Страница 34: ...1 Suitcase 12 E PIANO FM E Piano 1 13 FM E Piano 2 14 RD 1000 15 Wurly 16 CLAV HARPSI Clavi 1 17 Clavi 2 18 Clavi 3 19 Harpsichord 20 VIBES Vibes 1 21 Vibes 2 22 Marimba 23 Xylophone 24 GUITAR Acousti...

Страница 35: ...4 3 8 6 8 9 8 Volume 128 levels Octave 2 1 0 1 2 Setup 16 memories Demo songs 16 Master keyboard functions Zones 2 independent zones MIDI data Tx Upper Lower Program change CC00 CC32 PC Volume Expres...

Страница 36: ...O 1 O 1 O 1 O O 1 O 1 O 1 O 1 O 1 O 1 O 1 O Reverb 1 O Chorus 1 O Bank Select Data Entry Volume Expression Hold 1 Sostenuto Soft Effect 1 Depth Effect 3 Depth RPN LSB MSB Program Change True O 1 128...

Отзывы: