98
Chapter 4 Recording and Saving the Performance
Chapter 4
Recording With Accompaniment
Try recording a performance along with the Automatic Accompaniment.
Settings for recording performances
1.
Press the One Touch Program [Arranger] button.
This chooses the setting for Automatic Accompaniment.
2.
Decide on the Music Style.
When you have finished choosing the settings, touch <Exit> to display the Basic
screen.
Recording Settings
3.
Press the [
(Rec)] button.
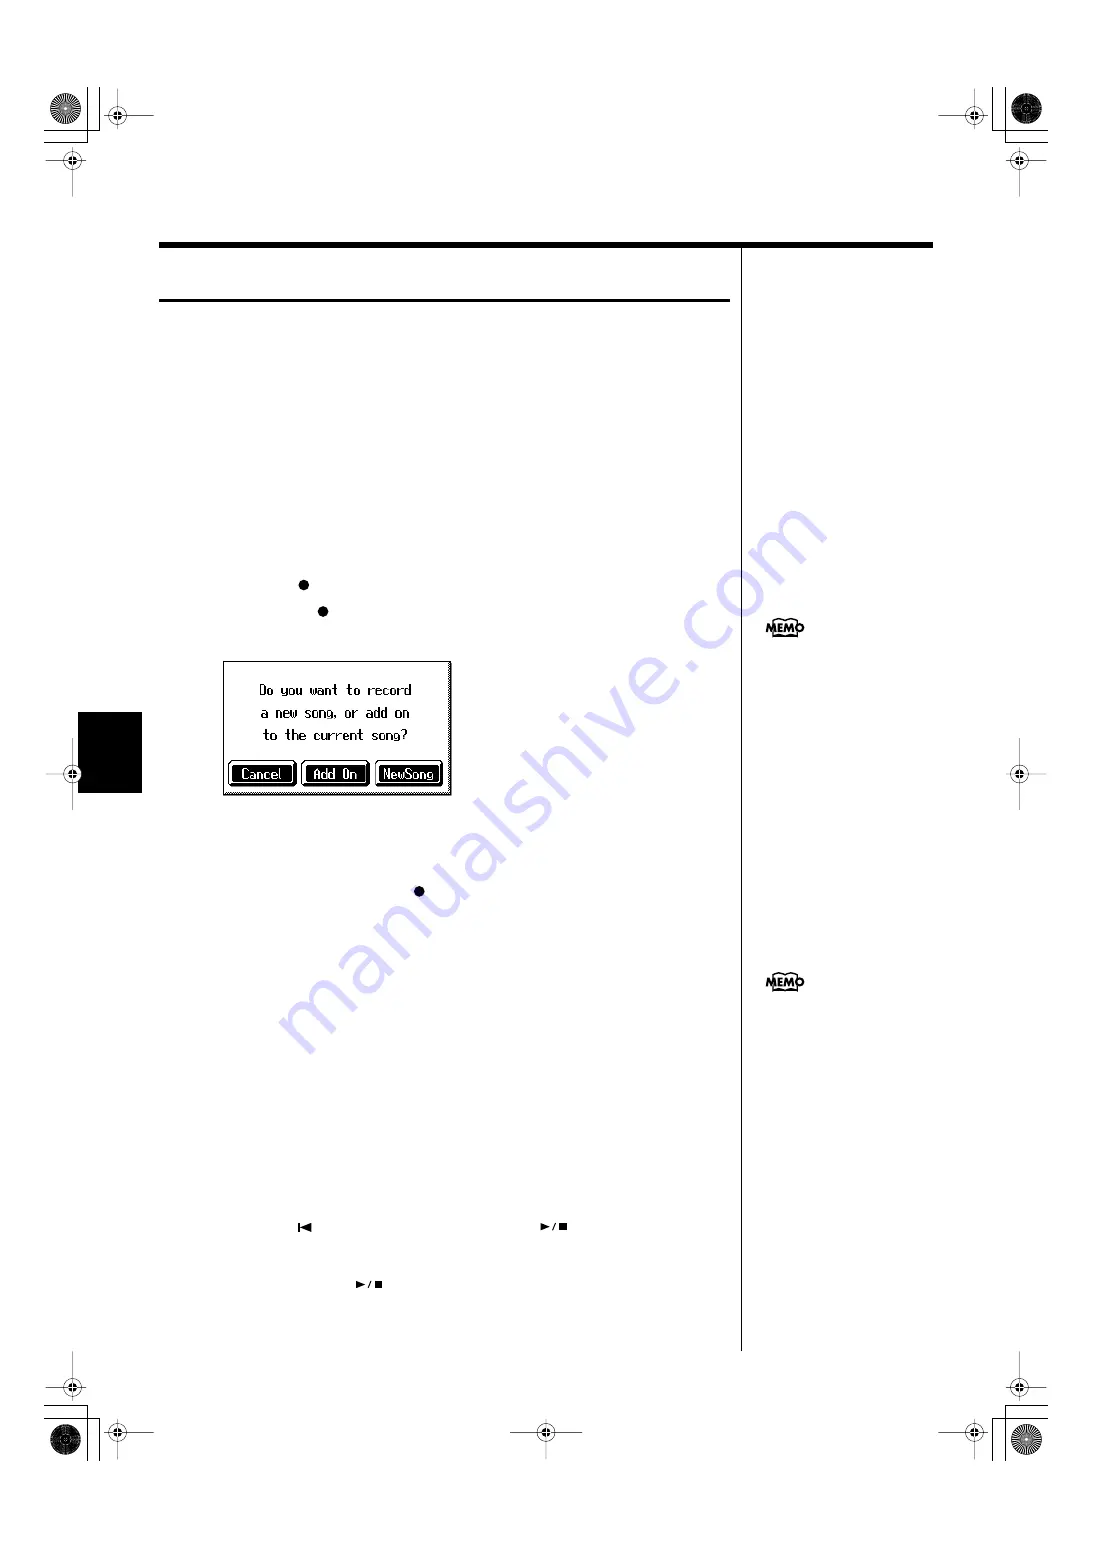
You press the [
(Rec)] button and the following messages will appear, when a
song has already been recorded.
fig.m-rec.eps_60
Touch <New Song>.
This switches the KR-7/5 to the settings required for recording a new song.
The KR-7/5 is put in recording standby.
To cancel recording, press the [
(Rec)] button once more.
4.
Decide on the tempo.
Start recording
5.
Play a chord on the left-hand part of the keyboard.
An Automatic Accompaniment intro starts, and recording starts at the same time.
Stop recording
6.
Press the [Intro/Ending] button.
An ending plays, then the Automatic Accompaniment, and recording stop at the
same time.
Listening to the recorded performance
7.
Press the [
(Reset)] button, then press the [
(Play/Stop)] button.
The recorded performance plays back.
When you press the [
(Play/Stop)] button, playback stops.
If you select <New Song>
when a song has already been
recorded, the “OK to delete
song?” prompt appears in the
screen. For more detailed
You can change how recording
is stopped when recording a
performance with Automatic
Accompaniment. To learn
KR-7_5_e.book 98 ページ 2004年7月7日 水曜日 午前10時3分


