2
Basic Operation
Basic Operation for Editing
The items that you can edit are grouped into screens. To find the
item that you want to edit, switch between display screens as
necessary.
1
Make sure that the PATCH TOP screen is shown.
2
Press the
[EDIT]
button.
Edit Menu
(TnTune)(RtEdit)
3
Press the
[F2]
(PtEdit) button.
The Patch Edit Menu screen appears.
Patch Edit Menu
(P-Name) (Ctrl)
4
Use the
[ ]
[ ]
buttons to switch pages, and use the
[F1]
[F2]
buttons to select the item that you want to
edit.
Item
Explanation
P-Name
(Patch Name)
Rename the patch.
Use the
[F1]
[F2]
buttons to move the cursor
Use the numeric keys to input characters
Press the
[EXIT]
button to exit the screen
Ctrl
(Control)
Control functions (p. 3)
Output
Chase
Chase function (p. 4)
MIDI
MIDI functions for each patch (p. 5)
5
Use the
[ ]
[ ]
buttons to switch pages, and use the
[F1]
[F2]
buttons to select the item that you want to
edit.
Control Edit
Bend 05 AfPB 00
When you press a
[F1]
[F2]
button, the selected parameter blinks.
6
Use the joystick or the
[INCREMENT]
[DECREMENT]
buttons to edit the setting.
Press the
[EXIT]
button to return to the Patch Edit Menu screen.
7
Repeat steps 5–6 to make patch factor settings.
8
If you want to save the edited settings, perform the
Write operation.
&
If you don’t want to save, press the
[EXIT]
button to return to the
PATCH TOP screen. If you return to the PATCH TOP screen without
saving, the colon (:) between the patch number and patch name
blinks, indicates that the patch settings are modified (the patch is
being edited).
* If you select another patch while editing, or turn off the power,
the changes you made to the patch settings are lost.
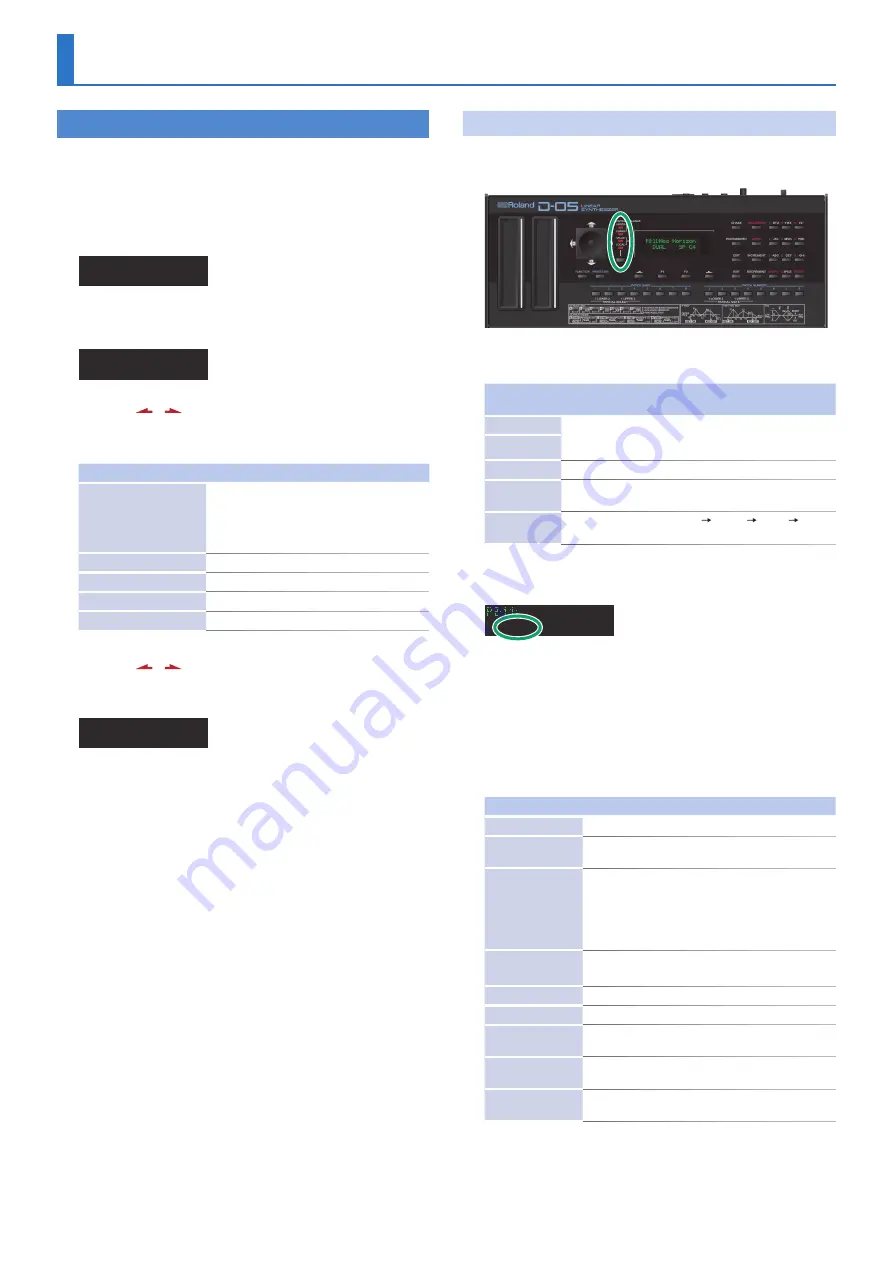
Settings Common to All Screens
UPPER/LOWER/VALUE/LOCAL
(switching the joystick’s function)
These buttons switch the function of the joystick.
The function changes each time you press a selection button.
Indicator /
Button
Explanation
UPPER
The up/down direction changes the part balance, and
the left/right direction changes the partial balance of the
selected part.
LOWER
VALUE
Enters values, such as during editing.
LOCAL
Enables local editing (a function that lets you use the joystick
to simultaneously edit adjacent items in the display).
Select button
Switches in the order of UPPER LOWER VALUE
LOCAL.
KEY MODE
Neo Horizon
DUAL SP C4
Key Mode refers to the Upper and Lower Tones are played on the
keyboard.
1
In the main screen, press the
[F1]
button and then use
the
[INCREMENT]
[DECREMENT]
buttons to edit the
parameter.
Value:
WHOLE, DUAL, SPLIT, SEP, WHOL-S, DUAL-S, SPL-US, SPL-LS,
SEP-S
Indication
Description
WHOLE
Upper Tone can be played in 16 voice polyphony
DUAL
Both Upper and Lower Tones are played by each key in
8 voices polyphony.
SPLIT
The Split mode divides the keyboard into upper and
lower sections, where two different Tones can be played
in 8 voices polyphony. That is, the D-05 works like two 8
voice synthesizers. The Split Point (where the keyboard
is divided into two sections) is shown next to the Key
Mode indication.
SEP
(Separate)
The Separate mode lets you control the upper and
lower sections on separate MIDI channels.
WHOL-S
(Whole Solo)
The Upper Tone is monophonic.
DUAL-S
(Dual Solo)
Both Upper and Lower Tones are monophonic.
SPL-US
(Split Upper Solo)
The Upper Tone is monophonic, and the Lower Tone is 8
voices polyphonic.
SPL-LS
(Split Lower Solo)
The Lower Tone is monophonic, and the Upper Tone is 8
voices polyphonic.
SEP-S
(Separate Solo)
The Upper Tone and Lower Tone can be controlled on
separate MIDI channels. The Upper Tone is monophonic.
* The way in which the Key Mode affects how the voices play
depends on whether the D-05 is in mono mode or poly mode.
&


