17
Driver Installation and Settings
7
To begin the installation, click
[Next]
once again.
Installation will begin.
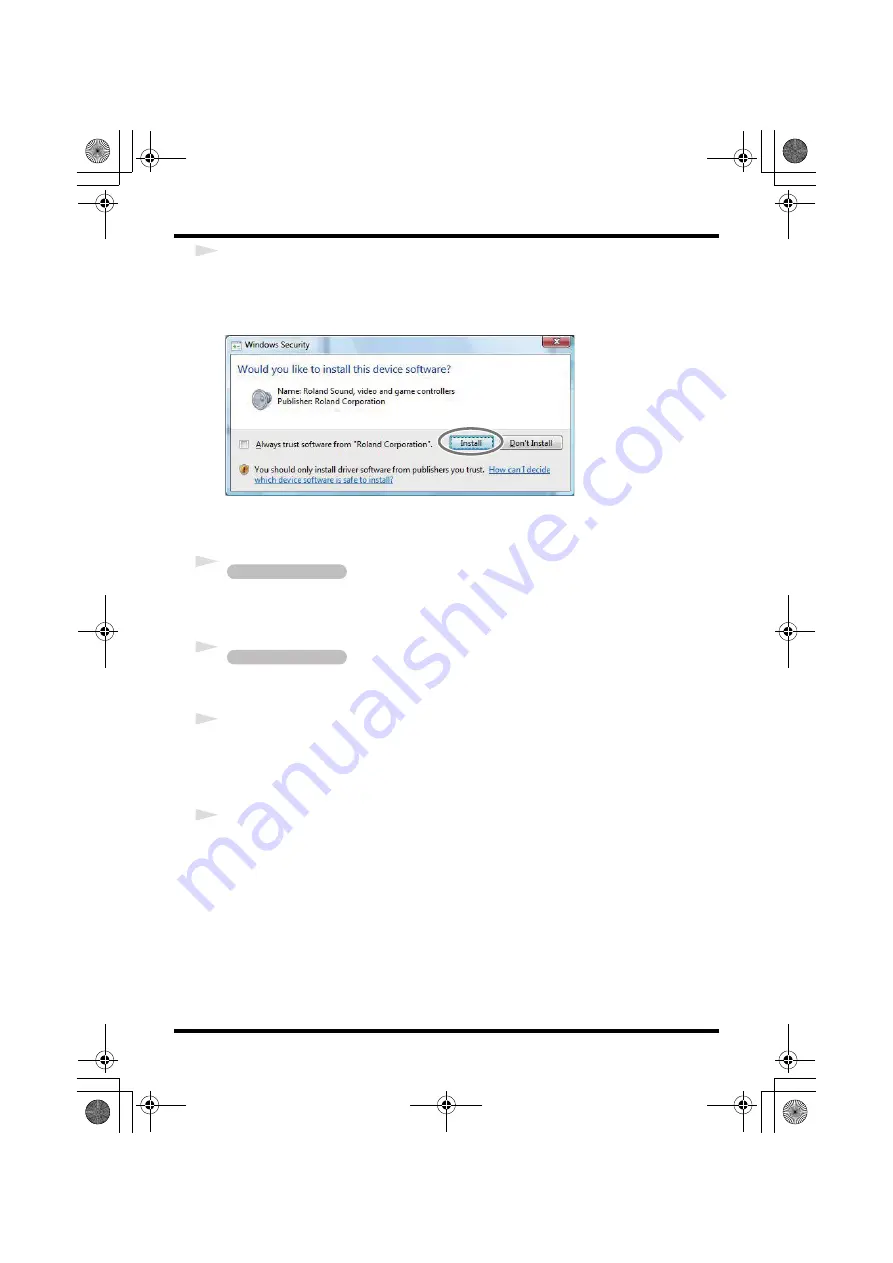
If a dialog box related to Windows Security appears, click
[Install]
.
fig.vista-7e.eps
The screen will indicate
“Ready to install the driver.”
* If any other message appears, proceed as directed by the message.
8
Set the UA-25EX’s Advanced driver switch to the
ON
position.
* If the Advanced driver switch is set to
OFF
, the installation will not take place as described in the
following procedure.
fig.advancedon_e.eps
9
Use a USB cable to connect the UA-25EX to your computer.
* This unit is equipped with a protection circuit. A brief interval (a few seconds) after connecting
the USB cable is required before the unit will operate normally.
10
The message
“Installing device driver software”
will appear in the lower right corner of the
screen, and the driver will be installed automatically.
* It may take some time (ten seconds or more) until the message appears.
* If any other message appears, note the content of the message and close it.
11
When installation has been completed, the
Driver Setup
dialog box will indicate
“Installation has
been completed.”
Click
[Close]
to close the
Driver Setup
dialog box.
If the
System Settings Change
dialog box appears, click
[Yes]
. Windows will automatically restart.
Next, you need to set your software so it can use the UA-25EX.
Operation of the UA-25EX
Operation of the UA-25EX
UA-25EXCW_e.book 17 ページ 2009年4月13日 月曜日 午後12時33分
Содержание Cakewalk UA-25 EX
Страница 1: ...7 0 2 UA 25EXCW_e book 1...
Страница 59: ...MEMO UA 25EXCW_e book 59...
Страница 60: ...MEMO UA 25EXCW_e book 60...
Страница 61: ...MEMO UA 25EXCW_e book 61...
Страница 62: ...For EU Countries For China UA 25EXCW_e book 62...
Страница 64: ...5 1 0 0 0 0 7 0 0 7 0 2 UA 25EXCW_e book 64...


