5-8
Configuring a Scanner to Communicate with the Encoder
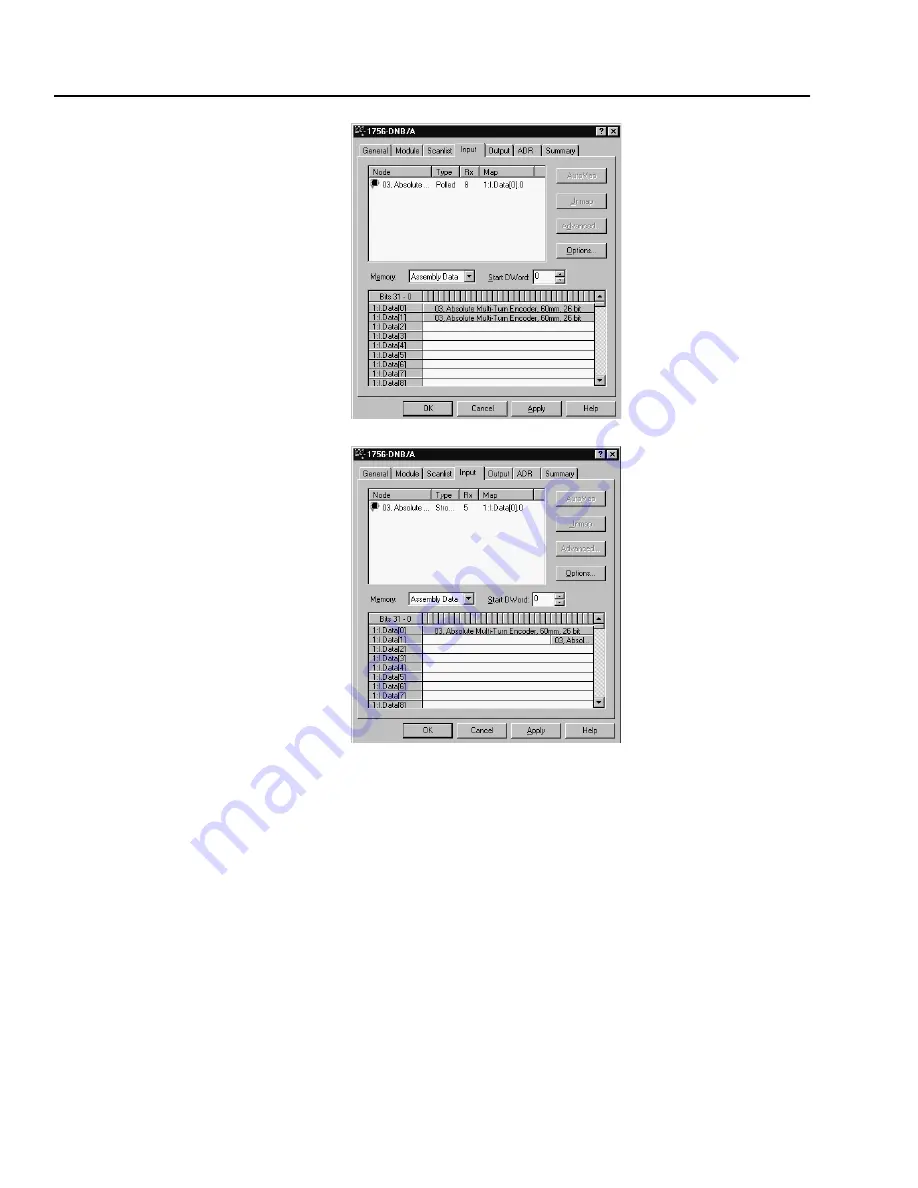
Figure 5.7
Scanner Module Dialog Box, Input Page - Polled
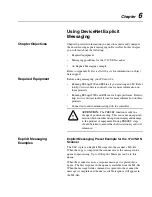
Figure 5.8
Scanner Module Dialog Box, Input Page - Strobed
If you selected the
Automap on Add
box (Figure 5.2) in the
Scanlist page (Figure 5.3) and did not change any settings,
RSNetWorx has already mapped the I/O. If I/O is not mapped,
click
AutoMap
to map it. If you need to change the mapping,
click
Advanced
and change the settings. Click
Help
for
assistance.
Saving the Configuration
After configuring a scanner, you must download it to the scanner. You
should also save it to a file on your computer.
1.
In the Scanner Module dialog box, click
Apply
to save the
configuration to the scanner. A Scanner Configuration Applet
appears and asks if it is OK to download the changes.
2.
Click
Yes
to download the changes. The changes are downloaded
and then the Scanner Module dialog box reappears.
3.
Click
OK
to close the Scanner Module dialog box.
4.
Select
File > Save
. If this is the first time that you saved the
project, the Save As dialog box appears. Navigate to a folder, type
a file name, and click
Save
to save the configuration to a file.
Содержание Allen-Bradley 842D
Страница 10: ...P 6 Using this Manual Notes...
Страница 18: ...3 4 Configuring the DeviceNet Encoder DIP Switches Notes...
Страница 56: ...I 4 Index Notes...


