


If you need any further advice, please call our Technical Helpline on :-
020 8758 0338 (Mon-Fri)
42
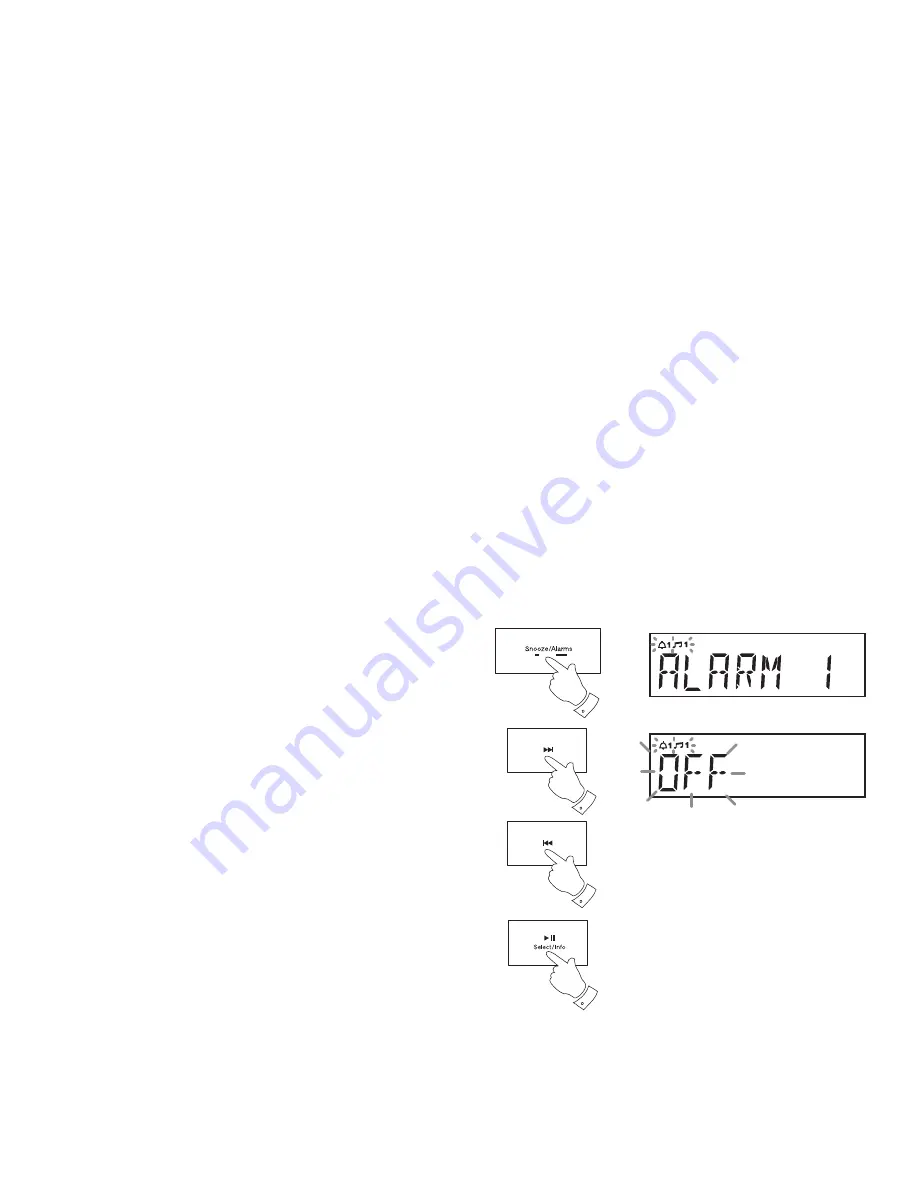
Disable alarms
1. Press and hold the
Alarm
button. '
Alarm 1' will be displayed.
2. Press and release the
Tuning Up
or
Down
buttons to choose either
alarm 1 or alarm 2.
3. Press and release the
Select
button to enter the alarm setting menu.
4. Press and release the
Tuning Up
or
Down
buttons to select OFF.
5. Press and release the
Select
button to disable the alarm.
2,4
2,4
3,5
1