1. Proceed as above, then
2. Open the
lock
tab in the
STATE
section
3. Deactivate the lock by toggling the switch to:
OFF
4.
(optional)
Move the encoder onto the lock code (if any), and push the encoder to delete it.
8.3. Front Panel Illumination
The 12Mic front panel illumination reveals the current device state at a glance. It combines:
• full color LEDs at each input
• a standby indicator with integrated status warning
• a display with level meters and status feedback
Each of these three elements can be individually switched off (
dark mode
).
8.3.1. Dark Mode
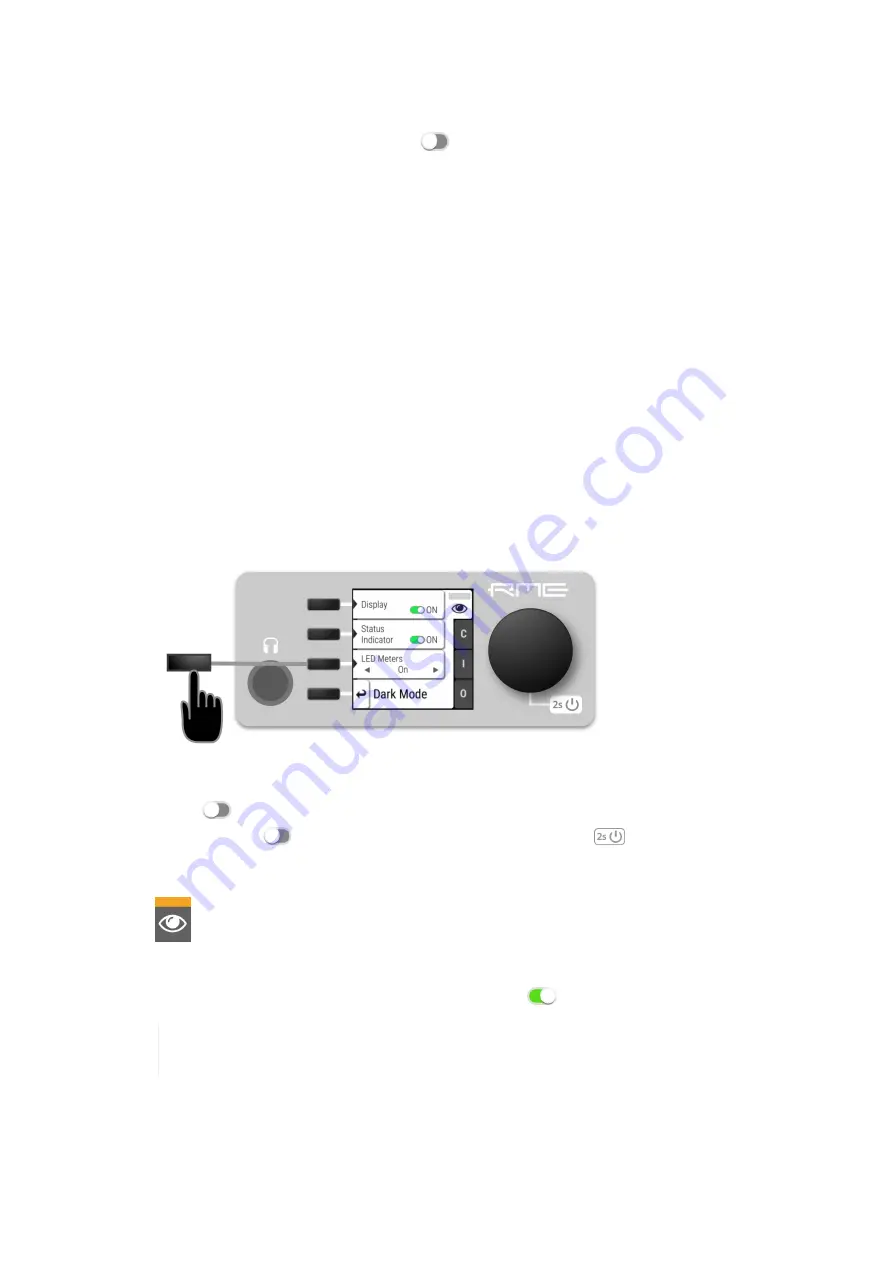
Each of the three front panel illumination sections can be switched off if they are not required.
To turn off illumination on the device:
1. Open the
visual feedback
tab in the
STATE
section.
2. Change any of the following:
a.
Display
to
off
to turn off the display.
b.
Status indicator
to
off
to turn off the standby/status indicator
.
c.
LED Meters
to
off
or
Dimmed
to turn off or dim channel LEDs.
When any item is turned off, a notification (orange) is shown in the
STATE
section.
To turn panel illumination back on:
1. Open the same menu and set the corresponding switches to
to
On
.
To turn the front panel lighting on temporarily, just rotate or push the encoder. The panel
will turn back off after five seconds.
8.3.2. Changing the Meters to Peak or RMS Mode
Depending on the application, instantaneous
peak level metering
or a slower, averaged
RMS metering
may be preferred.
RME 12Mic User’s Guide
29
| 8.3. Front Panel Illumination


