9
The controls on your new Flame Fire are situated on the lower front right hand side. All
necessary adjustments to the operation of your fire can be made with these controls.
•
TO TURN ON THE PILOT
Press the right hand control button firmly.
This operates the built-in safety device and
starts the electronic spark. The pilot burner
will ignite. Check that the burner has lit and
continue to hold the button down for up to
15 seconds. The spark will continue while
the button is held down.
If the burner does not remain alight, push
the button again and release it. This will
return it to the “OFF” position. Wait 30
seconds, then repeat the ignition
procedure. (The ignition button must be in
the “OFF” position before re-attempting
ignition) If, for any reason, the fire goes out
during operation wait a minimum of 3
minutes before attempting to relight.
•
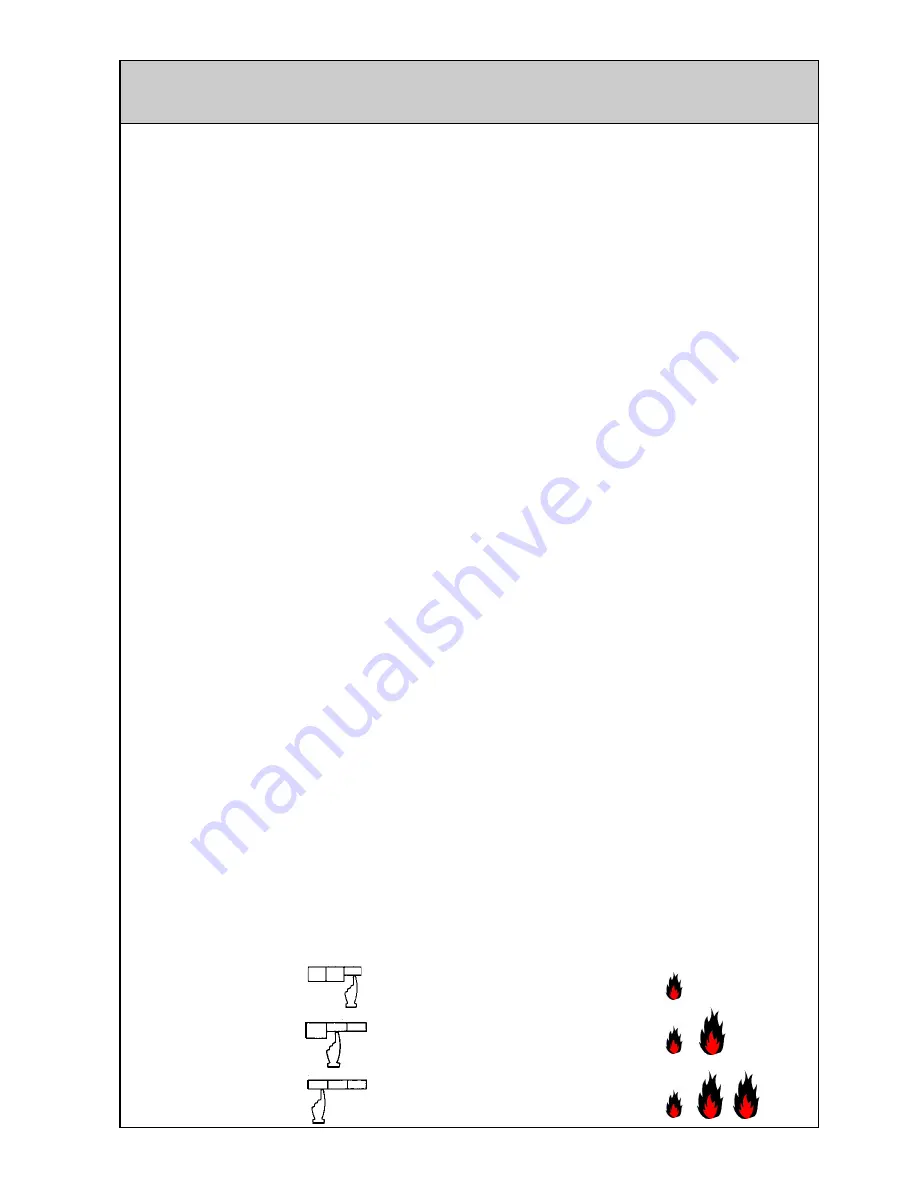
TO TURN ON THE HEAT
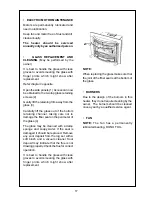
Press the control buttons in order from right
to left, this will ignite additional burners as
shown in the diagram. There is no need to
hold the when increasing the heat.
•
TO DECREASE THE HEAT
This is done by releasing the control
buttons in order from left to right.
•
TO TURN THE UNIT OFF
Press and release the buttons in order from
left to right until all 3 buttons are in the “OFF”
(out) position.
Ensure all burners are extinguished.
OPERATION
•
FAN OPERATION
On the LOW fire settings, the fan can be
operated on the LOW speed or OFF.
On the HIGH fire setting the fan runs
automatically on HIGH speed.
•
NOTE:
When the fire is turned on, there
will be a delay in the operation of the fan.
This ensures that a cold draft does not
occur while the fire is warming up.
When the fire is turned off, the fan will
continue to run until the fire has cooled
down.
•
POWER FAILURE
Your unit can be used on the low setting
during a power failure. However, if switched
off, it cannot be relit unless power is
available. The appliance is protected by
an overheat switch, and may cut out if used
on the HIGH setting.
•
TO TURN OFF GAS TO APPLIANCE
Turn off the appliance by operating the on/
off button and turn off the power at the wall
switch. Disconnect the electric plug. This
will isolate the supply and prevent the
solenoid valve from opening.
1.
Pilot
Off/Low
2.
Low
Off/Low/High
3.
High
High (Auto)
SETTING
BUTTONS
FAN
BURNER PATTERN
Содержание IB35RBL
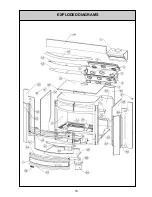
Страница 19: ...19 EXPLODED DIAGRAMS ...
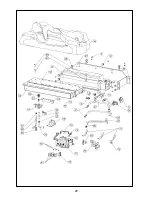
Страница 20: ...20 ...
Страница 24: ...zx Part Number 7918 ...


