co
d
. 2
0
12
4
6
5 r
e
v.
2
10/
20
17
1
3
5
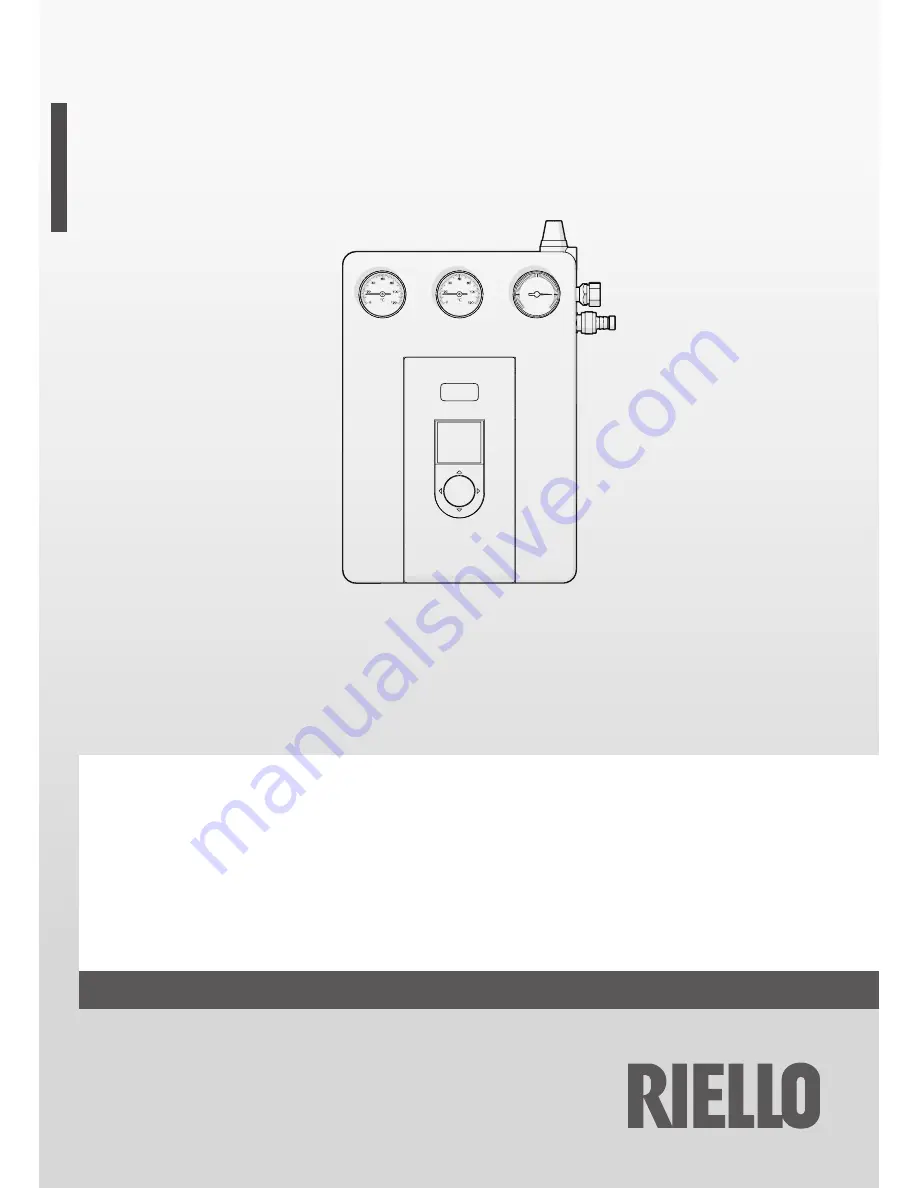
RSS MR/MRS
EN
INSTALLATION AND MAINTENANCE MANUAL
Страница 1: ...cod 20124605 rev 2 10 2017 1 2 3 4 5 0 6 RSS MR MRS EN INSTALLATION AND MAINTENANCE MANUAL ...
Страница 2: ...rformed by a qualified heating engineer 9 9This instruction manual is an integral part of the product It must be kept safe and must ALWAYS accompany the product even if it is sold to another owner or transferred to another user or to another installation If you lose this manual or der a replacement immediately Keep the product purchase documents to be presented to the R authorised Technical Assist...
Страница 3: ...allows transferring sun power from collec tors to a storage system The solar station R is enclosed in an EPP Polypropylene foam insulating casing and is designed to perform system flushing system filling and emptying circulator removal The key components are high efficiency circulator with variable speed already hard wired shut off valves as non return valves thermometers pressure gauge fitting fo...
Страница 4: ... temperature gauge 5 Insulation 6 Tap A for system filling draining 7 Pump 8 Pressure gauge 9 Tap B for system filling draining 10 Safety valve 6 bar 11 Fixing bracket 12 Solar controller 13 Display 14 Multidirectional joystick 15 Terminal strip M Solar circuit outlet Inlet of heat transfer fluid coming from solar collector R Solar circuit return Outlet of heat transfer fluid towards solar collect...
Страница 5: ... resistance exchanger solar collectors and pipes at the maximum flow rate conditions provided Installation 8 UNPACKING THE PRODUCT Package content 1 2 5 6 3 8 7 4 1 Solar station 2 Bag containing 3 probes 1 5 m long only for version MRS 3 Solar controller only for version MRS 4 Terminal strip only for version MR In a plastic bag the following material is also supplied 5 Instruction manual 6 Instru...
Страница 6: ...ransfer fluid towards solar storage system RB Storage system return 3 4 M Inlet of heat transfer fluid from solar storage system SV Safety valve drain VE Expansion tank fitting E Solar expansion tank not supplied T Safety valve outlet pipe not supplied Connect delivery fittings M and return fittings R found at the top of the solar station to the solar plant Connect delivery fittings MB and return ...
Страница 7: ...is not responsible for any damage caused by failure to earth connect the device and failure to comply with what is indicated in the wiring diagrams Refer to the manual supplied with the solar controller for de tails of all electrical connections programming etc Version with solar regulator MRS CN4 CN3 M4 M3 M2 M1 3 2 1 4 5 6 CN6 F AE 230V 50Hz AN GD U1 U2 N L B A S6 S4 S5 S3 S2 S1 S1 S2 S3 C S4 AE...
Страница 8: ...culator supplied with version MR needs a PWM signal con trol with the characteristics below REG MO 230 CONTROL PUMP AE 230V 50Hz C N GND PWM L PE L N PE AE Power supply connections to be made by the installer REG Generic solar regulator C Circulator with PWM control MO Terminal strip MO 230 CONTROL PUMP AE 230V 50Hz C N GND PWM L PE L N PE EVOSOL AE Power supply connections to be made by the insta...
Страница 9: ... power Symbol Value PWM input frequency f 100 4000 Hz Consumption in stand by 1 W High voltage level of input signal UiH 4 24 V Low voltage level of input signal UiL 1 V Input signal current IiH 10 mA Input Duty cycle PWM 0 100 14 SYSTEM FLUSHING Before filling the system with mixture of water and glycol it is necessary to flush the pipes of the solar system to eliminate all residues of fluid or s...
Страница 10: ...ture Mixture of glycol and water 1 2 3 4 5 0 6 B A VM VR PC PC Heat transfer fluid filling pump To fill the system proceed as follows Connect the filling pump PC as shown Turn handle on valve VR clockwise Open taps A and B on the return tube Open manual degassing tap and any bleeder valve lo cated at the highest points of the system and keep them open throughout the filling procedure Pump the heat...
Страница 11: ... data sheet supplied with the glycol 17 2 Disassembling the circulator 9 9Remove the circulator when system has cooled down Before removing circulator C Cut power off to the solar station and to the connected integration system by setting the system s main switch and the device s main switch to OFF Disconnect circulator power by removing connectors D and E Move away any wiring and electric devices...
Страница 12: ...llo 7 37045 Legnago VR www riello com The manufacturer strives to continuously improve all products Appearance dimensions technical specifications standard equipment and accessories are therefore liable to modification without notice ...