


2
•
If the re-entered number does not match,
[TEL # does not match]
appears on the screen. Go
back to step 3.
7.
If you have more originals to scan, press
[1]
within 60 seconds, place the next original on the
exposure glass, and then press the
[OK]
key. Repeat this step until all originals are scanned.
If you do not press
[1]
within 60 seconds, the machine will start to dial the destination.
8.
When all originals have been scanned, press
[2]
to start sending the fax.
Note
•
Number confirmation is required only when a fax number is input using the number keys. Number
confirmation is not required when the destination is specified using the Quick Dial, Speed Dial, or
Redial function, or when sending a fax from a computer.
•
For more details about other fax functions, see “Using the Fax Function”,
User Guide
.
Enabling the feature using Web Image Monitor
1.
Launch the Web browser.
2.
In the Web browser’s address bar, enter “http://(machine’s IP address)/” to access the machine.
3.
Click
[Machine Settings]
, and then click the
[Fax]
tab.
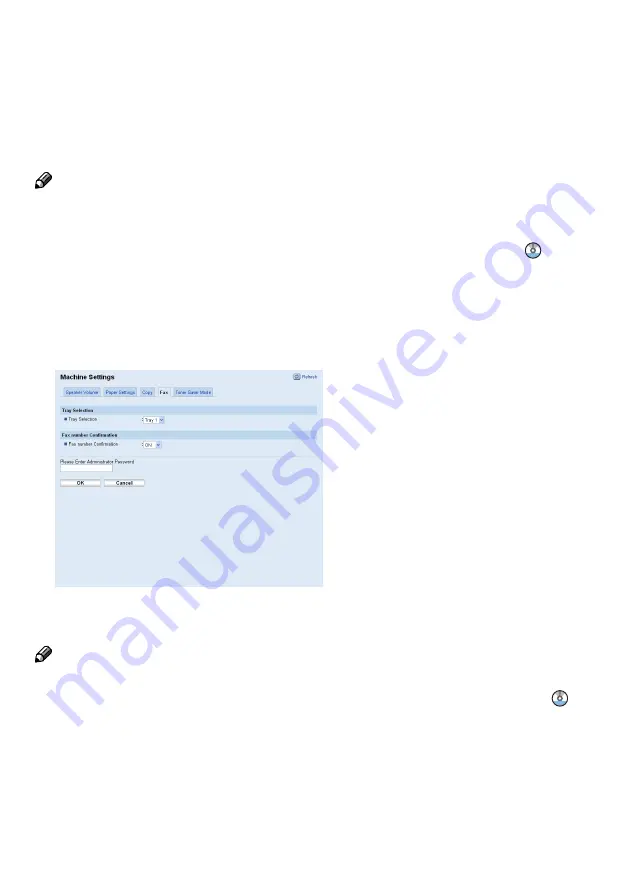
4.
From the
[Fax Number Confirmation]
list, select
[ON]
.
5.
Enter the Administrator Password, and then click
[OK]
.
Note
•
The
[Fax Number Confirmation]
setting appears only when
[Administrator Password]
is specified.
For details about
[Administrator Password]
, see “Configuring the Password”,
User Guide
.