


RICOH
Printing from a Mac (Apple)
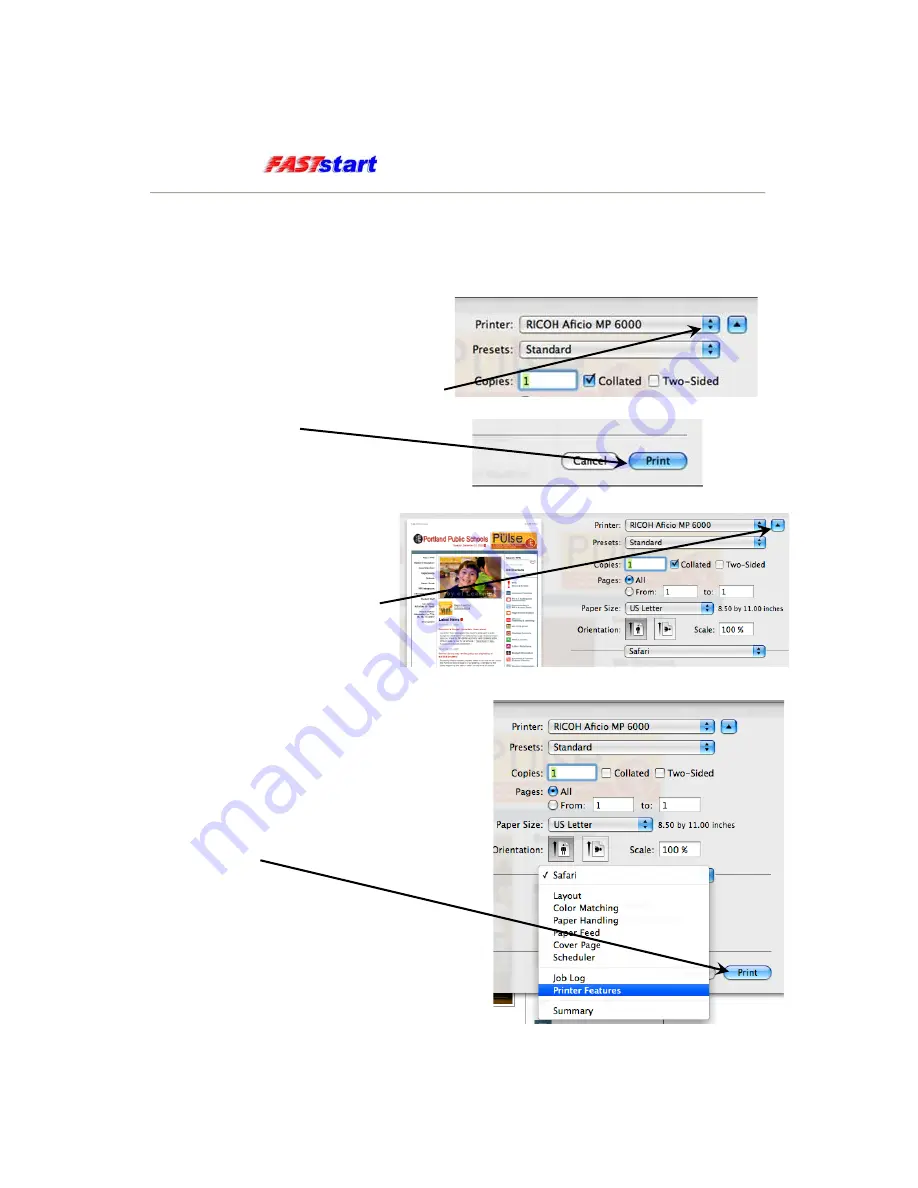
How to Print a Document
1. With an open file/document, select
File
, then
from the menu of the
application. The Print Dialog Box
appears.
2. Select the appropriate printer name to
be used from the drop down list
3.
Then click
.
4. All page setting, print preview
and printer specific features
become visible once the view
is expanded. Toggle the view
by clicking the Aqua Arrow.
5. Printer-Specific options are found in the
Printer Features
tab.
For more detailed information, see “Print
Options” in the Printing Guide that came
with your machine.
6. Once you are satisfied with your selections,
click
.
Page 7