


Paper and Other Media
26
E
Press the
{U}
or
{T}
key to display the loaded paper type, and then
press the
{
# Enter
}
key.
After about two seconds, the display returns to the menu.
F
Press the
{
Online
}
key.
The initial screen appears.
The following message appears on the display:
❒
When selecting Plain Paper, select
[
Thin
]
or
[
Normal
]
for
[
Plain Paper
]
in the
[
Maintenance
]
menu.
❒
The following paper types cannot be printed on both sides:
• Special Paper, Labels (adhesive label paper), Cardstock, Transparency
(OHP transparency), Thick Paper 2 (165 - 199 g/m
2
), Thin Paper,
Plain:Dup.Back (reverse side of plain paper), Thick1:Dup.Back (reverse
side of thick paper)
Switching between Paper Trays
When paper of the same size is loaded in both the standard tray and the paper
feed unit (option), and when
[
Auto Tray Select
]
is set with the printer driver, paper
will be fed from the standard tray when you start printing. To print on paper load-
ed in the paper feed unit, switch the tray to be used to the paper feed unit using
[
Tray Priority
]
in the
[
Paper Input
]
menu.
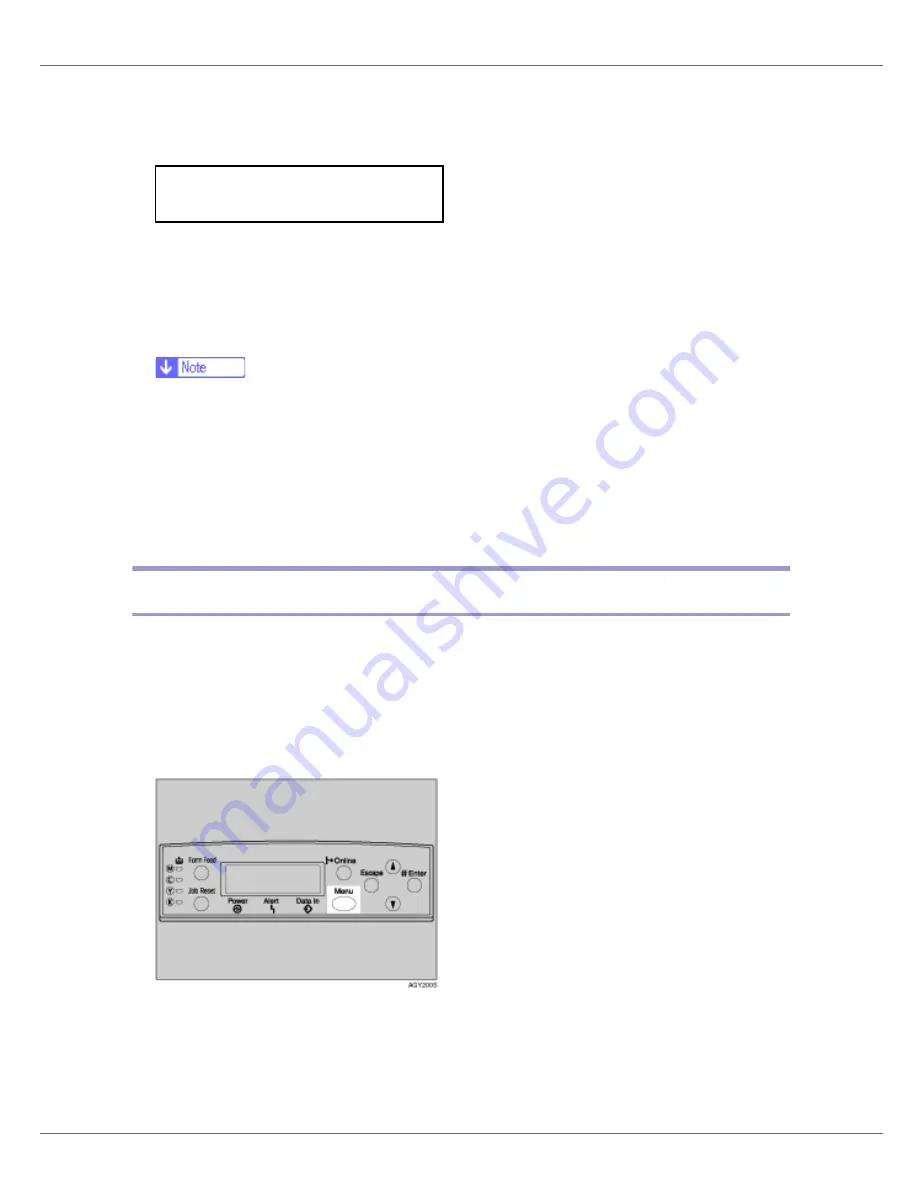
A
Press the
{
Menu
}
key.
The
[
Menu
]
screen appears.
Bypass Tray:
Recycled Paper