Congratulations on your purchase of the most realistic sim-racing pedals available. This setup guide will help you get the most out of
your new GTpro pedals. Your GTpro pedals will provide you with all the adjustability that they would have in a real race car in order
to provide you with the purest sim-racing experience possible.
Your pedals arrive to you fully filled and purged. The PCU (pedal control box) is calibrated for your pedals before shipping and are
ready to drive after they have been mounted.
About this Manual
As we continue to improve the design of the pedals, some photos may not reflect all the upgrades and therefore may differ from the
product you receive.
Tools and Items Required for Installation (not included)
•
Mounting bolts, nuts, and washers
•
Drill and drill bits
•
Screwdrivers and wrenches
Step 1: Getting Your Pedals Ready for Installation
The brake pedal has been secured in the down position to prevent air from getting trapped at the pressure sensor during shipping.
This is done to avoid the need to bleed the brake at the time of installation. Do not remove the strap yet. Check that the reservoir is
filled to about 30% capacity with fluid.
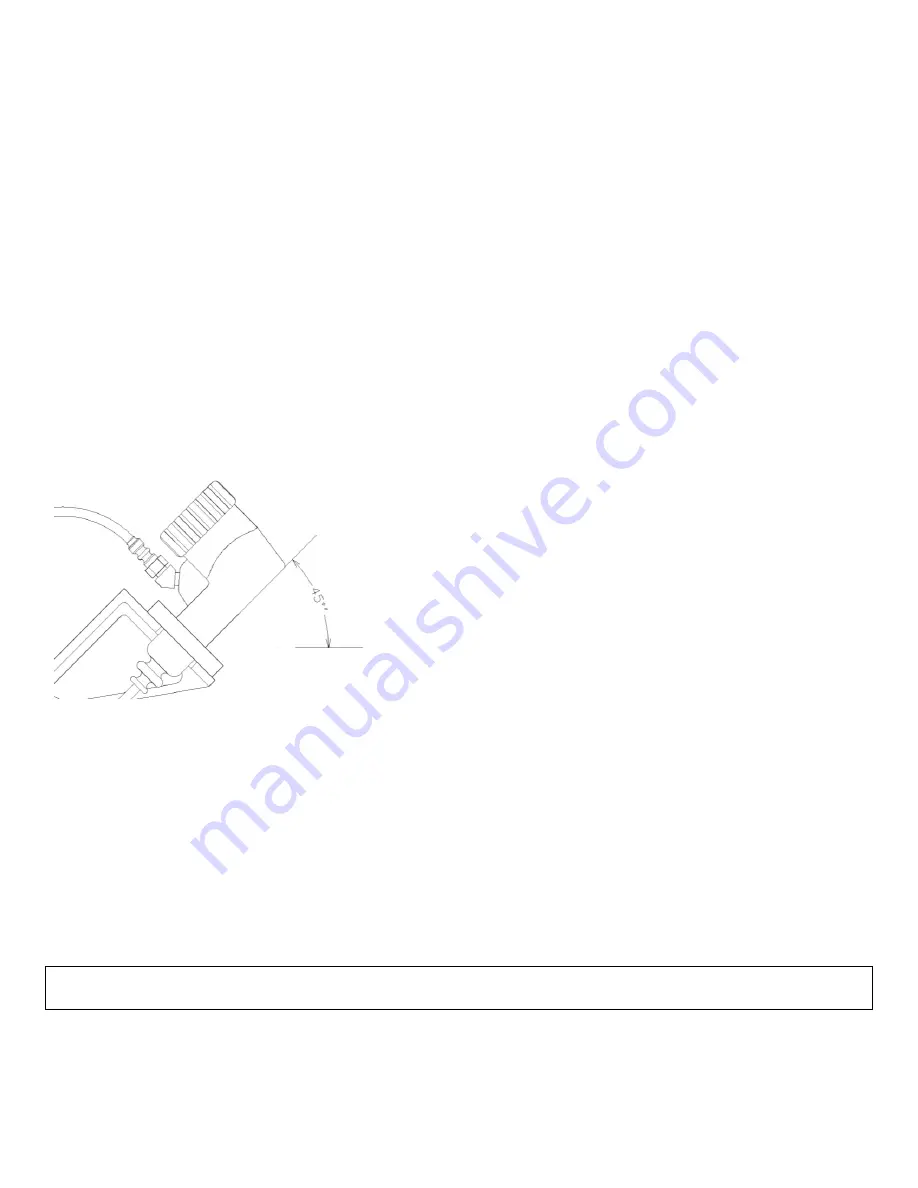
Set the pedal assembly tilted to 45 degrees, as shown, for a period of 5 minutes to allow any air bubbles to rise to the top of the
reservoir. Remove the strap holding down the pedal and press on the pedal with your hand, the pedal should not move more than ¼
inch (6mm) before the stacking units begin to squeeze. Turn assembly upright and do not lay it on its side from this point forward.
Purging Procedure
If the pedal does move more than ¼ inch (6mm) without squeezing on the stacking units then air has made its way into the system
during shipping. To remove the air, begin by removing the nuts that keep the stacking units in place (refer to figure 3 on next page)
and putting the wing nut back on. Keep the pedal assembly tilted as indicated above and hold the remote sensor assembly below
the height of the pedal. While holding the sensor assembly with the hose exiting straight up, pump the stacking unit shaft in and out
with your hand about 5 to 10 times to flush any air bubbles to the reservoir above. Reinstall the stacking units and test the pedal, if
the problem persists then repeat the steps above.
The pedal should also be pumped before any racing to prime the system and build up pressure in the system.
ATTENTION! The clutch reservoir ships empty and should remain empty at all times. This is intentional. Adding fluid will overload
the sensor and will result in permanent failure.
Step 2: Mounting Your Pedals
Identify each pedal by the markings on the reservoir cap.
Содержание GTpro1
Страница 1: ...GTpro1 Gen2 Pedals Setup Guide ...


