WAKE ALARM CLOCK DIGIAL RADIO
10
11
MODEL: RR40
2. If your playback device contains an NFC chip, turn on
NFC and Bluetooth on your playback device.
3. Place your playback device’s NFC chip near the NFC chip
on the radio. A Bluetooth connection between both
devices will be automatically established.
4. Begin playback.
5. To end the Bluetooth connection, once again place your
device’s NFC chip next to the NFC chip on the radio.
The connection and playback through the radio will be
suspended.
ALARM SETTING
The digital clock radio has 2 alarm functions at can be
activated together for 2 different alarm settings (Alarm
1 and Alarm 2) or you may wish to activate one alarm at
a time. Once an alarm is activated you will find the alarm
icons displayed on the front display.
Note
that you have approximately 60 seconds between
each selection before the alarm is automatically cancelled
by the clock radio and you have to start again.
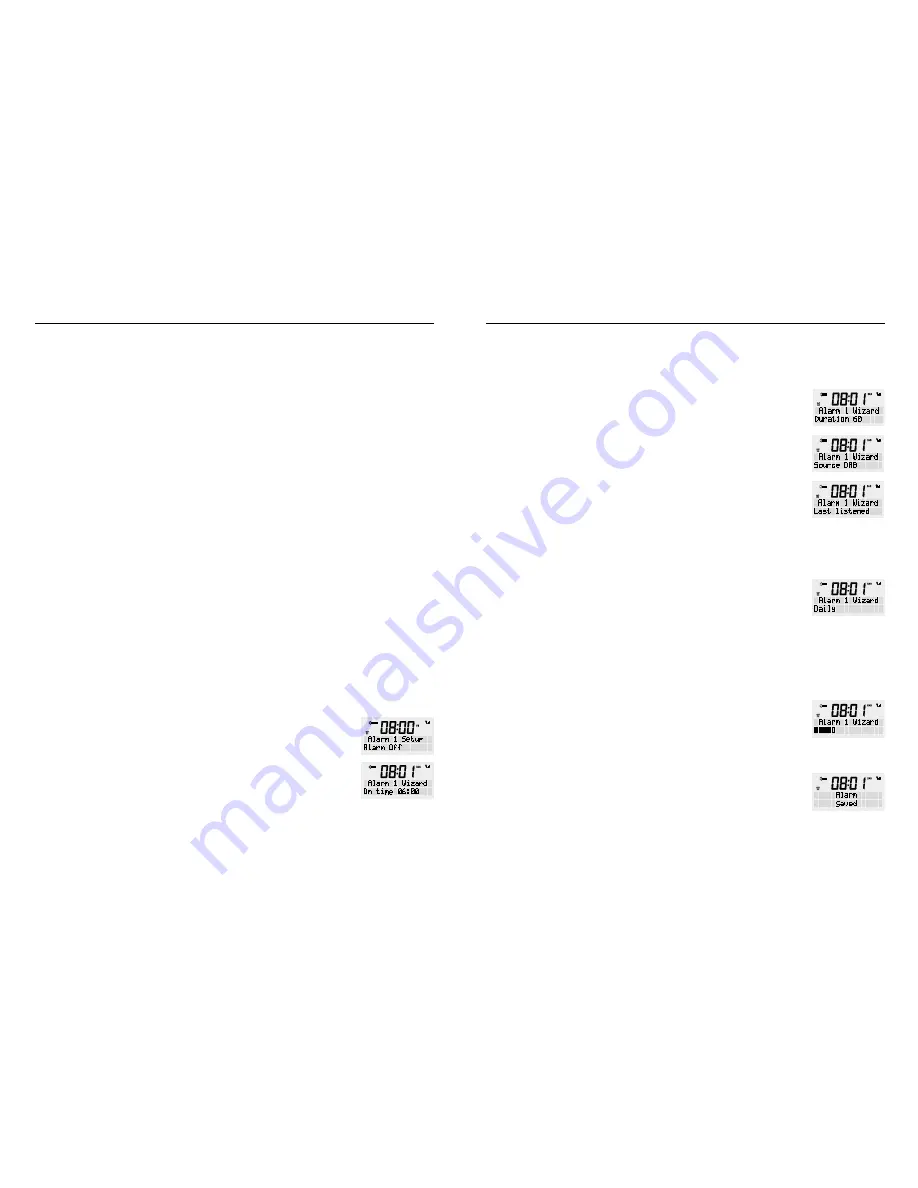
ALARM SET UP
1. Turn ON your digital clock radio.
2. Press the <ALARM> button to select alarm 1 or press the
<Alarm> button again to select Alarm 2. Press <SCROLL/
SELECT>.
3. Use the rotary dial to select alarm “On” or “Off”, press
the <SCROLL/SELECT> dial to confirm your selection.
4. The clock radio will display the time screen and the hour
part will flash. Turn the rotary button to set the hour for
your alarm, then press <SCROLL/SELECT> to confirm.
5. Next the Minute part will flash. Turn the rotary button
to set the minute for the alarm, then press <SCROLL/
SELECT> to confirm.
Note
: If your time is set to 24hr mode in the menu
settings move straight to point 6. However if your time
is set to 12hr mode(AM/PM) you will need to turn the
rotary button to select the desired preference, then
press <SCROLL/SELECT> to confirm.
6. Use the rotary dial to set the duration of how long you
would like the alarm to stay on before it automatically
turns off. The options are 15/30/45/60/90/120 minutes,
en press <SCROLL/SELECT> to confirm.
7. The “source” function allows you to select what sound
will be emitted when the alarm is activated. Turn the
rotary dial to select between BUZZER/DAB/FM, then
press <SCROLL/SELECT> to confirm.
Note
: If you select DAB or FM in the source mode radio
will display an option of “Last listened” or any preset
stations if you have em set. You can wake up to the last
listened to radio station if at is what is selected or you
can select a preset station to wake up to if you have
these previously set.
8. The alarm frequency option allows you to select when
you would like the alarm to repeat, options are DAILY/
ONCE/WEEKENDS/WEEKDAYS. Use the rotary dial
to select the desired frequency, en press <SCROLL/
SELECT> to confirm.
Note: That a “ONCE” selection will prompt you to
enter your desired date of when the alarm needs to be
activated.
9. The final step will display a bar graph of how loud you
would like the alarm to sound when activated. The alarm
is incremental and will reach the desired volume set.
Use the rotary button to select the desired volume, then
press <SCROLL/SELECT> to confirm.
10. The clock radio will display “Alarm Saved” and the icon
will be displayed on the front screen.
Note
: During the process of the alarm setting, pressing the
alarm button once will exit the alarm setup. You may also
press the <BACK> button to move back rough the settings if
a change needs to be made.


