Portable Wheel Load Weigher
PW 400 / PW 500
37881
Installation and Service
Manual
Страница 1: ...Portable Wheel Load Weigher PW 400 PW 500 37881 Installation and Service Manual...
Страница 2: ...ing the Weigher Display 5 2 7 Operating Instructions 6 2 8 Local Total Operation 6 2 9 Weigher Bus Address 7 3 0 Maintenance 8 3 1 Recharging the Battery 8 3 2 Removing the Platform 9 3 3 Removing Lin...
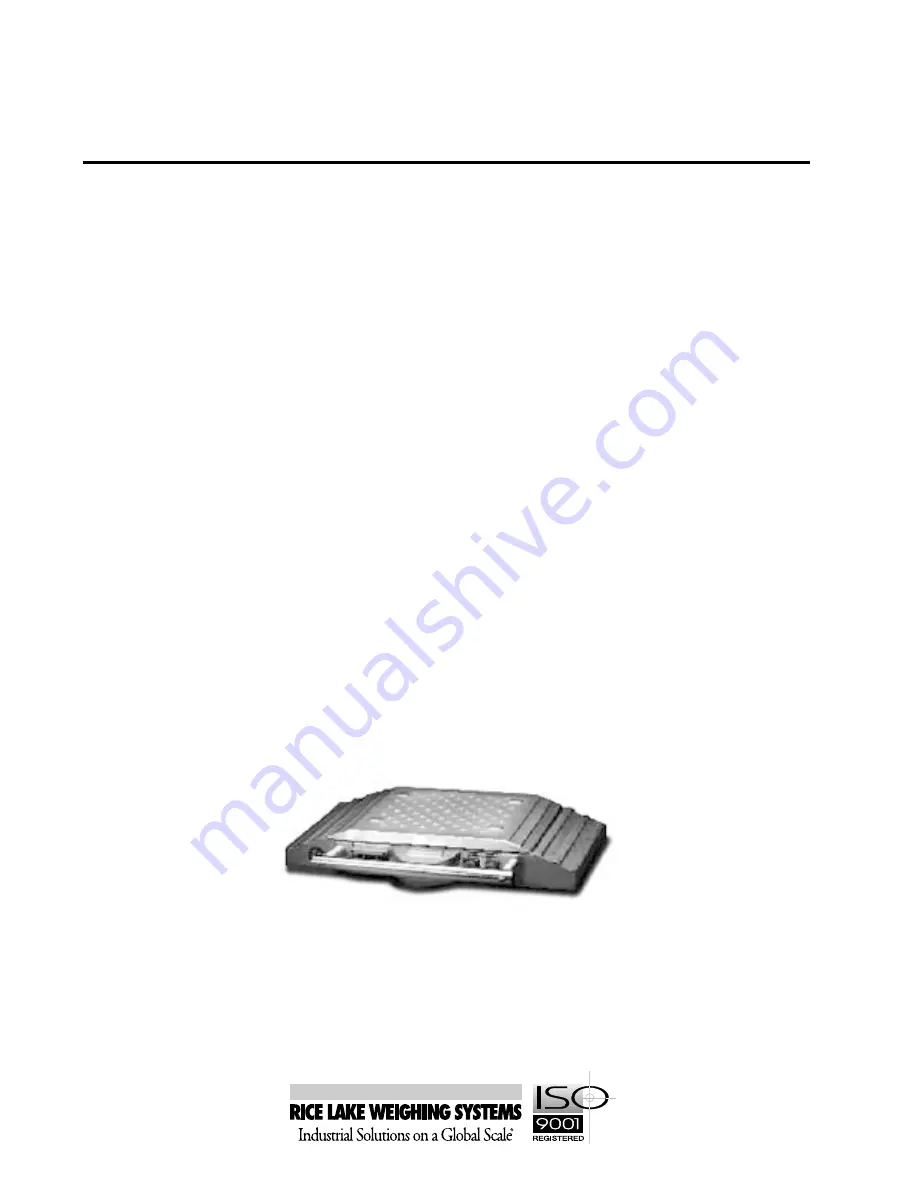
Страница 3: ...bottom for operator safety Optional larger approach ramps are available to give a more gradual approach slope and longer footprint Weighers can be used in one of two modes 1 In Local mode each weigher...
Страница 4: ...Operating and Storage 100 non condensing Power Requirements 12 VDC 1 4 Options and Accessories The following table shows the options and accessories available for the PW 400 and PW 500 Portable Wheel...
Страница 5: ...ound Axles are naturally lifted off a normal plane any time that the weigher platform is above ground level The amount of transient weight shift is a direct function of the distance that the axle is l...
Страница 6: ...procedure Following these basic rules of portable weighing will insure the best possible results 2 5 Controls and Indicators Figure 1 shows the weigher display and controls conveniently located on the...
Страница 7: ...ograms MOTION ERROR Failure of unit to achieve a stable zero setting RANGE ERROR Weigher output exceeds zero range capability OVER RANGE Weigher output exceeds capacity of weigher LOW BATTERY Intermit...
Страница 8: ...plication of load Push the ZERO button to obtain a zero reading if any number other than zero is displayed Figure 1 on page 4 shows the location of the zero control 4 Slowly move the vehicle to be wei...
Страница 9: ...on with that unit is not established Check the cable for bad connections or broken pins When communication is established the weighers display the total number of weighers communicating 2 9 Weigher Bu...
Страница 10: ...essages will be displayed for all remote scales These messages are REM LOW BATTERY and REM RECHARGE indicating that a remote scale s battery is low or needs to be recharged Switch to Local mode to tel...
Страница 11: ...over bottom down Carefully lift the platform straight up and separate the platform from the base Place platform top down beside weigher body 3 3 Removing Links Links must be returned to their original...
Страница 12: ...Use the following procedure to remove the PC board 1 Remove the platform see Section 3 2 and display cover see Section 3 4 Wear a grounded wrist strap to prevent electrostatic discharge damage to PC...
Страница 13: ...emature failure Electronic components should be removed from the weigher and cleaned in alcohol and thoroughly dried before reas sembly While cleaning electronic components do not disturb the factory...
Страница 14: ...an equivalent extreme pressure grease 3 10 Reassembly After all parts have been cleaned and inspected the weigher can be reassembled 3 11 Installing the PC Board Position the PC Board in the weigher...
Страница 15: ...weigher is checked at five or more points to ensure accuracy of calibration over the weighing range of the scale Special equipment is used to simulate vehicle passage and assure that calibrations are...
Страница 16: ...N to the ON position The display will read BUS ADDRESS XX CAL ROUTINE and ZERO FOR CAL PTS Now quickly press the ZERO push button The ZERO FOR CAL PTS is a timed function and if the ZERO button is not...
Страница 17: ...g Systems for adjustment 16 After verification of calibration is complete turn the weigher OFF Disconnect the display cable and remove the weigher platform At this point the operational performance ch...
Страница 18: ...23 45 47 39 40 41 42 16 3 7 5 6 4 8 43 44 76 78 82 83 84 77 78 82 83 84 72 61 62 88 89 60 55 57 58 28 29 54 53 50 30 80 81 82 31 73 71 75 50 56 59 74 88 89 27 69 68 66 85 79 25 46 34 63 65 88 89 13 9...
Страница 19: ...n Handle 16 45 DRIVE SCREW Nameplate Retaining 4 46 SCREW Diaphragm Retaining 10 24 x 5 8 Sol hd cap 12 47 PIN Link Retaining 4 48 SCREW Flex Handle Retaining 1 4 20 x 1 2 pan hd slot 2 49 SEAL Panel...
Страница 20: ...SY Battery wires 2 80 DISPLAY ASSY 1 81 NYLON 4 Shoulder Spacer 4 82 4 40 x 1 2 Phillip Pan Hd Scr S S 12 83 4 Split Lock Washer 12 84 Cap Connector Dust Seal 2 85 BRACKET ASSY AA 1 5V Battery 2 87 6...
Страница 21: ...ct alteration improperinstallation improperrepairorimpropertesting RLWS shall be the sole judge of all alleged non conformities Such equipment has not been modified altered or changed by any person ot...