


System Setup
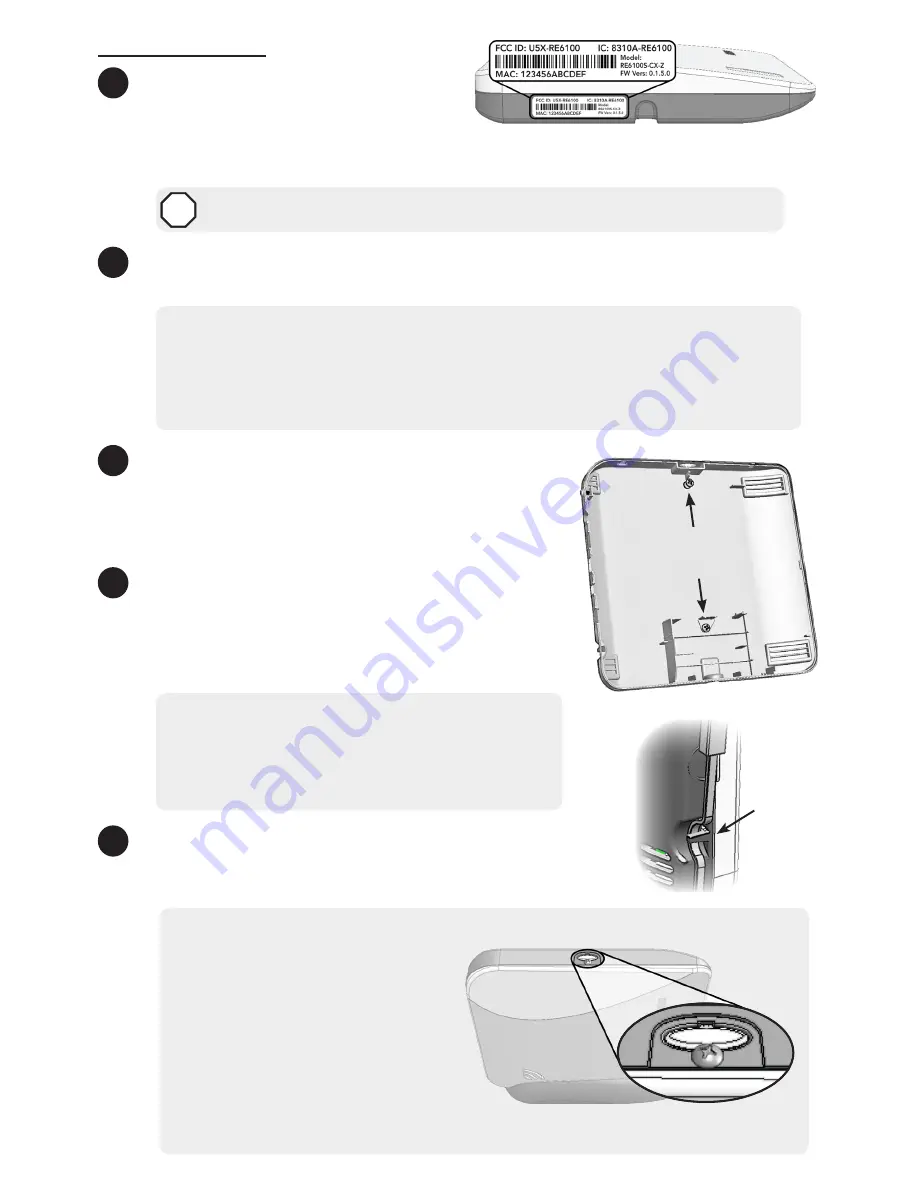
1
Set up a new account
with your
interactive services provider
by
following the instructions on the
included interactive service provider insert. The interactive services provider will
need the Helix MAC address which is located on the bottom of Helix.
DO NOT PROCEED UNTIL YOU HAVE FINISHED STEP 1
STOP
2
Find a location
for Helix, keeping in mind it needs AC power and at least one
network connection.
Wireless Installation Guidelines
•
Locate Helix centrally on the main floor.
• Avoid mounting Helix below ground level.
• Do not mount Helix near ducts, appliances, or other large metal objects.
• Do not mount Helix directly adjacent to other RF devices.
3
Mount Helix
by sliding it downward into the table-
top base. Alternatively, Helix can be mounted to
a wall using the mounting holes in the back cover.
You will need to remove the backup battery to
reveal the lower mounting hole.
4
Connect Helix to the Internet
by wiring the Helix
Ethernet port to the home router, or by installing a
Cellular or Wi-Fi expansion card (or any combination
of the above). The Wi-Fi approach requires
enrollment into the home Wi-Fi router.
• If you are using Wi-Fi, then connect the Helix
Wi-Fi card to your existing home router by
holding the Enroll/WPS button until Helix beeps
twice (roughly ten seconds) and then pressing
the WPS button on the router.
5
Power up Helix
by inserting the power supply barrel into
the power jack on the side of the Helix. Route the power
cable under the strain relief peg.
UL Installation Requirements
• Install the cover-securing screw.
• Do not connect Helix to an AC
power receptacle controlled by
a switch.
• The power supply must be
secured to an outlet if installed
in the USA.
• The power supply must NOT be
secured to an outlet if installed
in Canada.
Cover Securing Screw
Strain
Relief
Peg
Wall Mounting
Holes


