52
Connect by entering the network key (if there is no WPS function on the WLAN router)
• On the next screen, select “Add AP (Scan)” and confirm again as described above.
•
The radio device will now look for all available wireless routers nearby and lists them.
• Select the desired WLAN router and confirm the entry.
•
Enter the network key of your wireless router. Use either the 10-key (18) on the remote control or turn the TUNE/
SELECT knob (9) to select the required digits and characters.
Entering characters with the remote control's 10-keyboard
Button
Character
Button
Character
1
1, different special characters (see display) 6
6, M, N, O, m, n, o
2
2, A, B, C, a, b, c
7
7, P, Q, R, S, p, q, r, s
3
3, D, E, F, d, e, f
8
8, T, U, V, t, u, v
4
4, G, H, I, g, h, i
9
9, W, X, Y, Z, w, x, y, z
5
5, J, K, L, j, k, l
0
0, DEL
Pushing the numbers 0, 1, 2, etc., e.g. when entering a password, shows the numbers and letters
(alphanumeric characters) as shown above. Every time the button is pushed, the display jumps forward by
one number or letter.
If you push, e.g., button (5), the number "5" is displayed first. If you push the button again, the capital letter
"J" is displayed, etc.
•
When the desired character appears, press the FORWARD (8) button or the corresponding arrow button (20) on
the remote control to enter the next character.
•
Press the BACK (7) button or the corresponding arrow button (20) on the remote control to delete the last
character entered.
The password is case-sensitive.
• When all characters have been entered, confirm the network button by pressing the rotary knob TUNE/SELECT (9)
or the OK button (30) on the remote control. The connection is established and the radio switches to the main menu.
•
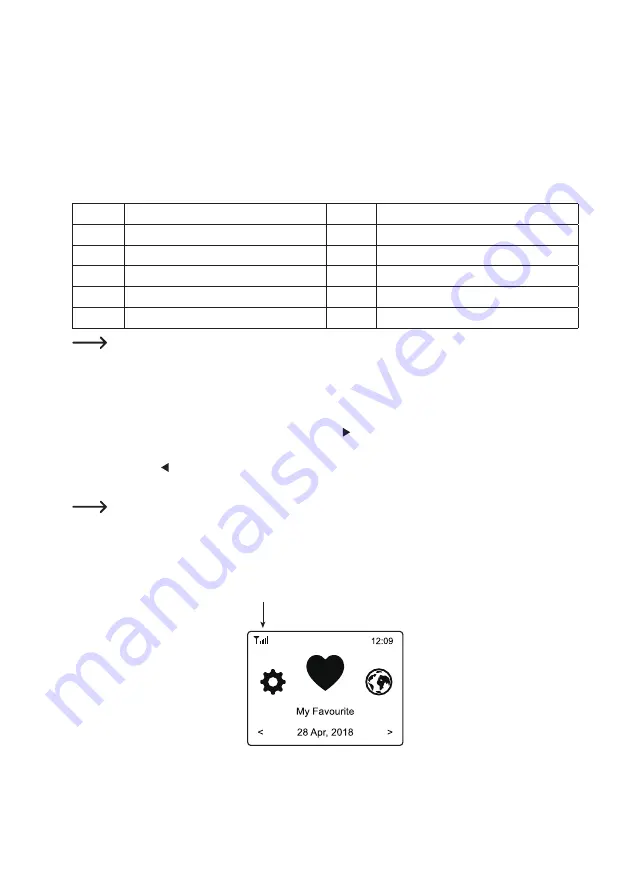
The reception quality is shown in the upper left corner of the display (5). The more bars appear, the better the
connection to the network.


