CAUTION:
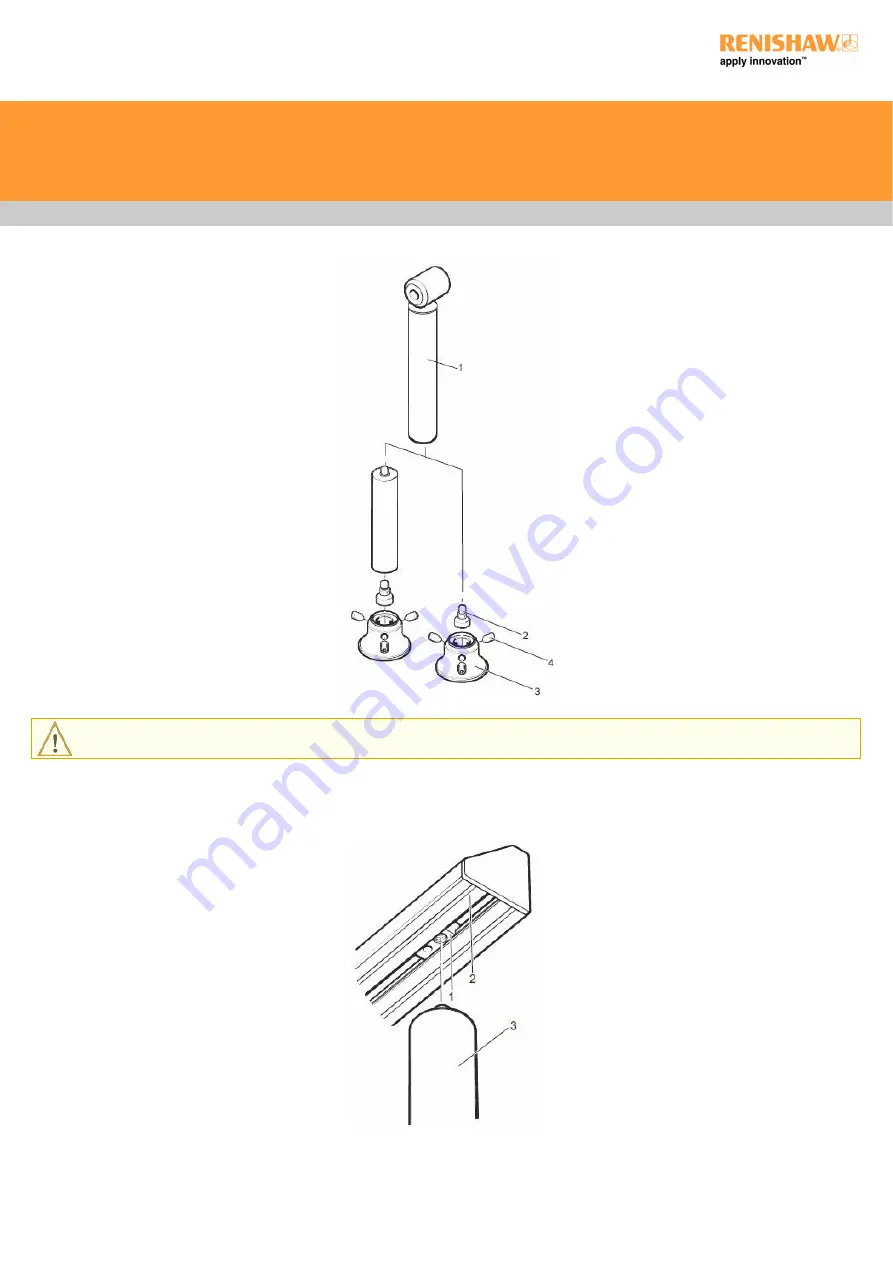
The MRS rack is top heavy. Whilst performing steps 5 and 6, the rail of the MRS must be supported.
5. Referring to the image below, screw the MRS legs (item 3) into the T-nuts (item 1) at each end of the MRS rack (item 2) and hand-tighten.
6. When the MRS rack is firmly located on the MRS legs, tighten the three grubscrews on each MRS foot using the hexagonal key provided.
Fitting MRS legs with step-back adaptors
The following method describes the attachment of MRS legs with step-back adaptors to the MRS rack:
MRS installation and user's guide
www.renishaw.com
Issued 12 2021
12


