background image


8


CONNECTING A NEW BLUETOOTH® DEVICE 

To connect your Bluetooth® device to the Radio, the device must first be paired. 
You will need to verify that “BLUETOOTH” is set to “ON”. (See BT SET menu), 
and verify that “DISCOVERY” is set to “ON”. (See BT SET menu).   
 
Pairing the Your mobile device with the Head Unit   
Your mobile phone can initiate a search for new devices and pair to the unit. The 
following paragraph describes the pairing process: 
   

NOTE: Procedures for pairing mobile phones may vary slightly from   
manufacturer to manufacturer.   
 

1.


Verify that the Radio is powered up and ON. 

2.


Set the Bluetooth® function of the Mobile Device to ON.   

3.


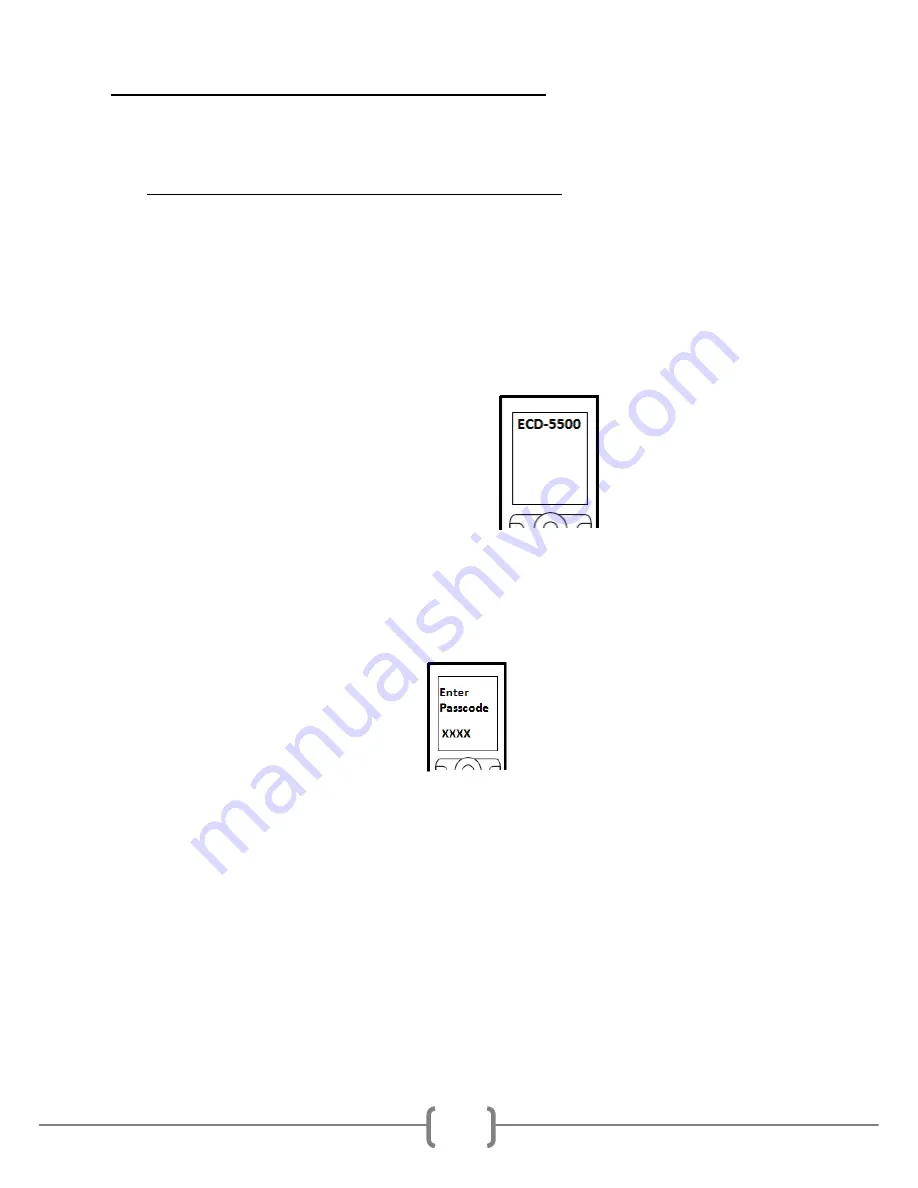
Access the” Look for devices” feature of the Mobile device and begin 

searching.    After searching, the Radio should appear in the list of devices 
as ECD-5500.  Press to accept.   


4.


A prompt to bond should appear on your Mobile device.    Press to accept 

and continue the process. The device will then ask for the passkey, enter it 
on the mobile device. 


NOTE: Some mobile devices require the passkey to connect. If your moblie 
device requires the passkey, you will need to enter it now. The default code is 
“0000”.   


5.


After entering the passkey, press OK.    The Mobile device should display 

connected.  The Radio’s Bluetooth® icon should appear in the upper 
right hand corner of the screen. 


NOTES: 


Only ONE mobile device can be paired with the Radio at a time.   


Turn “DISCOVERY OFF” to disable any unwanted Bluetooth® devices.     


After turning off the ignition, the Radio will automatically search for the 
last-connected Bluetooth® device, and if possible, restore the connection. 


This Radio does NOT support HSP (Head Set Profile) 

Содержание ECD-5500

Страница 1: ...Heavy Duty AM FM CD Stereo Weather Band Radio USB iPod Control and Charging Bluetooth Hands Free Calling and Wireless Audio Streaming Front Rear Auxiliary Inputs Installation Operation Manual ECD 5500...

Страница 2: ...y Clock back up Full Dot Matrix LCD display 10s Anti skip Gear driven CD Mechanism 7 channel NOAA Weather Band Tuner Electronic AM FM Stereo Tuner Preset Up to 30 Radio Stations 18 FM 12 AM EURO and U...

Страница 3: ...ntrol Buttons 8 Call Connect Transfer Button 9 Call End Button 10 Display Button 11 Source Select Button 12 Internal Bluetooth Microphone 13 Reset switch 14 Front AUX1 Input Jack 15 Disc EJECT Button...

Страница 4: ...so functions as Weather Band Channel access Under Weather Band mode press this button to select Weather Band channels 1 7 6 TUNE SEEK UP Button Under Radio mode press this button momentarily to manual...

Страница 5: ...l Microphone for Hands Free Bluetooth calling 13 Reset Switch In the unlikely event that the radio is not operating correctly press the RESET button to restart the operating system of the radio 14 Fro...

Страница 6: ...hoose the option then press to make a selection SCROLL ON OFF Choose how iPod and ID3 tag information is displayed on the LCD With the scroll set to ON information is repeated continuously on the fron...

Страница 7: ...s when the FM frequency is tuned in Stereo WEATHER BAND ALERT 1 Weather Band ALERT Status Indication When Weather Band alert is set to ON ALERT is displayed in the LCD window The National Weather Serv...

Страница 8: ...searching the Radio should appear in the list of devices as ECD 5500 Press to accept 4 A prompt to bond should appear on your Mobile device Press to accept and continue the process The device will the...

Страница 9: ...from the currently connect phone RECEIVED Displays all answered incoming calls from the currently connect phone MISSED Displays all missed calls from the currently connect phone PHONEBOOK Displays the...

Страница 10: ...oth Phone ID Displays the ID of the paired Bluetooth Phone you are trying to stream audio from 2 Connection Status Displays the Bluetooth icon connection status of the radio Press the PLAY PAUSE butto...

Страница 11: ...ders First press the SEARCH button The user can then rotate the VOL SEL knob to select one of the following search options Playlists Podcasts Audiobooks Songs Albums Artists Press the VOL SEL knob to...

Страница 12: ...SE PLAY the media 1 Operational Mode 2 Compressed media file format Displays either WMA or MP3 Compressed media file format file formats 3 Playback Mode of Operation Displays either RDM INT RPT or not...

Страница 13: ...tons N A 7 Setup Button N A 8 Mode Button 9 Control Buttons for changing stations and tracks on digital media iPod and iPhone are trademarks of Apple Inc registered in the U S and other countries Func...

Страница 14: ...O INSTALLATION 1 For installations that do NOT require the use of the DIN collar The radio has threaded holes in the chassis side panels for ISO mount applications If necessary four M5x10mm screws are...

Страница 15: ...ify clearance then gently insert the radio into the DIN Collar until both spring clips are locked into place 3 If additional support is needed bend the included support bracket and secure it to the ve...

Страница 16: ...radio Slide the keys foreword until you hear a click Then pull the radio out releasing it from the DIN collar ELECTRICAL CONNECTIONS Follow this easy wiring diagram when installing Radio and Speakers...

Страница 17: ...udio level is too weak or overdriven Bitrate of audio file is too large Adjust the volume level of the auxiliary source Change the sample frequency or Bitrate of the file iPod screen displays loading...

Страница 18: ...EL60dbuV 60 dB WEATHER BAND TUNER Range 162 400 162 550MHz Usable Sensitivity S N 20dB 0 7uV 9dBuV Signal to noise ratio LEVEL40dbuV 42dB CD PLAYER Signal Noise Ratio 1kHz 120dB Frequency Response 1dB...

Страница 19: ...ltage 1 0V Input impedance 10K DIMENSIONS Chassis W x H x D 178mm 7 x 50mm 2 x 154mm 6 Nosepiece W x H x D 188mm 7 3 8 x 58mm 2 1 4 x 17mm 5 8 Weight 3 5Ibs Due to continuous product improvement speci...

Страница 20: ...20 Radio Engineering Industries Inc www radioeng com Rev 0 1 Date 05 15 14...

Отзывы: