8
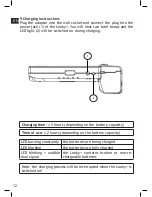
5 Installation – batteries
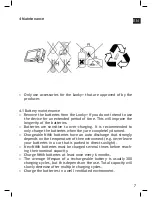
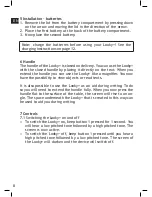
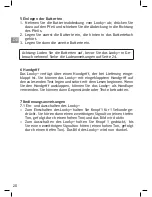
1. Remove the lid from the battery compartment by pressing down
on the arrow and moving the lid in the direction of the arrow.
2. Place the first battery at the back of the battery compartment.
3. Now place the second battery.
Note: charge the batteries before using your Looky+! See the
charging instructions on page 12.
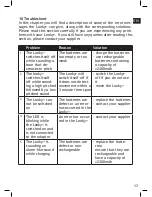
6 Handle
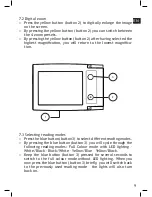
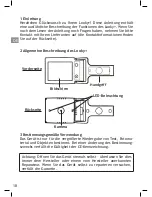
The handle of the Looky+ is closed on delivery. You can use the Looky+
with the closed handle by placing it directly on the text. When you
extend the handle you can use the Looky+ like a magnifier. You now
have the possibility to view objects or read texts.
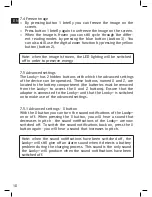
It is also possible to use the Looky+ as an aid during writing. To do
so you will need to extend the handle fully. When you now press the
handle flat to the surface of the table, the screen will rise to an an-
gle. The space underneath the Looky+ that is created in this way can
be used to aid you during writing.
7 Controls
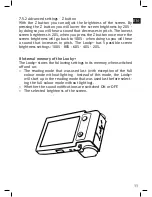
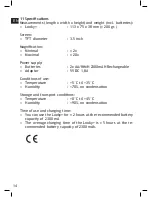
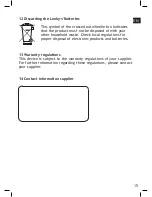
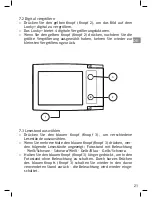
7.1 Switching the Looky+ on and off
• To switch the Looky+ on, keep button 1 pressed for 1 second. You
will hear a low pitched tone followed by a high pitched tone. The
screen is now active.
• To switch the Looky+ off, keep button 1 pressed until you hear a
high pitched tone followed by a low pitched tone. The screen of
the Looky+ will darken and the device will switch off.
EN
Содержание Looky +
Страница 2: ...2 Looky logo is a trademark of Rehan Electronics First Edition January 2010 V1 1...
Страница 3: ...3 EN DE NL FR ES IT English 5 Deutsch 17 Nederlands 29 Fran ais 41 Espa ol 53 Italiano 65...
Страница 4: ...4...
Страница 16: ...16...
Страница 28: ...28...
Страница 40: ...40...
Страница 52: ...52...
Страница 64: ...64...
Страница 76: ...Manufactured by Rehan Electronics Ltd Aughrim Road Carnew Co Wicklow Ireland www lookyplus com...


