


Redpine Signals, Inc. Proprietary and Confidential
Page 39
R
R
S
S
9
9
1
1
1
1
3
3
M
M
o
o
d
d
u
u
l
l
e
e
E
E
v
v
a
a
l
l
u
u
a
a
t
t
i
i
o
o
n
n
K
K
i
i
t
t
U
U
s
s
e
e
r
r
G
G
u
u
i
i
d
d
e
e
V
V
e
e
r
r
s
s
i
i
o
o
n
n
2
2
.
.
0
0
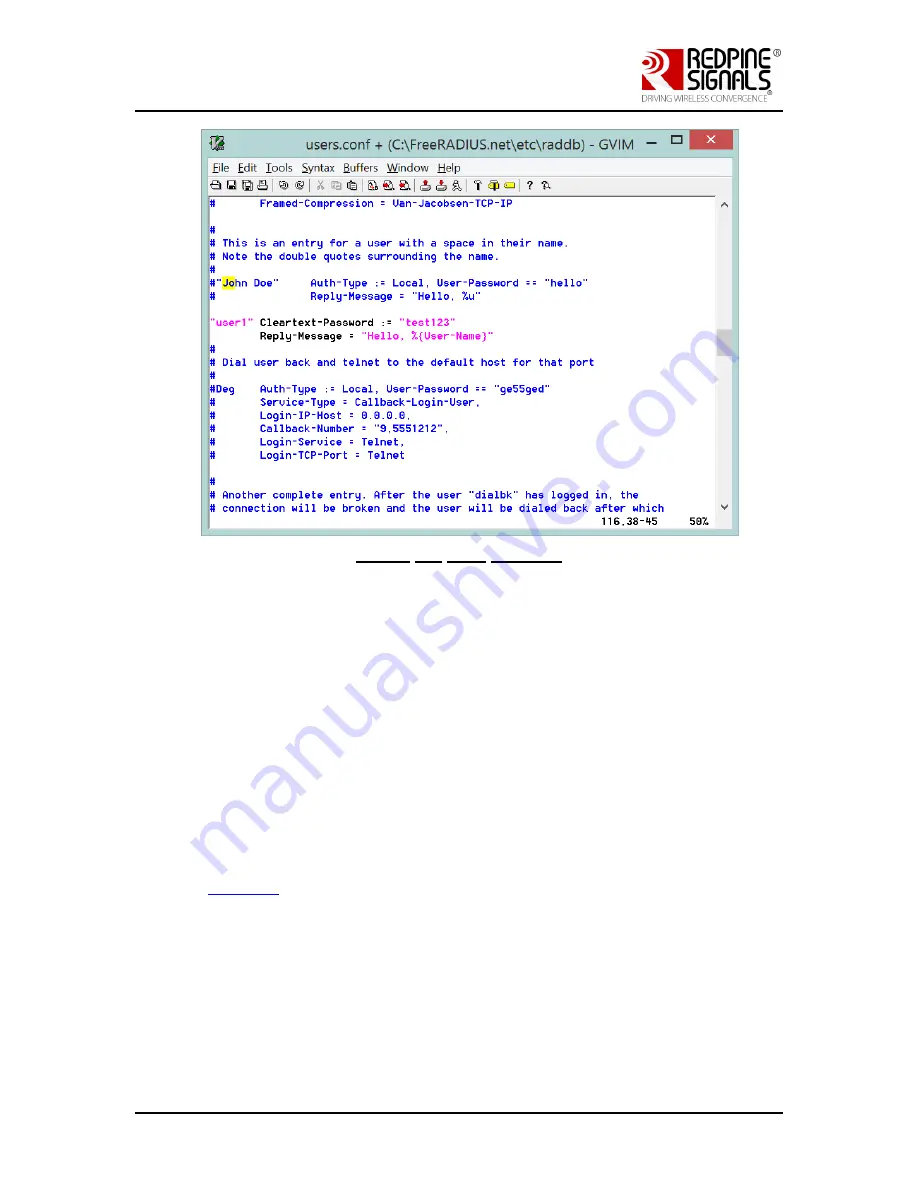
Figure 15: User Addition
6)
Copy the wifiuser.pem file from
RS9113.NBZ.WC.GEN.OSI.x.x.x\utils\Radius_Server\raddb\certs
folder to
C:\FreeRADIUS.net\etc\raddb\certs\FreeRADIUS.net\DemoCerts
folder.
7)
Ensure that the FreeRADIUS server is not running. Open the Windows
Command Prompt with Administrator privileges and navigate to the
C:\FreeRADIUS.net folder.
8)
Run the “start_radiusd_debug.bat” batch file. You will see a series of
prints on the screen. Monitor the prints to ensure that all changes are
done correctly. The Radius server has started successfully if you see a
print at the end which says, “Ready to process requests.”
5.3.2.2
Access Point Configuration
Follow the steps below to configure the Access Point in the setup shown
in
to work with the Radius server started on Laptop D.
1)
Connect the Access Point to Laptop D over Ethernet and open the
Access Point pages in a browser by typing the IP address of the
Access Point.
2)
Navigate to the Wireless Security section and enable the “WPA/WPA2
– Enterprise” option, as shown in the figure below. The page below is
for a TP-Link Access Point.


