Effective from 29-Jul-21
Page | 13
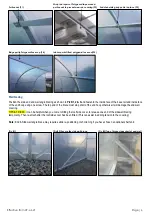
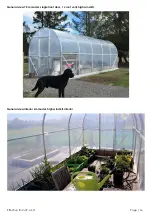
Sidewall louvre system fitted
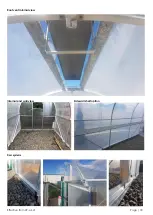
You can assemble and fit the sidewall louvre option (if included) after the main roof cover has been installed. Fit the 4 x aluminium
parts and 8 x triangle brackets as shown below. Cut an “X” in the opening where the blade mechanism is to be fitted, and use the
Duralock clip system around the perimeter of the blade area only.
Optional Aluminium shelf units (if selected)
The shelf bracket is fitted to the vertical section and side face of the arch hoops.
Ensure that the buildings purlins are above the position of the shelf. This is so that you have space on
the arch hoops to locate the shelf brackets.
The end wall angle brace may require shortening and repositioning so that it clears the end shelf
bracket (depends on your choice of shelf height)
If your shelf is longer than 3 metres, the aluminium shelf slats may have joins and sleeves. You will
need to join the parts with the sleeves and screws supplied to make the correct length shelf slats.
INSTALLATION:
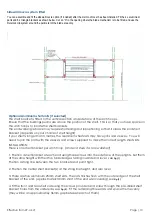
There is one shelf bracket per arch hoop, (and end studs if a rear wall shelf)
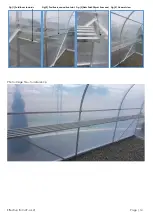
1. Position a shelf bracket at each end using three screws into the side face of the uprights. Set them
at the same height with their top folded edges facing inwards and level. see
Fig (1)
Position a string line between the two brackets and pull it tight.
2. Position the center shelf bracket(s) at the string line height, and also level.
3. There are five aluminium 25mm shelf slats. The slats finishes flush with the outer edge of the shelf
bracket of the end. (approximately 30mm short of the end wall covering) see
Fig (3)
4. Fit the front and rear shelf slats using the screws provided and screw through the pre-drilled shelf
bracket holes from the underside, see
Fig (2)
. Fit the remaining three slats and space them evenly
(they will be an approximatley 36mm gap between each of them)


