


35
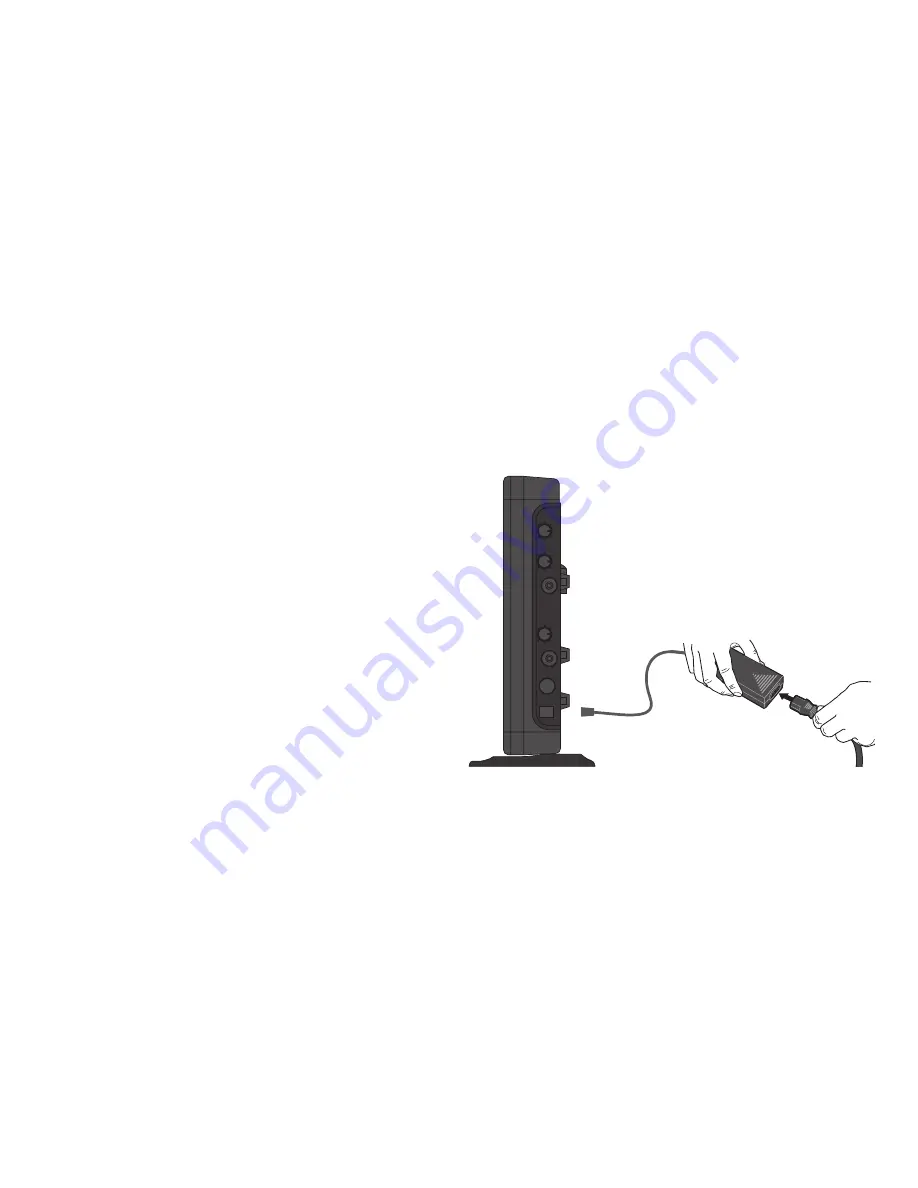
3. CONNECTING THE POWER SUPPLY
1. Locate the power supply and AC power cord.
Connect the AC power cord into the DC
power supply. Make sure the AC Power cord is
inserted all the way into the power supply.
2. Insert the DC connector into the “DC POWER
INPUT” jack on the side of the REDCAT and
plug the other end into an electrical outlet.
Содержание Lightspeed
Страница 1: ...U s e r M a n u a l Classroom Audio System CH A PWR CH B ...
Страница 15: ...15 SIDE PANEL CONTROLS CONT D 2 1 4 5 3 ...
Страница 17: ...17 REAR PANEL CONTROLS AND CONNECTIONS CONT D Testing Purposes Only 1 ...
Страница 19: ...19 REDMIKE CONTROLS CONT D 1 2 3 S li d e b at t e ry d o o r o p e n R e m o v e t a b b e fo r e u s e 4 ...
Страница 21: ...21 5 6 8 7 REDMIKE CONTROLS CONT D ...
Страница 23: ...23 1 3 2 CRADLE CHARGER CONTROLS AND CONNECTIONS CONT D ...
Страница 26: ...26 Avoid Good placement Best placement 1A TO SET UP ON TABLE TOP CONT D ...
Страница 29: ...29 1B WALL MOUNTING PROCEDURE CONT D ...
Страница 30: ...30 Avoid Good placement Best placement 1C WALL MOUNTING LOCATIONS ...
Страница 34: ...34 2 AUDIO INTEGRATION CONT D ...
Страница 40: ...40 5 OPERATING THE REDMIKE CONT D ...
Страница 42: ...42 OUTPUT TO ALD CONT D ...
Страница 46: ...46 SECTION 3 OPTIONAL ACCESSORIES OPTIONAL REDMIKE VC VOLUME CONTROL CONTROLS AND CONNECTIONS ...
Страница 51: ...51 1 5 2 3 4 REDMIKE SHARE CONTROLS AND CONNECTIONS CONT D ...
Страница 73: ......
Страница 74: ......
Страница 75: ......


