Redback® Proudly Made In Australia
10
Press the UP and DOWN
buttons to change the
zone output.
Enter
Press the ENTER
button to make your
selection
Menu
Press the MENU
button to exit at any
time.
Zone Output
1) ZONE DURATION
1 00:00:00
1) ZONE DURATION
2 00:00:00
1) ZONE DURATION
3 00:00:00
1) ZONE DURATION
OFF 00:00:00
1) ZONE DURATION
4 00:00:00
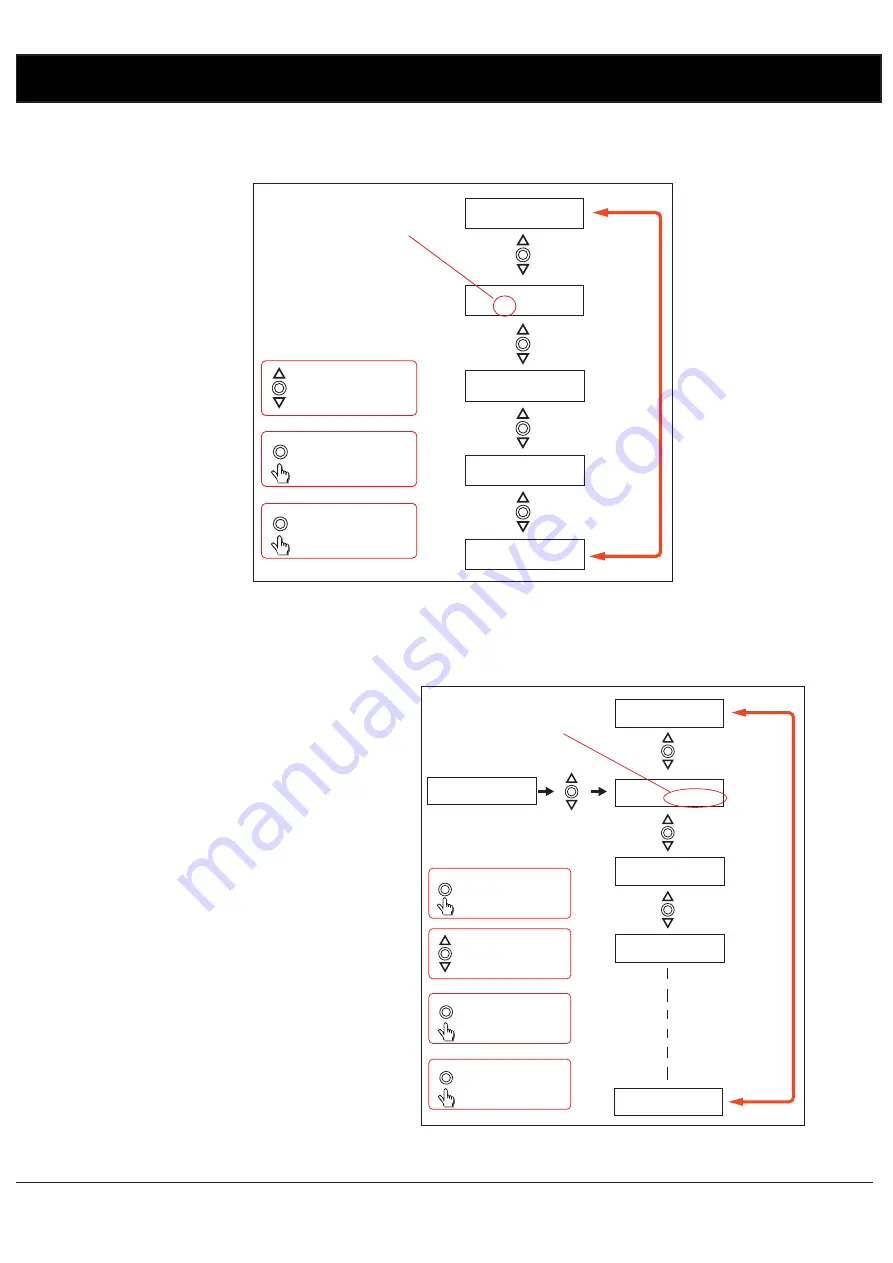
Fig 3.12 illustrates the Zone Output setup procedure. There are 4 output zones to choose from. Use the up and down
buttons to change the zone output and press “Enter” when finished. The zone can also be set to “OFF” which will turn
this output off, but not affect the time settings so that it can easily be re-initiated by setting the zone output later.
Fig 3.12
The cursor is now positioned over the hour section of the Zone Duration as shown in Fig 3.13. The duration is the amount
of time the event will occur for, after the start time.
Fig 3.13
Change the hour by pressing the +10, up and down
buttons and press “Enter” when finished. The cursor
will now move to the minute section of the duration.
Repeat the above procedure to change the minutes
and press “Enter” when finished. The cursor will now
move to the seconds section of the duration. Repeat
the above procedure again to change the seconds and
press “Enter” when finished. The menu button can be
pressed at any time to exit the setup. The duration is
now set for this Station (or Event).
After completing the duration, the screen will change to
the next station ready to enter the next events details.
NOTE: IF the duration is set to 00:00:00 the zone
output will be set back to “OFF” on exiting the “Set
Duration” screen.
Press the UP and DOWN
buttons to change the
hour/min/secs.
Enter
Press the ENTER
button to make your
selection
Menu
Press the MENU
button to exit at any
time.
Zone Duration
Press the +10 button to
scroll up 10
hours/min/secs
+10
1) ZONE DURATION
1 00:00:00
1) ZONE DURATION
1 00:00:00
1) ZONE DURATION
1 01:00:00
1) ZONE DURATION
1 02:00:00
1) ZONE DURATION
1 22:00:00
1) ZONE DURATION
1 23:00:00


