[NOTE]
To watch recorded videos, please transfer videos from the SD card to the computer. This DVR is compatible with
Windows XP, Windows 7 and Windows 8 Operating system as well as Apple OSX operating systems.
PC-CAM
Connect the DVR to your computer while the DVR system is powered off and the display will show 2 options: MSDC /
PC-CAM. PC-CAM allows you to use the DVR as a web cam. Select the “PC-CAM” option and you will now be able to video
chat with friends on Skype or Messenger.
Connection to TV via HDMI Cable
Connect the DVR system to your home TV via HDMI cable (if available). When connected, the DVR screen will turn black
and the TV screen will show the playback menu files (Video or Photo). Press the “SOS” button to select the desired file and
press the “REC/OK” button to select your choice.
App and WiFi connection to Smart Phone
By using the downloadable App and WiFi function, you are able to monitor the DVR, record videos and take photos
directly from your iOS or Android smart phone. Most importantly, through WiFi connection, you can download and store
the video files into smart phone directly from the SD card in the DVR system. To use the WiFi function, please follow the
steps below.
1.
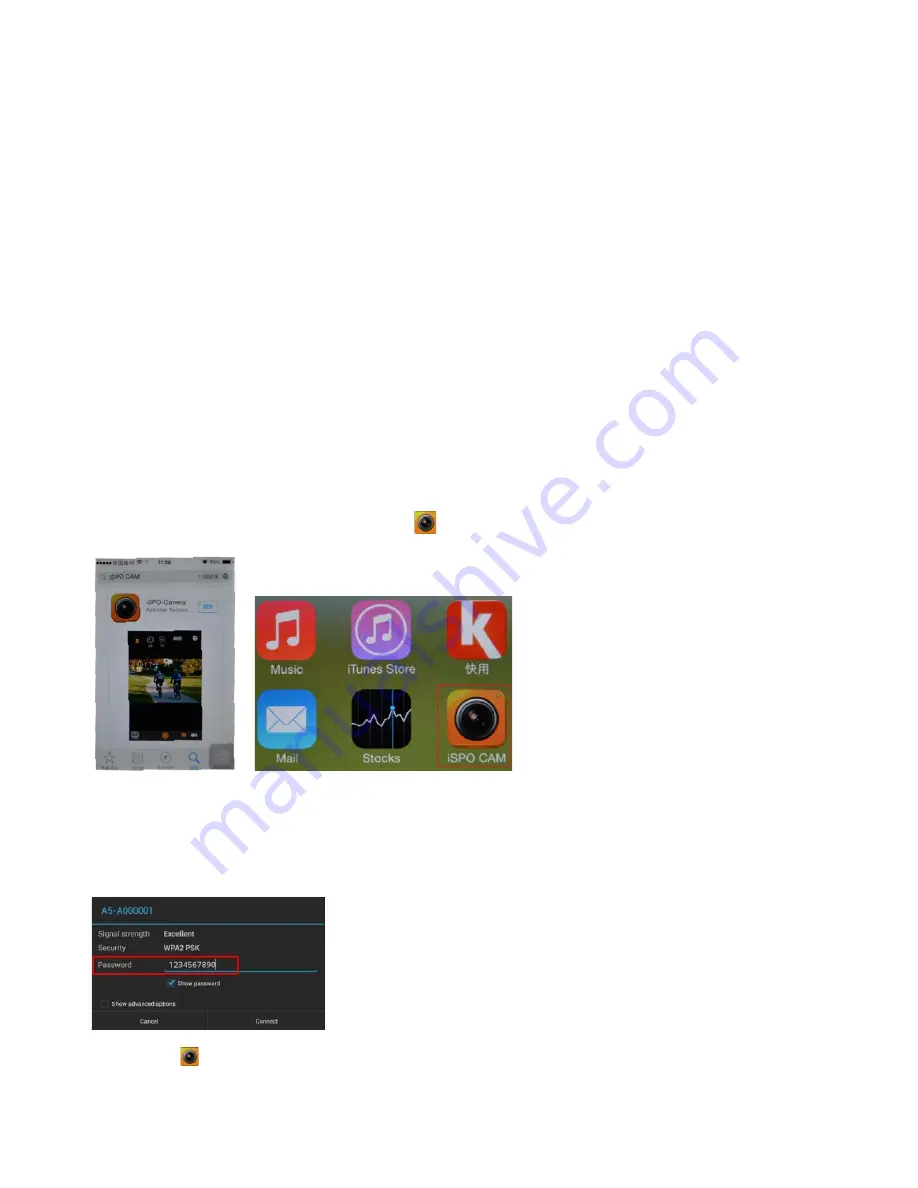
Open the App Store on your smart phone and search for “iSPO CAM”. Once you find it, download and install the app
to your phone. After installation, the iSPO CAM
app icon will appear on the main desktop of your smart phone.
2.
To activate the WiFi function, stop video recording manually, then press the “SOS” button. A “WiFi connecting”
message will appear on the DVR screen.
3.
Enter the SETTINGS menu on your smart phone, Turn on the WiFi wireless network and connect to “A5-A000001”.
Enter the defaulted password “1234567890”.
4. Press the
app icon on your smart phone to open iSPO CAM App. You can now monitor the DVR system from your


