


2
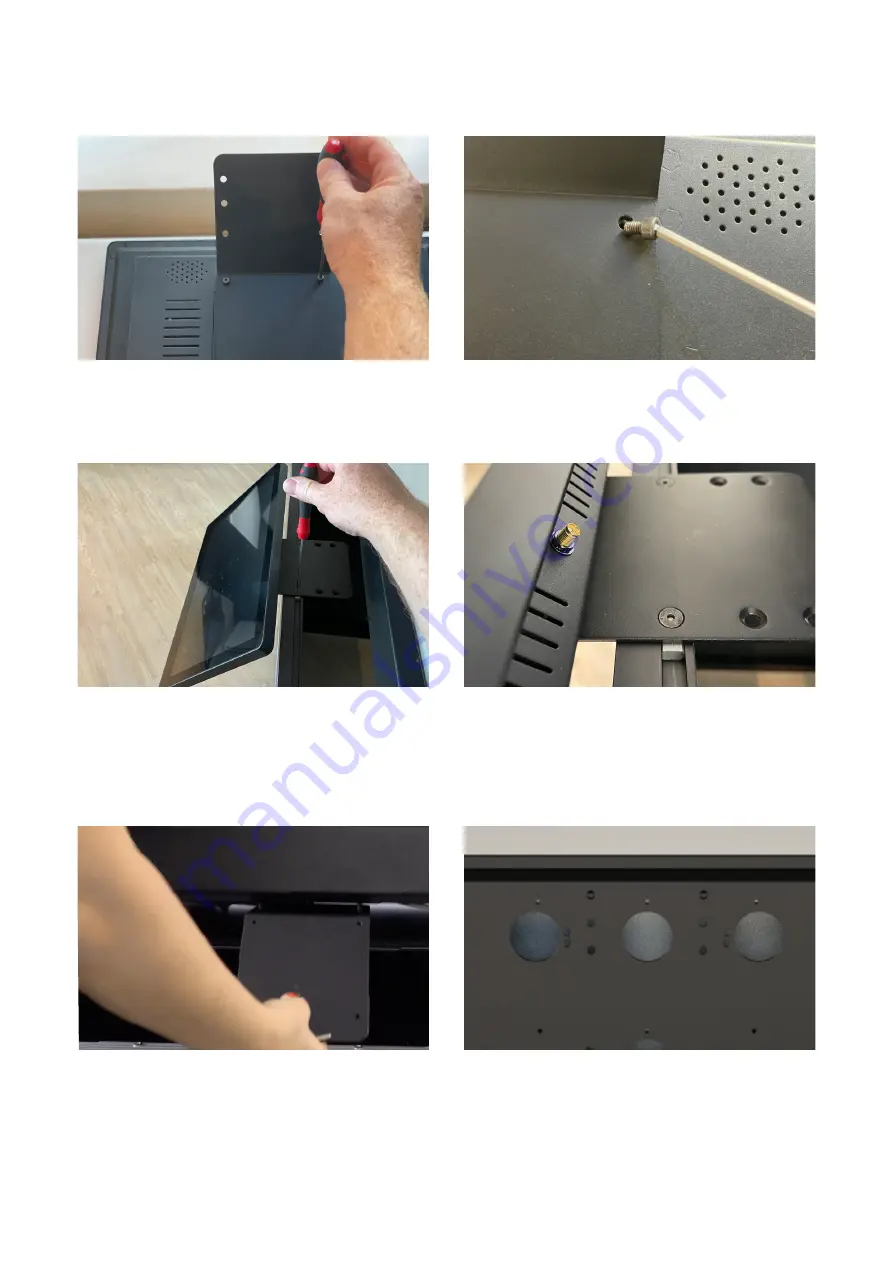
Now attach the vesa mount to the backside of
the touchscreen.
This is done with 4 cap hexagon socket screws
that come with the vesa mount and a 2 mm
unbraco key. Do not overtighten the screws!
Attach the vesa mount to the silver brackets,
using two countersunk hexagon socket screws
and a 2 mm unbraco key.
Before firmly tightening the two screws, you can
adjust the exact position of the touchscreen.
In case you are not using the smartframe stand,
the vesa mount can also be attached to the
bottom side of the XL5 display.
Start by placing the XL5 on a flat surface, but
with the front of the display accesible from
underneath. The vesa mount is attached with
4 screws to these holes on the bottom side
of the actual XL5 display.
1.b - (alternative) Attaching the touchscreen to the XL5 display


