background image

EC9000i Series Scanner User Guide 


Setting up your scanner


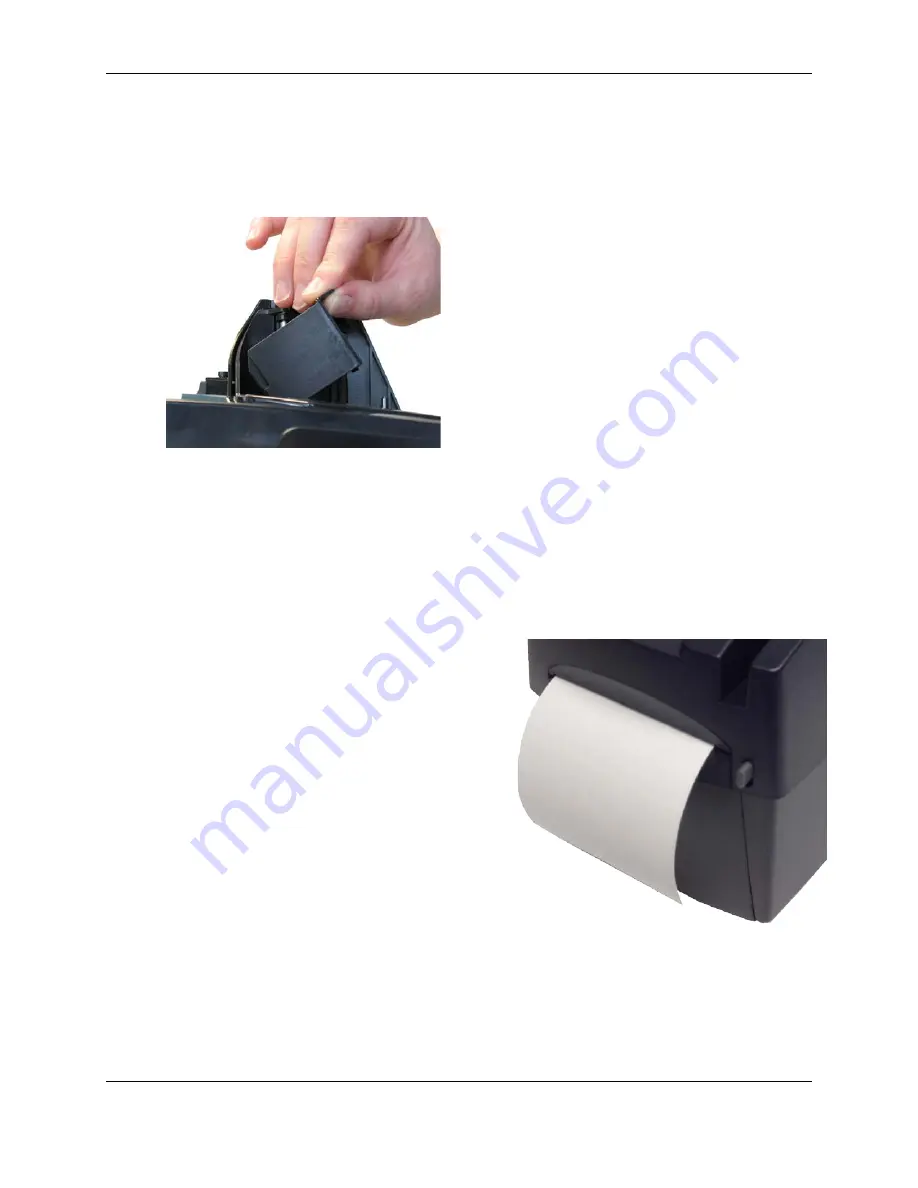
5.  To insert the new inkjet cartridge, pull the inkjet latch back and place the inkjet cartridge into the 

holder. The cartridge needs to be at an angle so that the back of the cartridge is lower than the 
front of the cartridge. 


6.  Push the cartridge down into the holder until the cartridge snaps into place.  

Once installed, the inkjet cartridge sits on a slight angle with the back of the cartridge lower than 
the front. 

7.  Make sure there is no gap between the inkjet cartridge and the endorsement channel. 
8.  Replace the endorsement printer cover. 

Replacing the paper roll for the printer 

If your scanner has a printer, the following steps 
describe how to replace the paper roll. 

1.  Press the printer cover release button and 

completely open the printer cover. 

2.  Remove the empty paper roll from the paper 

compartment. 

3.  Insert the new paper roll into the compartment, 

with the end of the paper roll rolling from the top. 

4.  Pull the paper out of the compartment and close 

the printer cover with the paper sticking out. 
Push the cover closed in the center of the printer 
cover. 
Make sure the cover is completely closed. If you 
push the cover from the sides, the cover might 
not close completely. When closed correctly, 
both sides of the printer cover are flush with the scanner.  

5.  Rip off any access paper sticking out of the printer cover. 


©2014 RDM Corporation 


Page 18 


Содержание EC9001f

Страница 1: ...EC9000i Series Scanner User Guide July 2014...

Страница 2: ...oducts are trademarks or registered trademarks of their respective holders and should be noted as such Disclaimer RDM Corporation makes no warranty with respect to the adequacy of this documentation p...

Страница 3: ...munications Operation of this equipment in a residential area is likely to cause harmful interference in which case the user will be required to correct the interference at his own expense Warning Cha...

Страница 4: ...0 EC9000i Series scanner most models 10 EC9000i Series scanner with printer 11 Internal components 12 Inside the front cover side view 12 Inside the front cover back view 13 Inside the front cover and...

Страница 5: ...ent scanning and processing 22 A typical document processing LED cycle 22 Maintaining your scanner 23 Cleaning the scanner 23 Cleaning the outside cabinetry 23 Cleaning the inside of the scanner unit...

Страница 6: ...ctions on how to use your scanner to scan documents with your computer contact your solution provider Requirements The RDM EC9000i unit is for indoor use only Keep the RDM EC9000i dry avoid areas of h...

Страница 7: ...the bottom of the scanner The following table lists the available EC9000i models A complete list of models options and part numbers can be found in the Part Numbers section at the back of this guide M...

Страница 8: ...plications can configure the application button to perform a variety of functions These functions might include opening a document launching a website or starting an application Not all applications u...

Страница 9: ...enient for the scanner operator Offers adequate ventilation and protection from elements such as heat dust oil or moisture Is close to the application PC USB 2 0 high speed connection required Is clos...

Страница 10: ...atures EC9000i Series scanner most models Programmable application button and scanner status LED Exit pocket Exit extension Insertion extension Endorsement printer cover Front cover Programmable appli...

Страница 11: ...00i Series scanner with printer Programmable application button and scanner status LED Front cover Endorsement printer cover Exit pocket Insertion hopper Printer cover release button Printer cover Pri...

Страница 12: ...i Series Scanner User Guide Setting up your scanner Internal components Inside the front cover side view Document feeder Insertion hopper Image sensor closed ID card entry slot 2014 RDM Corporation Pa...

Страница 13: ...nner Inside the front cover back view Some scanners do not include all of the pictured connection ports or buttons Franker cartridge latch Franker Metal Plate aligns with slot in franker cartridge ID...

Страница 14: ...ver top view Exit pocket Magnetic stripe reader MSR Document track Franker Back Front extensions retracted Insertion hopper Image sensor and panels closed ID card entry imaging slot Scanner LED Metal...

Страница 15: ...The K Slot or Kensington Security Lock lets you secure the unit with a cable not provided that locks into the slot Cables can be purchased from your local computer supply store Removing the covers RDM...

Страница 16: ...overlaps the assembly correctly 2 Gently push the cover down until it snaps into place Franker and endorser inkjet cartridges The franker cartridge creates a red ink stamp that defaces the front of e...

Страница 17: ...ranker cartridge into the scanner by pushing in the metal plate and then lowering the blue latch over the franker cartridge until it snaps closed 7 Replace the scanner cover Replacing the endorser ink...

Страница 18: ...acing the paper roll for the printer If your scanner has a printer the following steps describe how to replace the paper roll 1 Press the printer cover release button and completely open the printer c...

Страница 19: ...ht cause data loss The power cord has a sleeve on it that secures it to the unit The security sleeve prevents the power cord from being pulled out of the unit accidently 1 Hold the unit in place with...

Страница 20: ...Caution If you are scanning documents that are larger than a personal check make sure that the extensions are pulled out Documents can be damaged if the extensions are not pulled out If your scanner...

Страница 21: ...rds The ID imager uses the same track as the document scanner but you insert cards at the back of the scanner Insert the card into the scanner so that the front of the ID card faces away from the scan...

Страница 22: ...ead the document successfully Green red flashing cycle The scanner is processing the document Wait for the scanner to finish Red flashing and one short beep An error occurred while the scanner was pro...

Страница 23: ...a dusting brush designed for use with electronic equipment or a compressed air duster to clean inside the scanner 3 Replace the covers Cleaning the image sensor Caution Always disconnect the unit from...

Страница 24: ...s connected to the unit Change or replace the cord if necessary 3 If the problem persists contact your solution provider or help desk Card transactions do not function properly 1 Ensure that you are s...

Страница 25: ...228 60mm 9 Preferred Paper Weight 20 to 32 lb Single feeder capacity EC9111f 9112f only Single document Auto feeder capacity most models Auto feeder with double feed detect Supports single feed or ba...

Страница 26: ...nse Under application control Alphanumeric OCR A and B font recognition of OCR code lines for applications such as bill payment Franker Under application control a fixed text message Electronically Pr...

Страница 27: ...Hz Certifications Industry certifications including WHQL driver certification USB Drivers CSA Safety For use with model no GFP241DA 2410M 2 or 3A 242DA24 Pour utiliser avec mod le GFP241DA 2410M 2 or...

Страница 28: ...M endorser receipt printer 6000 9107 9000 EC9107f auto feed 90 DPM endorser receipt printer OCR licensed 6000 9107 900R EC9108f auto feed 90 DPM MSR endorser receipt printer 6000 9108 9000 EC9108f aut...

Страница 29: ...ibutors nor such manufacturers will be liable for any damages whatsoever include without limitation direct or indirect damages for personal injury loss of business profits business interruption loss o...

Страница 30: ...s Franker Roller or Franker Assembly or other RDM EC9000i consumables or accessories such as cables RDM scanner units with problems found to be caused by incorrectly set configuration parameters IRN O...

Отзывы: