19
Recording a Program
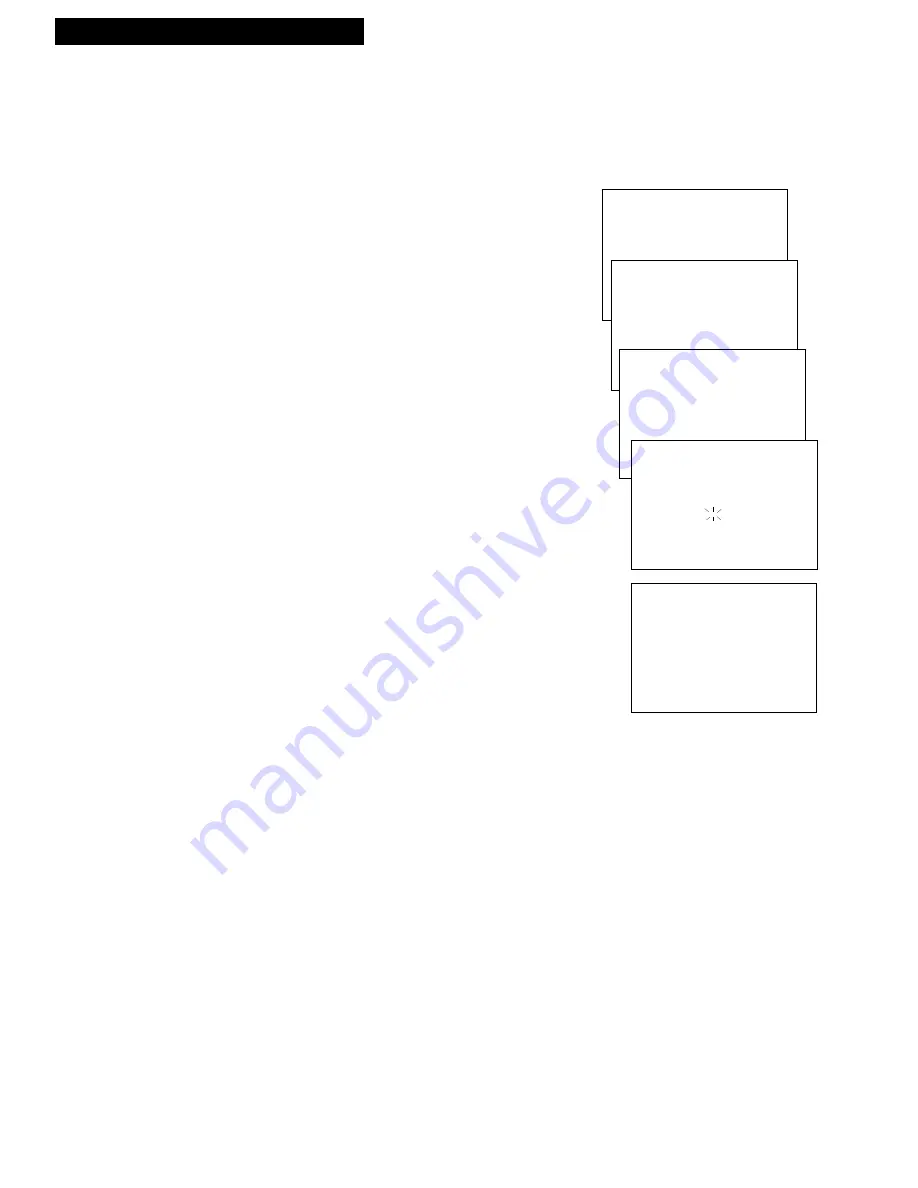
VCR MAIN MENU
1 TIMER PROGRAMMING
2 REVIEW PROGRAMS
3 CHANNEL SETUP
CHANNEL SETUP
1 AUTO-SEARCH CHANNELS
2 ADD/REMOVE CHANNELS
3 TUNING MODE: CABLE
4 CABLE BOX SETUP
IS A CABLE BOX BEING
USED WITH THE VCR FOR
ALL CHANNELS?
1 YES, CONTINUE
2 NO, EXIT
YOUR VCR WILL NOW
RECEIVE ALL CHANNELS
FROM THE CABLE BOX
ON VCR CH 11
PRESS MENU TO EXIT
ENTER THE CHANNEL
NUMBER FOR VIEWING
THE CABLE BOX SIGNAL
--
PRESS 01-13 OR INPUT
PRESS MENU TO EXIT
1.
Press
MENU
on the remote to display the
VCR
MAIN MENU
.
2.
Press
3
to display
the CHANNEL SETUP
menu.
3.
Press
4
to display
the CABLE BOX SETUP
menu.
4.
Press
1
when the
CABLE BOX SETUP
menu
appears on the screen.
5.
Press two numbers on the remote to enter the
output channel of your cable box. Press
0
before a
single-digit number. (Valid numbers are
01 – 13
.)
Press
CLEAR
on the remote to correct an entry.
If you connected your cable box to the VCR using
the cable box’s audio/video out jacks, press
INPUT
on the remote to select the
VIDEO IN
option.
6.
Press
MENU.
A message appears. You can wait for
the message to time out, or you can press
MENU
to
return to
CHANNEL SETUP.
The VCR automatically enters the output channel
of your cable box and
CABLE
in the
TIMER
PROGRAMMING
menu.
Recording While You’re Away (Timer Recording)
Select Cable Box Viewing Channel (Required only if all
channels are received from a cable box.)


