


9
Before you begin
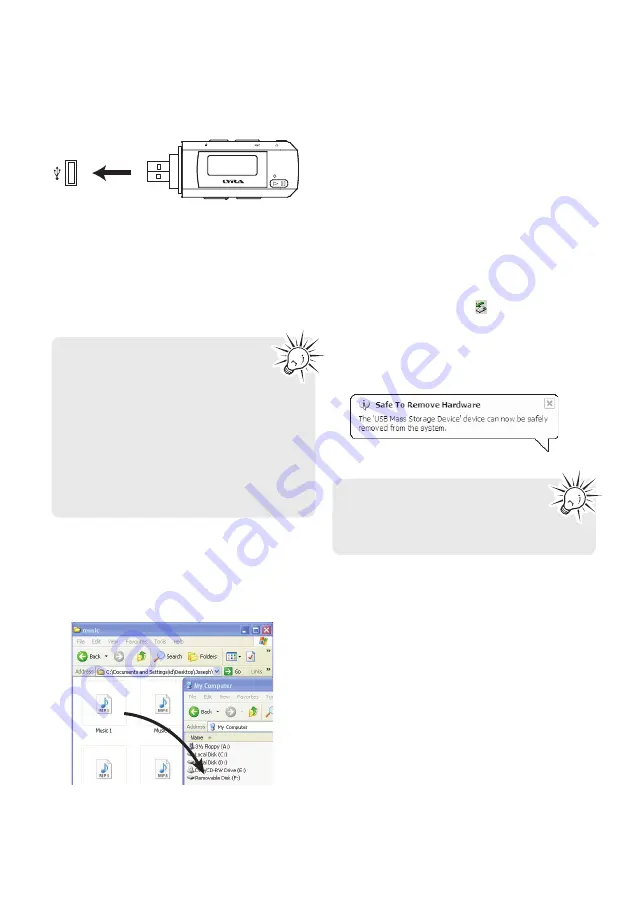
Connecting to the computer
• With the USB plug cover removed, connect the
player to your PC as shown.
• Use the USB extension cable (included) if space
does not permit direct connection to PC.
• The player will appear as a drive letter on your
computer, a Mass Storage Class (MSC) device,
and behave as a detachable drive for file transfer
in one or both directions.
• It might take several seconds for the
player to be detected. Click
Refresh
in My Computer or Windows Explorer
to make sure the player has been detected.
• The player is capable of transferring files at
USB 2.0. If USB 2.0 port is available on your
computer, use it to connect to your player.
The player is still backward compatible with
the older USB 1.1 ports. However, you will
not be able to take full advantage of the
potential speed increase.
Player
USB port of your
computer
Transferring files to the player
1. Open the player in Windows Explorer.
2. Drag and drop music files onto the drive letter
associated with the player.
Deleting files from the player
For any files you have transferred to the player, you
may delete them while you have connected the
player with your computer.
1. Open the player in Windows Explorer and then
navigate to the folder containing the files.
2. Select the files you want to remove and then
press the Delete key on the keyboard of your PC.
Disconnecting the player from the PC
Windows will show the player as a removable
disk:
1. In the Windows system tray, click the
Safely
Remove Hardware
icon
and then select the
device with the appropriate drive letters from
the list of devices.
2. When
the
Safe to remove hardware
message
appears, unplug the player from the PC.
Do not disconnect the USB
connection during file download.
Doing so may corrupt system files or
the files being downloaded.


