


Radio
38
Radio
EN
39
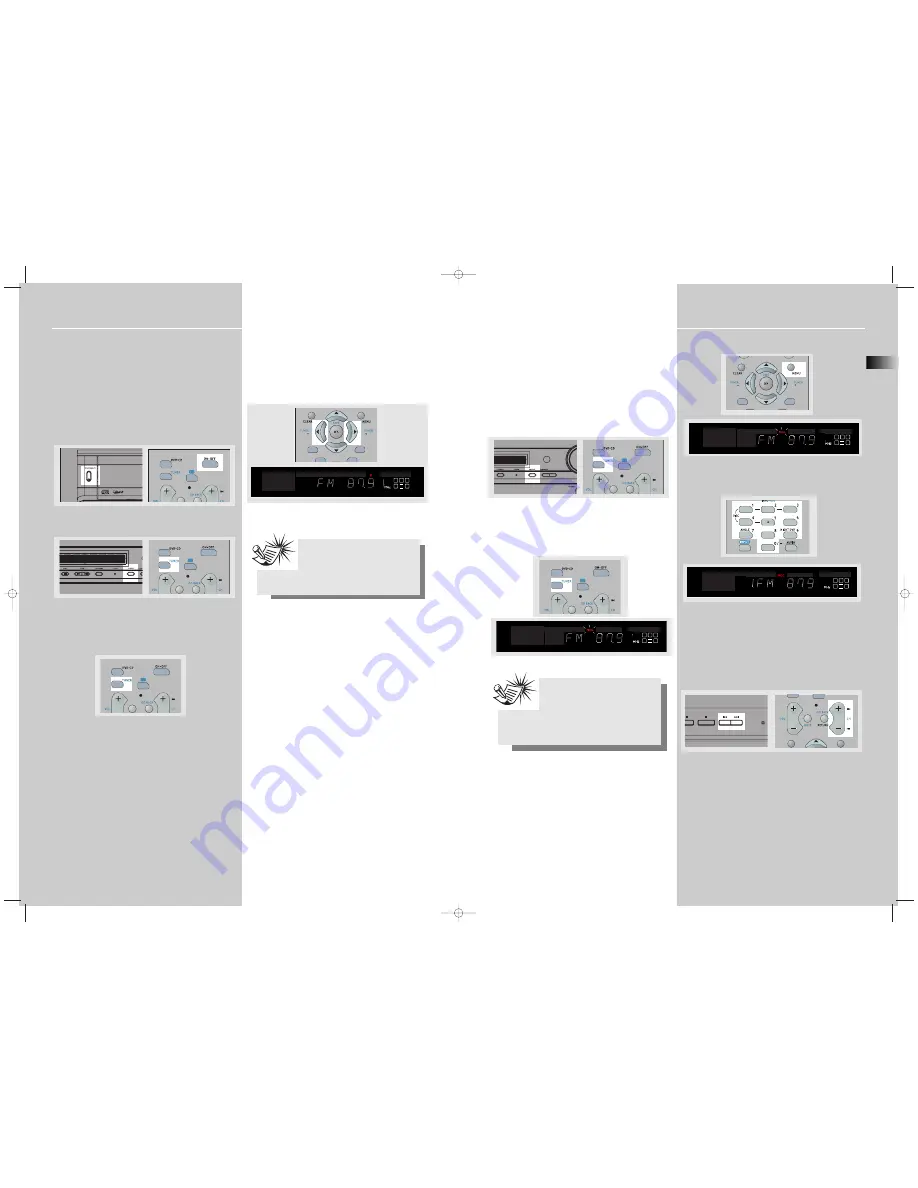
Operating the Radio
The receiver has a built-in tuner that allows for AM/FM
radio function.
Manual tuning
1. Connect the FM and AM antenna accordingly.
2. Press
ON/STANDBY
on the main unit or
ON/OFF
on the
remote.
3. Press
SOURCE
on the front of the unit until the tuner
mode is selected. You may also directly press
TUNER
on the
remote control.
4. To select a band, you may press
TUNER
again on the
remote control.
When an FM station broadcasts Stereo sound, ST is dis-
played.
5. Tune the a station by pressing
TUNER +
or
TUNER -
on
the remote control repeatedly until the desired station is
found.
Alternatively, you can press and hold the same button for
about one second to activate the automatic search func-
tion. In this mode the receiver will automatically tune fre-
quencies until it finds a station.
6. Repeat steps 5 to tune to another radio station.
SUBWOOFER
SURROUND
D I G I T A L
PRO.LOGIC
INTRORANDOM
L
C
R
LS LFE RS
DVD
VCD
CD
MP3
Storing radio stations:
The receiver can store up to 40 radio stations in memory.
You can enter every single radio station yourself or the
receiver can store all available radio stations automatically
in an ascending order.
Automatic preset programming :
1. Press
SOURCE
on the main unit or
TUNER
on the
remote repeatedly to select TUNER mode.
2. Press
TUNER
repeatedly on the remote control to select
the FM band.
3. Press and hold
TUNER
for 3 seconds to start the auto-
matic preset programming.
Radio frequencies will be browsed and radio stations
stored automatically. When all the available radio stations
are stored or if all 40 memory locations are full, the auto
preset programming will stop.
Manual preset
1. Select the band by pressing
TUNER
repeatedly
2. Tune to a radio station (see "Manual tuning" on page 38
above for details)
3. Press
MENU
on the remote control. "PROG" will appear
on the display.
4. While the word "PROG" is still flashing, input your
desired preset number (1-40) using the
CH+ or CH-
on the
remote control, then press
MENU
again to store it.
Retrieving preset stations
1. Press
SOURCE
on the unit or
TUNER
on the remote
control to enter the tuner mode.
2. Press
or
PRESET -
on the unit or
CH+
or
CH -
on the remote control to search up or down the preset sta-
tions.
SUBWOOFER
SURROUND
D I G I T A L
PRO.LOGIC
INTRORANDOM
L
C
R
LS LFE RS
DVD
VCD
CD
MP3
D I G I T A L
PRO.LOGIC
INTRORANDOM
L
C
R
LS LFE RS
DVD
VCD
CD
MP3
PROGRESSIV
SCAN
SUBWOOFER
D I G I T A L
PRO.LOGIC
INTRORANDOM
L
C
R
LS LFE RS
DVD
VCD
CD
MP3
Note
:
A weak signal can affect the
"Automatic preset programming func-
tion" efficiency. Adjust the antenna
for a better reception and for a more efficient
search. No Automatic preset programming function
for AM mode.
Note
:
If there is interference, modify the loca-
tion of the antenna until the optimal sound
is heard. TV and other electronic devices
could be the cause of interferences so try to position the
antenna away from them.
RTD255-EN Radio 3/12/04 10:57 AM Page 2


