Player Menus
20
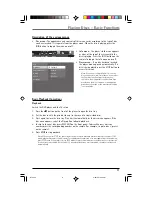
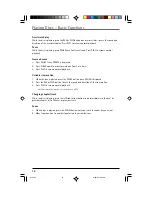
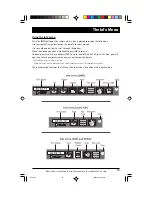
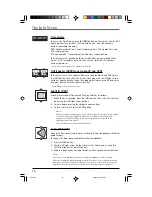
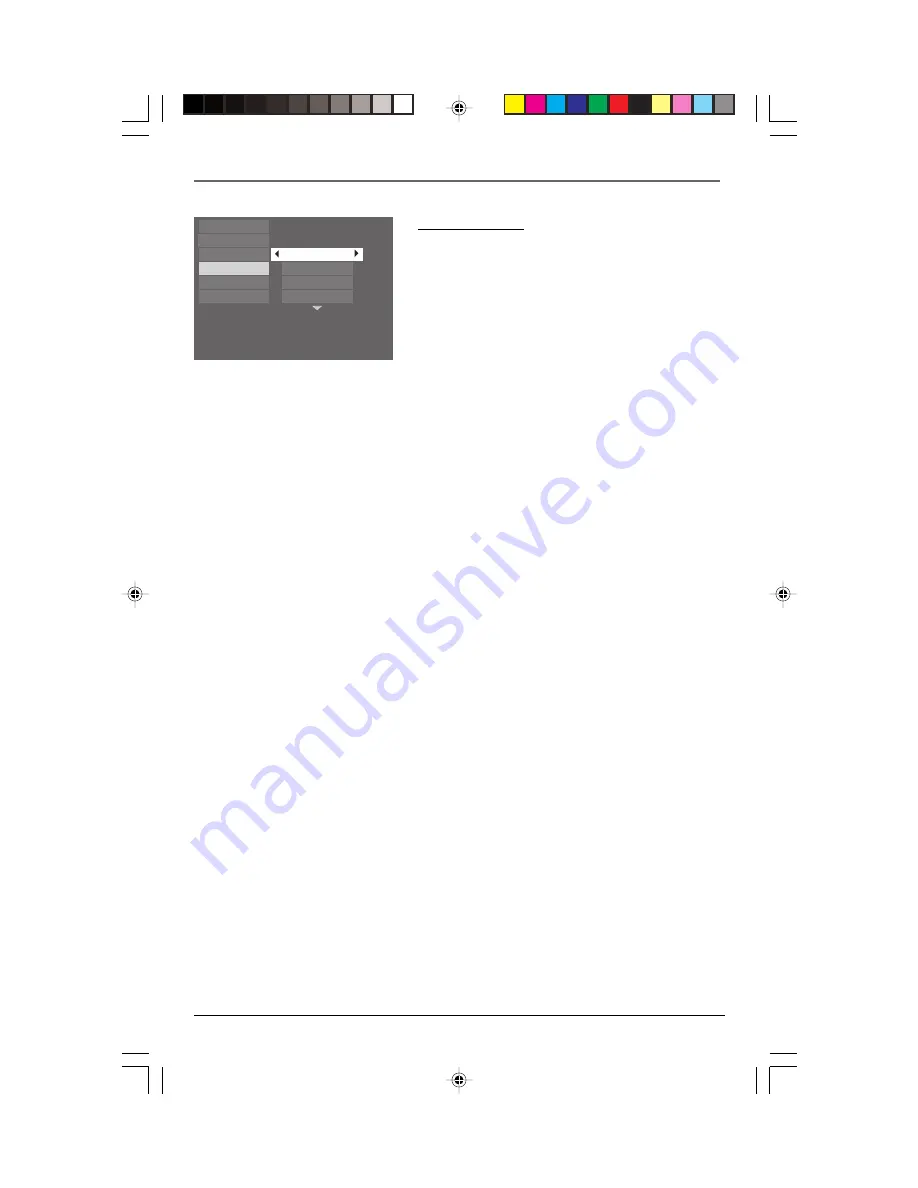
Display settings
1.
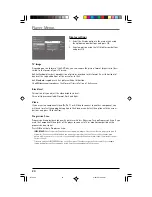
Select the Display option in the main menu using
the up/down arrow buttons and press OK.
2. Select an option using the left/right arrow buttons
and press OK.
4x3
4x3
standard
Dim
Off
Play
Play Mode
Parental Control
Display
Sound
Languages
Black level
Progressive Scan
TV Image
S-Video
Video
TV Image
Depending on the format of the DVD disc, you can choose the picture format (aspect ratio) best
suited to the format of your TV screen:
4x3 Letterbox:
gives best reproduction of pictures recorded in this format (i.e. with horizontal
bands at the top and bottom of the screen) or in 16x9.
4x3 Standard:
reproduces a 4x3 picture without distortion.
16x9 Widescreen:
reproduces 16x9 format films in full on a 16x9 screen.
Black level
This option lets you adjust the video brightness level.
Three settings are available: Normal, Dark and Light.
Video
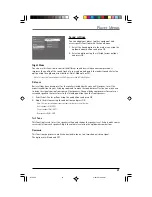
If you are using component video (Pr, Pb, Y) or S-Video to connect to another component, you
will need to select the appropriate option in the Video menu. Select the option with the arrow
buttons and press OK to confirm.
Progressive Scan
Progressive Scan provides high quality pictures with less flickering. Turn on Progressive Scan if you
used the Component Video jacks of the player to connect a TV or monitor compatible with a
progressive scan signal.
Press
OK
to activate Progressive Scan.
IMPORTANT!
Once Progressive Scan has been activated, an image will only be visible on a progressive scan TV
or monitor. If you choose this option and you do not have a progressive scan TV or monitor, you may get a
picture with incorrect color or no color. If you activate Progressive Scan by mistake, follow the procedure below
to reset the unit:
Press and hold the SUBWOOFER button on the front panel. The video output will be restored to the standard
setting and a picture will once again be visible on a conventional analog TV or monitor.
RTD205
2/28/05, 10:35 AM
20

