background image

14

EN

Loading Discs

1. Press 

SOURCE

repeatedly to select CD mode. 

2. Press 

OPEN/CLOSE

to open the disc 

compartment.

3. Insert up to 5 discs with label face up. 
4. Press 

OPEN/CLOSE

again to close the disc 

compartment.  

The occupied disc tray icons lights on the display
and the current disc icon flashes on the display.
If the disc is a mp3 / WMA CD, the respective MP3
and WMA icon lights on the display.

Play and Pause Discs

• 

To play all discs in the disc compartment

- press 

PLAY/PAUSE

in stop mode to 

begin playback.

• 

To play a specific disc in the disc 
compartment

, - press 

DISC 1 - DISC 5

to play

the corresponding disc.
During mp3 / WMA playback, the display show 
ID3 tags (Title, Artist and Album).

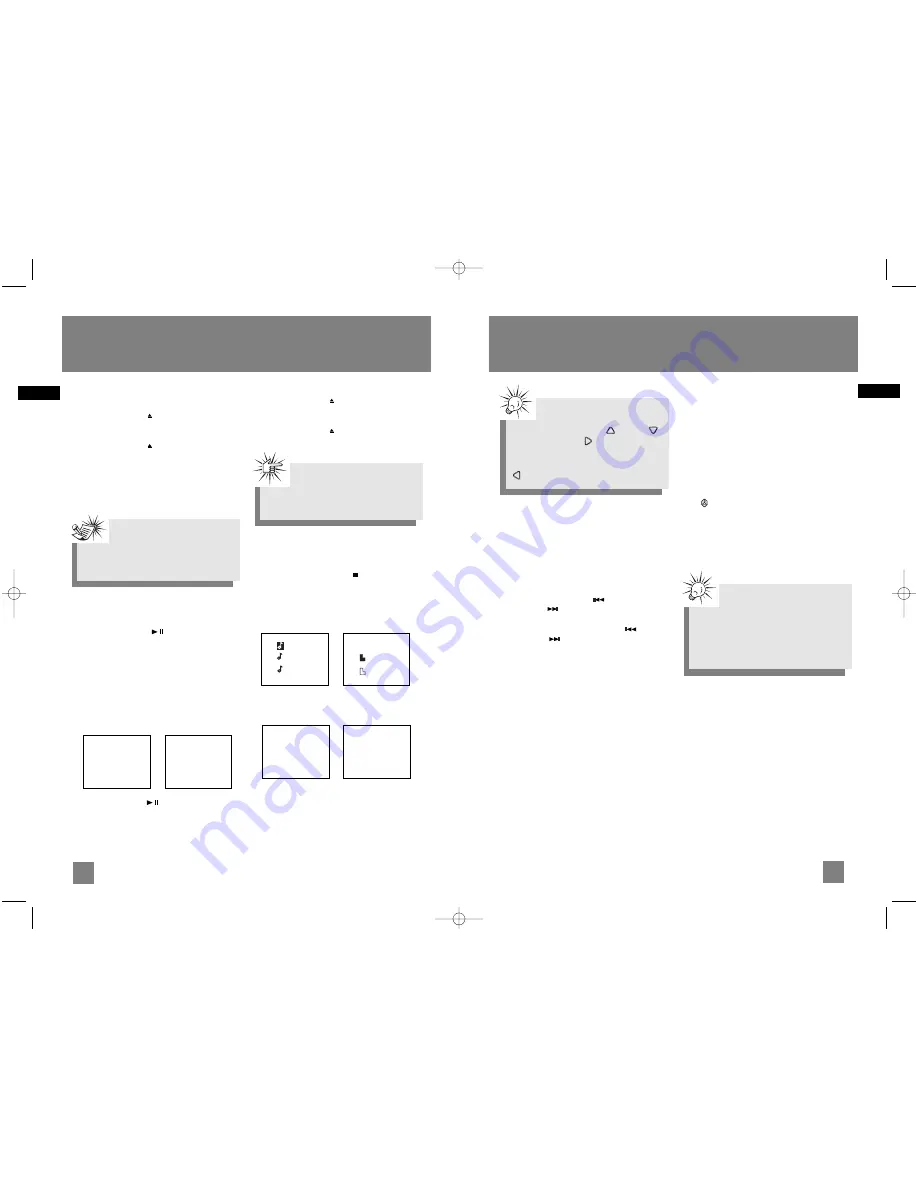
Audio CD               mp3 / WMA CD

• Press 

PLAY/PAUSE

during playback to 

pause disc. Press again to resume.

Play and load simultaneously by:

1. Press 

OPEN/CLOSE     

to open the disc tray 

while a CD is playing.

2. Load/change discs for available trays.
3. Press 

OPEN/CLOSE     

again to close the tray.

Stop Playback

During playback, press 

STOP

to stop playback.

The unit returns to navigation mode briefly
(approx. 10 seconds) before entering stop mode.

Navigation mode:

Audio CD               mp3 / WMA CD

Stop mode:

Audio CD               mp3 / WMA CD

CD Player

Attention:

Do not push to force closing of the tray 

during CD playback or tray opening.

Note: 

Be sure to remove all discs from the disc

compartment before moving or transporting

the unit!

13

EN

CD Player

0:00

Folder Nm

ID3 tag

01    0:50

MP3/WMA

300Tracks

Audio CD

10  Tracks

74:30

ROOT

Folder 1

Folder 2

01  3:31

02  3:50

03  4:08

Selecting a Disc

Press 

DISC 1

DISC 2

DISC 3

DISC 4

or 

DISC 5

on the main unit or 

DISC SKIP

on the remote

control to skip discs.

Searching Through a CD

•   Press 

SKIP BACKWARD 

SKIP 

FORWARD        

to skip to the previous or 

next track. 

• Press and hold 

SKIP BACKWARD

SKIP 

FORWARD

to search through a CD while 

it is playing.

Sampling Tracks

Press 

INTRO

on the remote control to play the

first 10 seconds of each track on the current disc,
all discs in the tray, or turn intro mode off.  
INTRO is displayed when sampling is activated.

Repeat

Press 

REPEAT

on the remote control to toggle

repeat options:
Repeat the current track (REPEAT 1), 
Repeat current disc (REPEAT 1 DISC) , 
Repeat all discs (REPEAT ALL DISC), or 
Normal playback (ALL DISC).

Random Playback

Press        on the remote control to turn on/off
random playback. The SHUFFLE icon is displayed
when it is activated.
All the tracks on one disc will be shuffled and
played once before shuffling and playing tracks
from the next disc.

Tips:

Random playback can be activated

simultaneously with repeat 1 disc (randomly

play tracks from one disc repeatedly) or

repeat all discs (randomly play tracks from

all discs repeatedly).

Tips:

In CD stop mode, press 

UP    

DOWN

or 

RIGHT / ENTER

to enter navigation

mode and show disc menu.
In CD navigation mode, press 

LEFT / BACK

to return to stop mode.

RS2052 EN  4/12/05  11:33 AM  Page 20

Содержание RS2052 - Compact Bookshelf System

Страница 1: ...nted In China Impreso en China 56007840 IMPORTADOR Comercializadora Thomson de México S A de C V Álvaro Obregón No 151 Piso 13 Col Roma Delegación Cuauhtémoc C P 06700 México D F Telefono 52 55 11 020360 RFC CTM 980723 KS5 It is important to read this instruction book prior to using your new product for the first time Es importante leer este manual antes de usar por vez primera su euipo RS2052 EN ...

Страница 2: ...plug over and try to insert it the other way If it still won t fit contact a qualified electrician to change the outlet or use a different one Do not attempt to bypass this safety feature CAUTION TO PREVENT ELECTRIC SHOCK MATCH WIDE BLADE OF PLUG TO WIDE SLOT FULLY INSERT Have a Blast Just Not in Your Eardrums Make sure you turn down the volume on the unit before you put on headphones Increase the...

Страница 3: ...cease to function if subjected to electrostatic disturbance To resume normal operation it may be necessary to cycle the power off and back on or to remove and reinstall the batteries Important Battery Information Remove the batteries to avoid leakage if you do not use your remote control for more than one month Discard leaky batteries immediately as leaking batteries may cause skin burns or other ...

Страница 4: ...nserting Memory Card 16 Selecting USB or Memory Card Mode 16 USB Memory Card Playback Features 16 Start and Pause Playback 16 Stop Playback 17 Skipping Files 17 Sampling Tracks 17 Repeat 17 Random Playback 17 Memory Usage 17 My Selections 18 Add Track File to My Selections 18 Remove Track File from My Selections 18 Radio 19 Selecting Tuner Band 19 Tuning to a Station 19 Using Presets 19 Auto Prese...

Страница 5: ...tenna at the back of the unit making sure it is fully extended you may even want to tape it to the wall behind the unit if possible The higher the better You ll also need to connect the AM antenna loop to the back of the unit if you listen to AM stations Rotate the AM loop antenna for better reception Connecting the Speakers Each speaker has a black negative and a red positive jack When connecting...

Страница 6: ...avigate upwards SELECT In mp3 WMA USB memory card stop mode Enters navigation mode In navigation mode navigates forward BACK In navigation mode navigates backwards RECORD Starts recording DELETE Removes track from My Selections In USB Memory Card mode Deletes file from the connected mp3 player or memory card ON STANDBY DISC 1 MEMORY CARD BAND CD INFO BACK DELETE SELECT RECORD DISC 2 DISC 3 DISC 4 ...

Страница 7: ... navigation mode Navigates backwards RIGHT ENTER In navigation mode Navigates forward Installing Batteries The remote control must be inserted with 2 AAA or UM 4 or R03 batteries prior to use Follow the steps below to ensure correct installation 1 Remove the battery compartment door located at the back of the remote control by sliding the compartment door in the direction of the arrow and then lif...

Страница 8: ...vated Note When system is ON you can press CLOCK to display the current time for about 2 seconds Timer On 00 00A Timer Source Tuner Timer On 00 00A Off 00 00P Timer Volume 10 Sleep Mode You can select the time interval in minutes before the unit turns off automatically Press SLEEP to select among OFF 120 90 60 45 30 15 and 5 minutes The SLEEP icon lights on the display when sleep mode is activated...

Страница 9: ...SC 2 DISC 3 DISC 4 DISC 5 CD R RW COMPATIBLE 5 DISC CHANGER mp3 VOL DISC SKIP OPEN CLOSE REPEAT ADD DEL CLOCK TIMER SLEEP BAND FM ST 12 EN CD Player 11 EN Navigation Controls Important CD and mp3 WMA Information This unit is compatible with CD RW CD R discs for playback CD R RW Notes on CD R RW Disc Do not affix any type of labels to either side recordable or labeled side of a CD R RW disc as this...

Страница 10: ...tment before moving or transporting the unit 13 EN CD Player 0 00 Folder Nm ID3 tag 01 0 50 MP3 WMA 300Tracks Audio CD 10 Tracks 74 30 ROOT Folder 1 Folder 2 01 3 31 02 3 50 03 4 08 Selecting a Disc Press DISC 1 DISC 2 DISC 3 DISC 4 or DISC 5 on the main unit or DISC SKIP on the remote control to skip discs Searching Through a CD Press SKIP BACKWARD SKIP FORWARD to skip to the previous or next tra...

Страница 11: ...ogram to delete 2 Press DEL 3 Press UP DOWN to select between No and Yes 4 Press RIGHT ENTER to confirm selection Deleting the Entire Program List 1 While in PROGRAM mode press UP DOWN to select the program to delete 2 Press and hold DEL USB and Memory Card Tips You can create a program of up to 32 tracks CD Player Add to Prog 02 Tips In CD stop mode press PROG to toggle between program mode and n...

Страница 12: ...splayed when it is activated Memory Usage Press CD INFO to view memory usage on the USB device or SD card Tips In stop mode press UP DOWN or RIGHT ENTER to enter navigation mode and show disc menu In navigation mode press LEFT BACK to return to stop mode MP3 WMA 10 Tracks ROOT RECORD Song 1 Mem Usage 141M Used 115M Free Add Track File to My Selections 1 In navigation mode use the navigation button...

Страница 13: ... 2 90 50MHz You can record CD Tuner or AUX files to the mp3 player Recording CD to mp3 Player Recording Standby 1 Connect the mp3 player to the USB port USB Connected will show on the display 2 In CD stop mode CD navigation mode or CD pause mode press RECORD to enter recording standby The RECORD icon flashes on the display 3 Press PLAY PAUSE to start recording The RECORD icon lights on the display...

Страница 14: ...main unit or DEL on the remote control to delete all the files on the mp3 player or memory card Song 1 Song 2 Song 3 Delete No Yes Song 1 Song 3 Mem Usage 141M Used 115M Free 21 EN Recording to the mp3 Player 22 EN mp3 Player Insert battery into the player 1 To insert battery push the battery door away from the unit and lift the battery door out 2 Insert a AAA UM4 battery with polarities correspon...

Страница 15: ...The information in this section presumes you ve successfully transferred files to your Lyra Player and you re ready to play some music Play Pause When the unit is off press PLAY ON to turn the unit on Playback starts automatically from the first track In stop mode press PLAY ON to start playback of selected track Current track number elapsed playback time and track title show on display To pause p...

Страница 16: ...nto power source Point the remote directly at the system s front panel Move closer to the system Remove any obstacles between the remote and the system Troubleshooting Tips 25 EN mp3 Player Adjusting the Volume To turn up the volume press the VOL button To turn down the volume press the VOL button Refer to the volume indicator on the display to show volume level adjustment Key Lock To avoid accide...

Страница 17: ... wma 48 to 160 kbps WMA files may be DRM protected and you don t have the proper rights license to play the files Check the website and or application help system of the music download service provider from where the content was purchased from for license acquisition details For more information on how license acquisition works go to www microsoft com windowsmedia drm Problem The player does not t...

Страница 18: ...complete and mail the Product Registration Card packed with your product It will make it easier to contact you should it ever be necessary The return of the card is not required for warranty coverage Disconnect the audio system from the power source before performing any maintenance Cleaning Clean the exterior of the system using a soft dust cloth CD Player CAUTION This system operates with a lase...

Страница 19: ...gistration Please complete and mail the Product Registration Card packed with your product It will make it easier to contact you should it ever be necessary The return of the card is not required for warranty coverage Limited Warranty U S Limitation of Warranty THE WARRANTY STATED ABOVE IS THE ONLY WARRANTY APPLICABLE TO THIS PRODUCT ALL OTHER WARRANTIES EXPRESS OR IMPLIED INCLUDING ALL IMPLIED WA...

Страница 20: ...CEPT TO THE EXTENT PROHIBITED BY APPLICABLE PROVINCIAL LAW ANY IMPLIED WARRANTY OF MERCHANTABILITY OR FITNESS FOR A PARTICULAR PURPOSE ON THIS PRODUCT IS LIMITED TO THE APPLICABLE WARRANTY PERIOD SET FORTH ABOVE How Provincial Laws relates to warranty This warranty gives you specific legal rights which are in addition to statutory warranties that may vary from Province to Province If you purchased...

Отзывы: