Installation
16
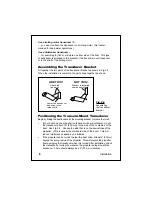
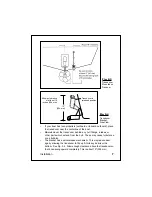
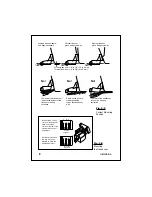
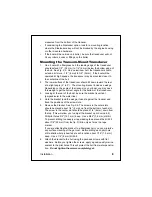
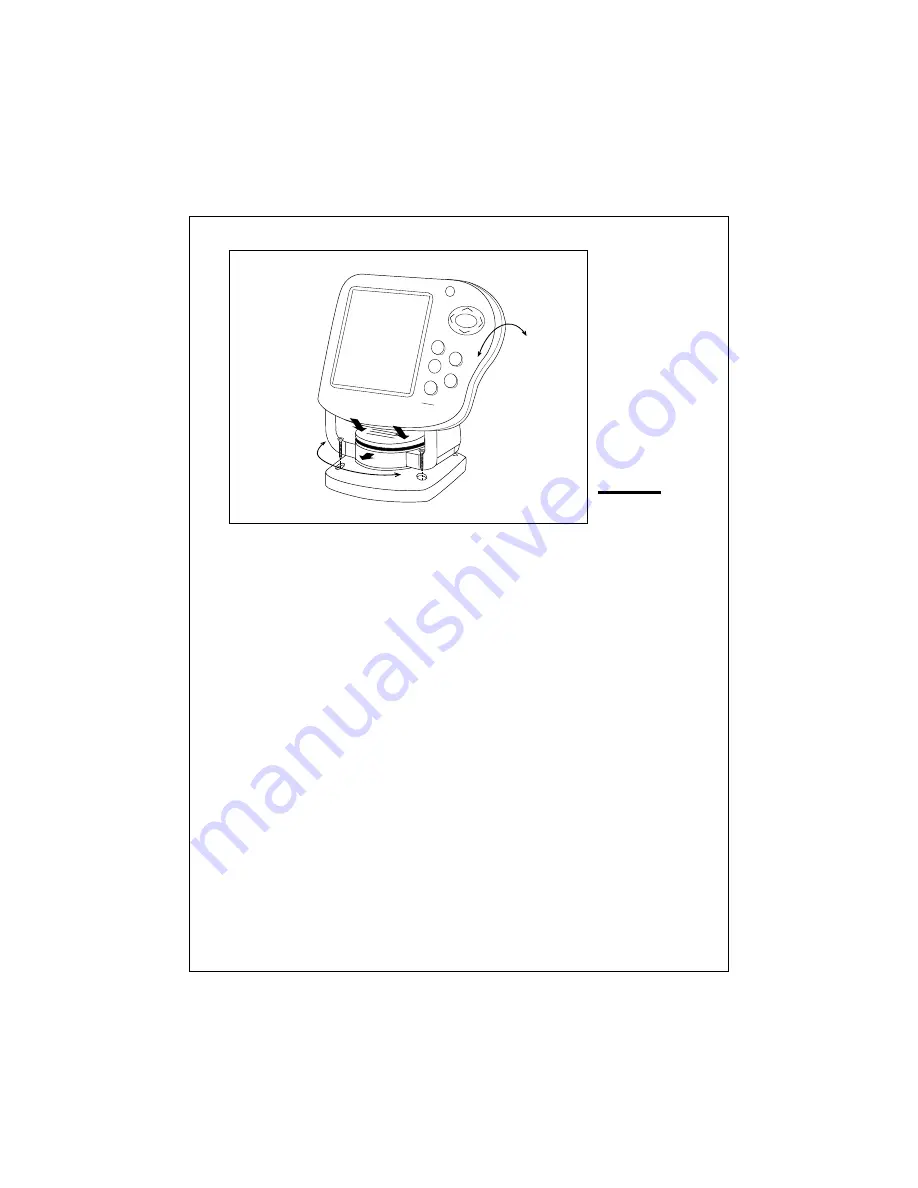
Fig. 2-10
Installation
on Bracket
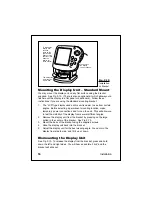
Mounting the Display Unit – Standard Mount
You may mount the display unit on any flat surface using the bracket
supplied. See Fig. 2-10. (There is also an optional kit which allows you to
flush-mount the display in a flat panel or dashboard). Follow these
instructions if you are using the standard mounting bracket:
1.
The “LCD” type display used on this unit is easier to see from certain
angles. Before selecting a permanent mounting location, make
temporary power connections and turn on the unit. This will allow you
to test the visibility of the display from several different angles.
2.
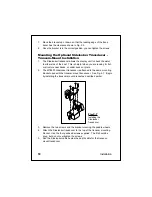
Remove the display unit from the bracket by pressing on the large
button in the center of the bracket. See Fig. 2-10.
3.
Mount the base of the bracket using the supplied screws.
4.
Slide the display unit back into the bracket.
5.
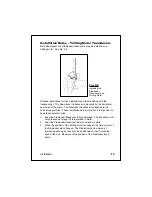
Adjust the display unit for the best viewing angle. You can turn the
display from side to side, and tilt it up or down.
Dismounting the Display Unit
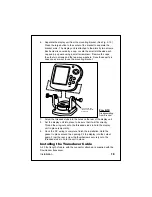
See Fig. 2-10. To release the display from the bracket, press and hold
down the left and right sides. You will hear an audible “click,” and the
bracket will slide out.
ZOOM
BOT
LOCK
A-SCP
CLEAR
SETUP
PWR
The angle of
the display
can be changed.
The display can
be turned from
side to side.
To release the
display from
the base,
press on the
right and left
sides until you
hear the clicks.
Slide the
display out
of the bracket.
Raymarine
FISHFINDER
L470
Содержание L470
Страница 1: ...FishFinder L470 Instruction Manual Raymarine ...
Страница 96: ...90 Maintenance and Troubleshooting ...

