background image

Bedienungsanleitung 

R/C Rayline R807V 2.4 GHz Quadrocopter 


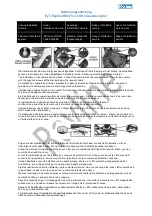
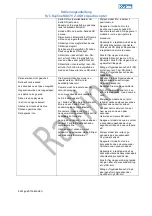
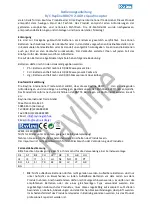
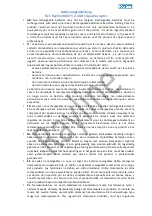
Die Installation des Gehäuses erfolgt wie abgebildet. Verbinden Sie die LED-Beleuchtung mit der Platine.  
Anschließend hüllen Sie das Gehäuse ein und stellen Sie sicher, dass die Hülle richtig sitzt indem es Click macht. 

The installation of the shell as pictured. Connect the LED-Light with the receiver board. Then cover the shell and  
make sure it is latched correctly by a click. 

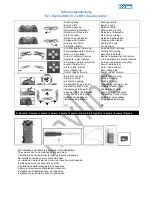
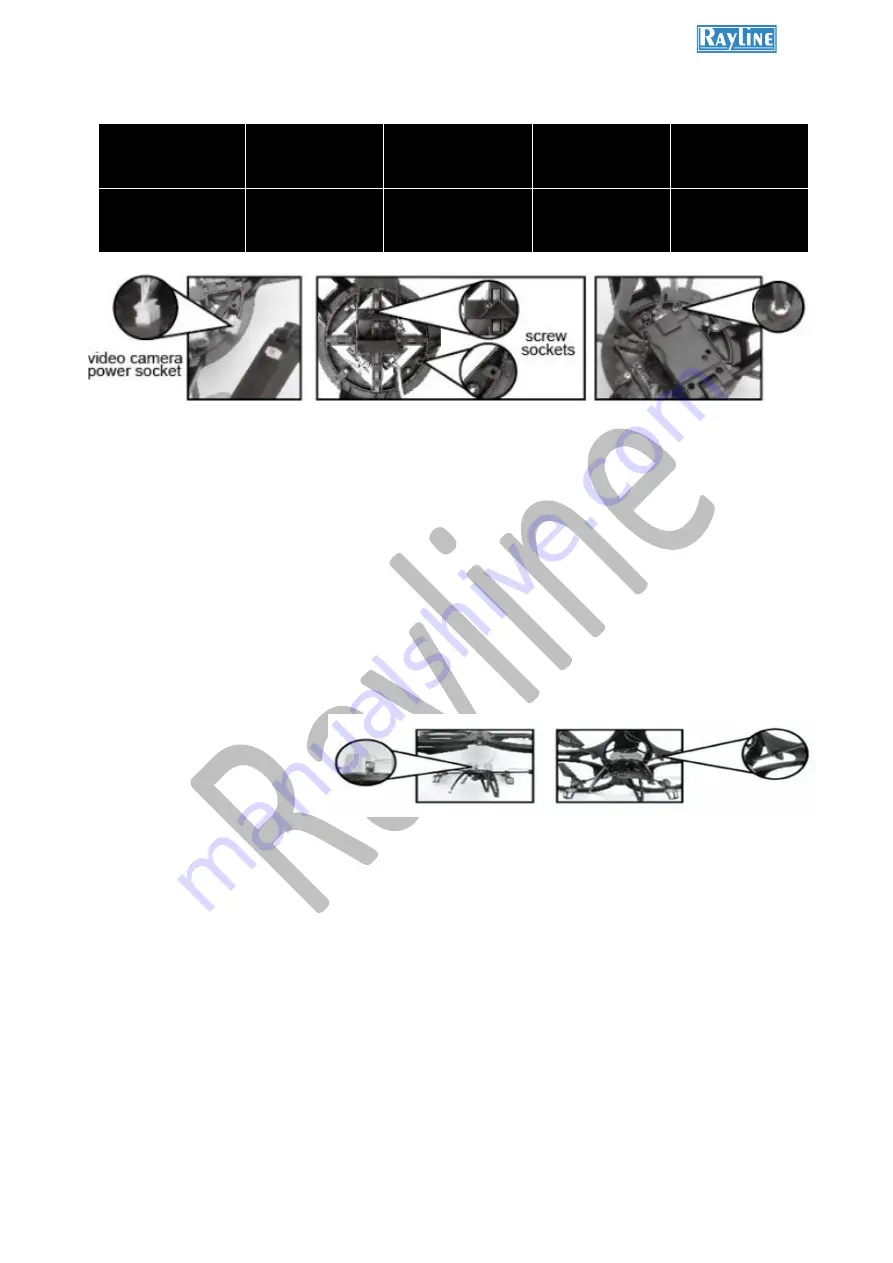
Die Installation der Kamera erfolgt wie oben abgebildet. Verbinden Sie die Kamera mit der Platine. Anschließend  
können sie die Kamera mit den beigefügten Schrauben an der Halterung unterhalb der Platine fixieren. 
The installation of the camera shown above. Connect the camera with the receiver board. Then fix the camera  
with the supplied screws at the bracket below the receiver board.    
L'installation de l'appareil est tel que représenté ci-dessus. Branchez l'appareil photo à la carte. Ils peuvent  
ensuite fixer la caméra avec les vis sur le support sous la planche. 
Installationen af kameraet som vist ovenfor. Slut kameraet til bestyrelsen. De kan derefter fastgøre kameraet med  
skruerne på beslaget under bestyrelsen. 
De installatie van de camera wordt zoals hierboven weergegeven. Sluit de camera aan de raad. Ze kunnen dan  
bevestig de camera met de schroeven op de beugel onder de raad van bestuur. 
La instalación de la cámara es como se muestra arriba. Conecte la cámara a la tarjeta. A  
continuación, puede fijar la cámara con los tornillos del soporte debajo del tablero. 
Instalacja kamery, jak pokazano powy

ż

ej. Pod

łą

cz aparat do p

ł

yty. Wtedy mo

ż

e naprawi

ć

 kamer

ę

 za pomoc

ą


ś

rub na wsporniku pod planszy. 

L'installazione della telecamera è quello indicato sopra. Smontare la struttura del drone , svitare il la struttura che 
copre la scheda e collegare il cavo della videocamera alla scheda. Invece la telecamera va fissata / inserita con le 
viti sulla staffa sotto la scheda.


Folgen die den Abbildungen für die Installation der Schutzhülle. Nachdem Sie das LED-Lämpchen mit der  
Hauptplatine verbunden haben, können Sie das Gehäuse mit der Schutzhülle wieder schließen. 
Follow the pictures for installation of the cover. After you connected the LED light with receiver board, you can  
cover the shell with the cover. 
Suivez les illustrations pour l'installation du couvercle de protection. Une fois que vous avez les lumières LED  
connectés à la carte mère, vous pouvez fermer le boîtier avec le couvercle de protection nouveau.


Volg de illustraties voor de installatie van de beschermkap. Zodra u de LED-verlichting aangesloten op het  
moederbord, kunt u de behuizing af te sluiten met de beschermkap weer. 
Siga las ilustraciones para la instalación de la cubierta protectora. Una vez que tenga las luces LED conectados a  
la placa base, puede cerrar la carcasa con la cubierta protectora de nuevo. 
Wykonaj ilustracje do monta

ż

u pokrywy ochronnej. Gdy masz 

ś

wiat

ł

a LED pod

łą

czone do p

ł

yty g

ł

ównej, mo

ż

na  

zamkn

ąć

 obudow

ę

 z pokryw

ą

 ochronn

ą

 ponownie

Seguire le illustrazioni per il montaggio del coperchio di protezione. Una volta che avete le luci LED collegati alla  
scheda madre, è possibile chiudere la custodia con il coperchio di protezione di nuovo. 
Kövesse az illusztrációk telepítéséhez a véd

ő

burkolatot. Miután a LED csatlakozik az alaplaphoz, bezárhatja a  

ház, hogy a véd

ő

burkolat újra. 

Følg illustrationerne til installation af beskyttelsesdækslet. Når du har LED-lys, der er tilsluttet bundkortet, kan du  
lukke huset med det beskyttende dæksel igen. 

Anhang Installation 
Kamera 

Annax 
Installation Camera  

Appendice 

installation

 caméra 

Bijlage 

 installatie 

camera 

Anexo 

 instalación


de la cámara 

Za

łą

cznik 

 instalacja 

aparatu 

INSTALLAZIONE 
TELECAMERA 

Melléklet 

 telepítés 

fényképez

ő

gép 

Bilag 

 Installation 

kamera 

Bilaga 

 Installation


kamera 

Содержание R807V

Страница 1: ...7V 2 4 GHz Quadrocopter Rc Quadricottero Rayline R807V Bedienungs anleitung Instruction Manual Mode d emploi Handleiding Manual de instrucciones Instrukcja obsługi Istruzioni per l uso használati utasítás Brugsanvis ning Användarm anual ...

Страница 2: ...ng Batteriesockel Battery Base de batteries embarquées batterij gebaseerde base de una batería akumulator oparte support batteria akkumulátor csatlakozó Batteri base Battery bas Puffer Buffer Sponge tampon éponge buffer spons Buffer esponja bufor gąbki Buffer spugna buffer szivacs Buffer svamp buffert svamp Motordeckel Enginge cover moteur couverture motor deksel motor Cubierta silnik Okładka supp...

Страница 3: ...diening mando a distancia zdalne sterowanie Telecomando Távirányító Fjernbetjening fjärrkontroll 1A 3D Drehung 3D Everson 3D rotation 3D omwenteling 3D rotación 3D obrót 3D rotazione 3D forgás 3D at dreje 3D att vrida 1B Gashebel Throttle control Accélérateur Smoorklep Acelerador Przepustnica Pulsante di gas gázkar Gas håndtag Gas spaken 1C Hochgeschwindigkeit High speed grande vitesse hoge snelhe...

Страница 4: ... 3D obrót 3D rotazione 3D forgás 3D at dreje 3D att vrida 1L An Aus On OF On et Off Aan en uit On off do i z On et Off hogy és tól til og fra till undan från 2 Steuerung Control Contrôle Controle Control kontrola Controllo vezérlés Kontrol Kontroll Aufwärts Ascent en haut omhoog arriba w górę su fel op upp Abwärts Descent vers le bas neer abajo w dół giù le ned ner Vorwärts Forward Avant Vooruit A...

Страница 5: ...tilbage trim framåt bakåt trimma Einfacher Looping Simple Looping plus facile Looping makkelijker looping de lus más fácil rizando el rizo łatwiejsze pętli do pętli Looping 360 automatico könnyebb hurok a hurok lettere Looping løkken lättare looping slingan 3A Mehrfacher Looping Multiple Looping Multiple Looping Meervoudig looping de lus Múltiple rizando el rizo Wielokrotność pętla Looping 360 man...

Страница 6: ...ollegare il cavo della videocamera alla scheda Invece la telecamera va fissata inserita con le viti sulla staffa sotto la scheda Folgen die den Abbildungen für die Installation der Schutzhülle Nachdem Sie das LED Lämpchen mit der Hauptplatine verbunden haben können Sie das Gehäuse mit der Schutzhülle wieder schließen Follow the pictures for installation of the cover After you connected the LED lig...

Страница 7: ...siano collegati correttamente e riprovare l operazione se è necessario Ellenőrizze hogy a vezetékek megfelelően vannak csatlakoztatva és próbálja újra a műveletet ha szükséges Kontroller at ledningerne er tilsluttet korrekt og prøv en gang til om nødvendigt ved LED Lämpchen ist an aber die Kamera arbeitet nicht LED light is on but the camera does not work LED est allumé mais l appareil ne fonction...

Страница 8: ...zapisywane I dati non vengono salvati Adatok nem lesznek mentve Dataene gemmes ikke Data sparas inte Die Kamera Videobox muss neu resetet werden SD Karte ist beschädigt oder voll Camera must be resetet new SD card is damaged La camera deve essere resettata La Sd è danneggiata Le boîte de vidéo de la caméra doit être re reset Carte SD est endommagée ou complètement De camera video doos moet opnieuw...

Страница 9: ...nden Anforderungen und den übrigen einschlägigen Bestimmungen der Richtlinie 1999 5 EG entspricht Das Modell ist konform nach den Richtlinien der R TTE Bei Fragen zur Konformität wenden Sie sich an Rayline International Trade GmbH Max Planck Straße 35 50858 Köln Germany Tel 0049 0 22346882981 Fax 0049 0 22346882980 E Mail info raylinegmbh de E Mail info rayline it Italy WEEE DE 90793436 Nicht für ...

Страница 10: ...R Les piles non rechargeables ne peuvent pas être facturés Les piles rechargeables doivent être rechargées qu avec surveillance d un adulte Les piles rechargeables prendre avant le chargement de l appareil Bornes ne doivent pas être court circuitée Utilisez uniquement les piles recommandées ou de type équivalent peuvent être utilisés Avec une utilisation régulière du produit il doit être vérifiée ...

Страница 11: ...807V 2 4 GHz Quadrocopter sprawdzane pod kątem uszkodzeń całkowicie szczególnie na kable pokrywami i złączy elektrycznych W przypadku roszczenia produkt musi być najpierw powrócił do służby aż produkt zostanie naprawiony profesjonalnie ...

Отзывы: