6
Manual No. 016-0171-148
65
Basic Operation
from the guidance path. See the System menu section in Chapter 7,
, to setup the lightbar
display.
2.
Day/Night Mode - Touch this icon to toggle the Guidance display for day or night operations.
3.
GPS Status Indicator - Displays the current GPS correction source and signal status. Review the
section on page 54 for details.
4.
Speed or COG Display - Vehicle speed or Course Over Ground is displayed in this area. Touch this area to
toggle between the Speed or COG display.
5.
Distance from Path - This display shows the distance and the direction to the guidance path. The value
displayed is in feet (English) or meters (Metric) and the arrow points in the direction to the displayed
guidance path.
6.
Swath Number - During straight line, pivot and fixed contour guidance patterns, the number of the current
swath is displayed in this area. When in Last Pass mode, this area displays LAST.
7.
Nudge Feature - Touch this icon to display the In Job Nudge Settings screen. See the
section on page 68 for more information on using the nudge feature.
8.
Zoom - Touch the Zoom icon to cycle through the zoom levels on the displayed guidance screen. Pressing
the zoom icon at the maximum zoom level (Level 5) will return to the minimum zoom. Continue pressing the
zoom icon to cycle through the zoom levels as desired.
9.
Alternate Guidance Pattern - Touch the icon displayed in this area to toggle between the available guidance
patterns. Review the
section on page 60 for information about the guidance
patterns. See the
section on page 65 for more information on using specific
patterns.
10.
Menu - Guidance screen views, path tools and options, and AccuBoom mapping features are all accessible
through the Menu. See the Menu section later in this chapter for more information on using tools and
features found within the Menu.
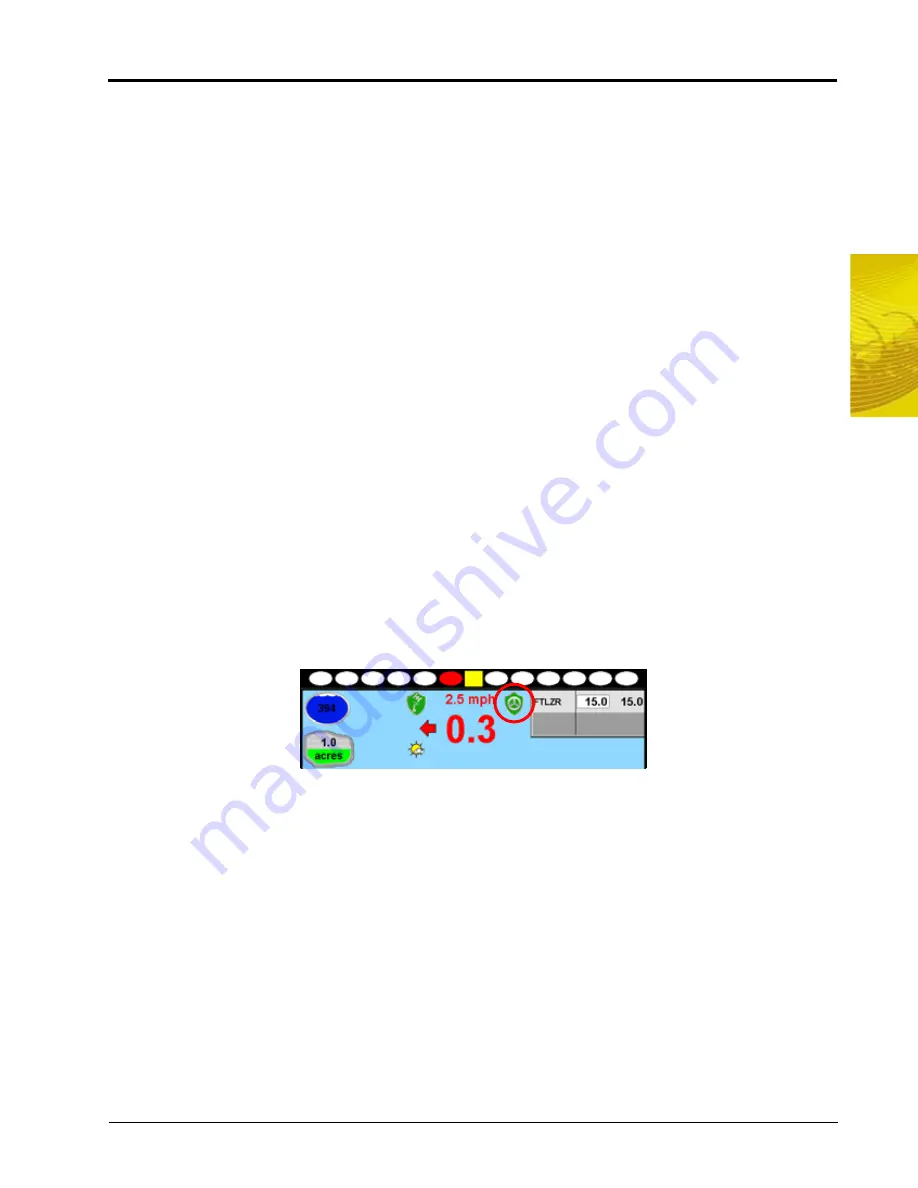
SmarTrax™ Status Display
If the optional SmarTrax or SmartSteer system has been installed, the status of the system will appear on the
Guidance screen.
Using Guidance Patterns
The following Guidance Patterns are available on the Envizio Pro and Envizio Pro II:
•
Enhanced Last Pass
•
Straight (A-B) Line
•
Fixed Contour
•
Pivot
These Guidance Patterns, combined with one of the Guidance Views (discussed previously), provide the
operator with tools for field navigation and can help reduce skips and overlaps as well as minimize operator
fatigue.
Refer to the following descriptions for more information on the available Guidance Patterns as well as using
selected patterns during a job.
Содержание Envizio Pro
Страница 1: ...Software Version 3 2 Envizio Pro Envizio Pro II Installation Operation Manual...
Страница 36: ...Chapter 3 26 Envizio Pro and Envizio Pro II Installation and Operation Manual...
Страница 148: ...Chapter 7 138 Envizio Pro and Envizio Pro II Installation and Operation Manual...
Страница 158: ...Chapter 8 148 Envizio Pro and Envizio Pro II Installation and Operation Manual...
Страница 174: ...Chapter 9 164 Envizio Pro and Envizio Pro II Installation and Operation Manual...
Страница 178: ...Chapter 10 168 Envizio Pro and Envizio Pro II Installation and Operation Manual...
Страница 184: ...Chapter 11 174 Envizio Pro and Envizio Pro II Installation and Operation Manual...
Страница 210: ...Appendix D 200 Envizio Pro and Envizio Pro II Installation and Operation Manual...
Страница 230: ...Index 220 Envizio Pro Envizio Pro II Installation Operation Manual...


