


Chapter 6: Using the Web Interface
369
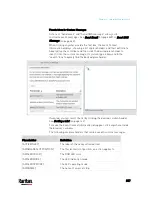
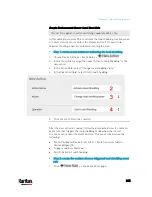
You can also click the topmost checkbox labeled "Logging
Enabled" in the header row of each section to select all sensors
of the same type.
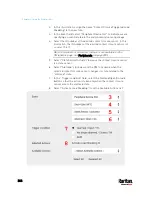
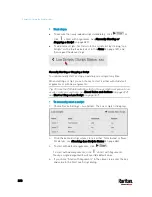
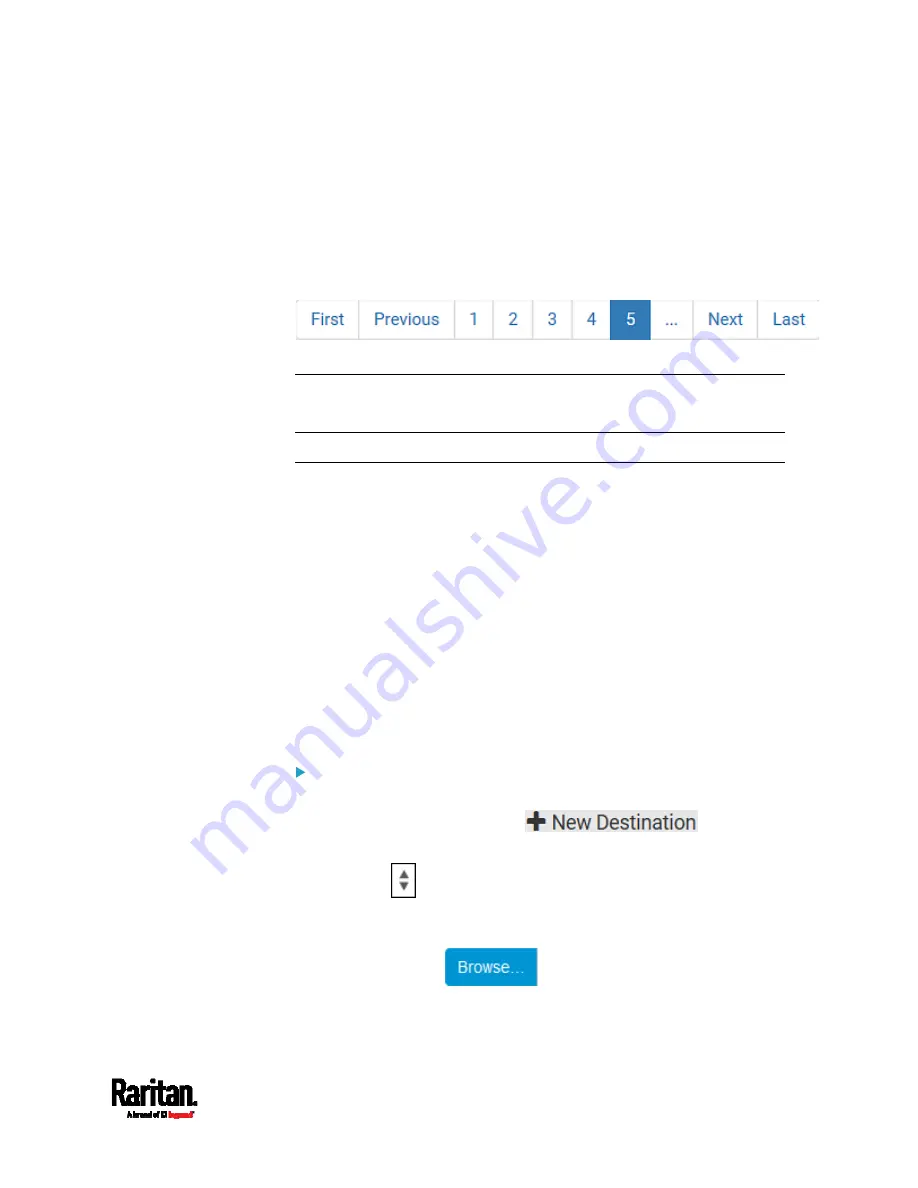
If any section's number of sensors exceeds 35, the remaining
sensors are listed on next page(s). If so, a pagination bar similar
to the following diagram displays in this section, which you can
click any button to switch between pages.
5.
Click Save. This button is located at the bottom of the page.
Important: Although it is possible to selectively enable/disable
logging for individual sensors on the PX3, it is NOT recommended to
do so.
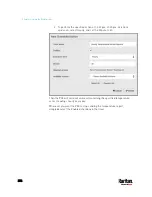
Configuring Data Push Settings
You can push the sensor or asset strip data to a remote server for data
synchronization. The data will be sent in JSON format using HTTP POST
requests. You need to set up the destination and authentication for data
push on the PX3.
For instructions on connecting asset strips, see
Connecting Asset
Management Strips
(on page 71).
After configuring the destination and authentication settings, do either or
both of the following:
To perform the data push after the occurrence of a certain event,
create the data push action and assign it to an event rule.
To push the data at a regular interval, schedule the data push action.
See
Event Rules and Actions
(on page 312).
To configure data push settings:
1.
Choose Device Settings > Data Push.
2.
To specify a destination, click
.
3.
Do the following to set up the URL field.
a.
Click
to select
http or https.
b.
Type the URL or host name in the accompanying text box.
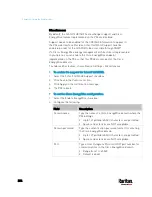
4.
If selecting https, a CA certificate is required for making the
connection. Click
to install it. Then you can:
Click Show to view the certificate's content.
Содержание PX3-3000 series
Страница 5: ......
Страница 18: ...Contents xviii Index 841...
Страница 66: ...Chapter 3 Initial Installation and Configuration 42 Number Device role Master device Slave 1 Slave 2 Slave 3...
Страница 93: ...Chapter 4 Connecting External Equipment Optional 69...
Страница 787: ...Appendix J RADIUS Configuration Illustration 763 Note If your PX3 uses PAP then select PAP...
Страница 788: ...Appendix J RADIUS Configuration Illustration 764 10 Select Standard to the left of the dialog and then click Add...
Страница 789: ...Appendix J RADIUS Configuration Illustration 765 11 Select Filter Id from the list of attributes and click Add...
Страница 792: ...Appendix J RADIUS Configuration Illustration 768 14 The new attribute is added Click OK...
Страница 793: ...Appendix J RADIUS Configuration Illustration 769 15 Click Next to continue...
Страница 823: ...Appendix K Additional PX3 Information 799...
Страница 853: ...Appendix L Integration 829 3 Click OK...


