Chapter 5: Introduction to PDU Components
89
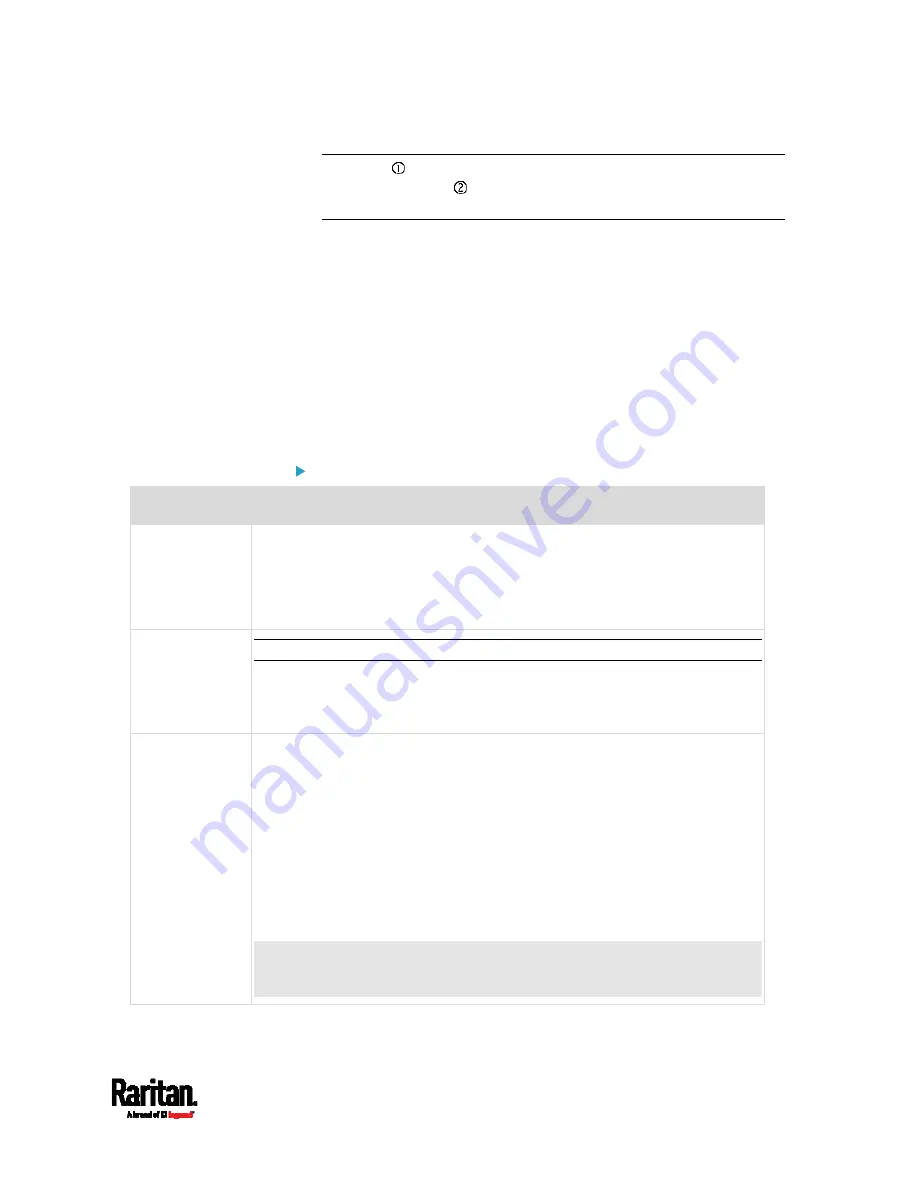
Note: ETH 10/100/1000 (marked in green) supports up to 1000 Mbps.
This is "ETH1". ETH 10/100 (marked in white) supports up to 100
Mbps. This is "ETH2".
Expansion port x 1 (gray)
1U and 2U Port Locations
The difference between Zero U, 1U and 2U models is that Zero U models
have all the connection ports located on the front panel while most of the
1U and 2U models have the ports located respectively on the front and
back panels.
Connection Port Functions
The table below explains the function of each port.
PX3 models:
Port
Used for...
USB-B
Cascading the PX3 devices for sharing a network connection. See
Cascading the PX3 via USB
(on page 40).
Establishing a USB connection between a computer and the PX3 for
using the command line interface or performing the disaster recovery.
For disaster recovery instructions, contact Raritan Technical Support.
USB-A
This is a "host" port, which is powered, per USB 2.0 specifications.
Connecting a USB device, such as a Logitech
®
webcam or wireless LAN
adapter.
Cascading the PX3 devices for sharing a network connection.
FEATURE
Connection to one of the following devices:
A Raritan access product, such as Dominion KX III KVM switch, with
the use of a power CIM.
A Schroff
®
LHX-20, SHX-30 or LHX-40 device, using an RJ-45 to
RS-232 cable provided by Schroff.
An external beeper with the RJ-45 socket.
A Raritan asset management strip, which allows you to track the
locations of IT devices on the rack.
See
Connecting External Equipment (Optional)
(on page 53).
Warning: This is not an RS-232 port so do NOT plug in an RS-232 device,
or damages can be caused to the device.
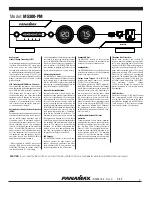
Содержание PX3-1000 series
Страница 5: ......
Страница 92: ...Chapter 4 Connecting External Equipment Optional 70...
Страница 668: ...Appendix J RADIUS Configuration Illustration 646 Note If your PX3 uses PAP then select PAP...
Страница 669: ...Appendix J RADIUS Configuration Illustration 647 10 Select Standard to the left of the dialog and then click Add...
Страница 670: ...Appendix J RADIUS Configuration Illustration 648 11 Select Filter Id from the list of attributes and click Add...
Страница 673: ...Appendix J RADIUS Configuration Illustration 651 14 The new attribute is added Click OK...
Страница 674: ...Appendix J RADIUS Configuration Illustration 652 15 Click Next to continue...
Страница 722: ...Appendix L Integration 700 3 Click OK...


