Chapter 5: Using the PDU
82
When the active power is displayed, the POWER(kW) LED is lit.
Note: The LED display returns to the Automatic Mode after 20 seconds
elapse since the last time any button was pressed.
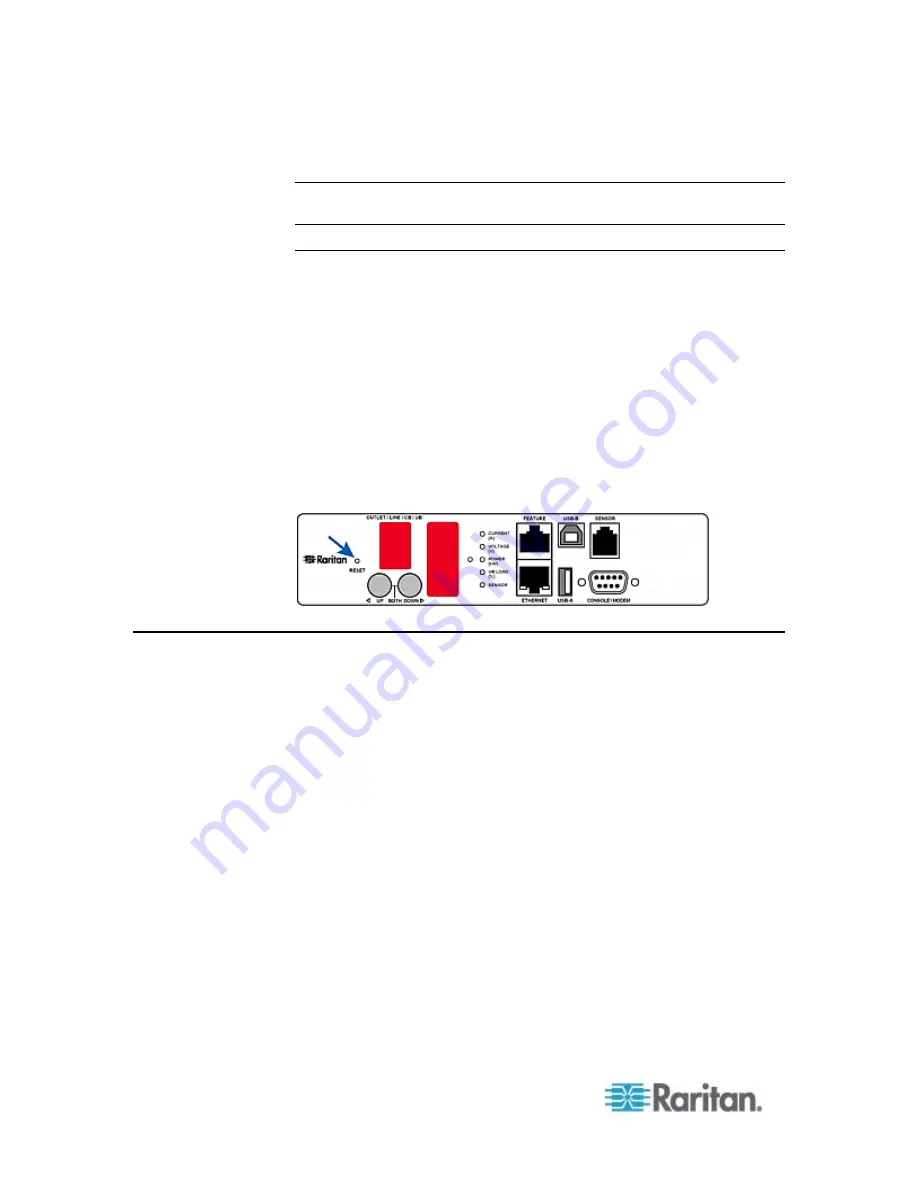
Reset Button
The reset button is located inside the small hole near the display panel
on the PDU.
The PX device can be reset to its factory default values using this button
when a serial connection is available. See
Resetting to Factory
Defaults
(on page 537).
Without the serial connection, pressing this reset button restarts the PX
device's software without any loss of power to outlets.
The following image illustrates the location of the reset button on Zero U
models only.
PX2 Zero U models:
Circuit Breakers
PX models rated over 20A (North American) or 16A (international)
contain overcurrent protectors for outlets, which are usually branch
circuit breakers. These circuit breakers automatically trip (disconnect
power) when the current flowing through the circuit breaker exceeds its
rating.
If the circuit breaker switches off power, the front panel display shows:
CbE
, which means "circuit breaker error."
When a circuit breaker trips, power flow ceases to all outlets connected
to it. You must manually reset the circuit breaker so that affected outlets
can resume normal operation.
Depending on the model you purchased, the circuit breaker may use a
button- or handle-reset mechanism.
Содержание PX2-1000 SERIES
Страница 5: ......
Страница 71: ...Chapter 4 Connecting External Equipment Optional 52...
Страница 231: ...Chapter 6 Using the Web Interface 212 8 Click OK...
Страница 570: ...Appendix G LDAP Configuration Illustration 551 5 Click OK The PX_Admin role is created 6 Click Close to quit the dialog...
Страница 589: ...Appendix I RADIUS Configuration Illustration 570 Note If your PX uses PAP then select PAP...
Страница 590: ...Appendix I RADIUS Configuration Illustration 571 10 Select Standard to the left of the dialog and then click Add...
Страница 591: ...Appendix I RADIUS Configuration Illustration 572 11 Select Filter Id from the list of attributes and click Add...
Страница 594: ...Appendix I RADIUS Configuration Illustration 575 14 The new attribute is added Click OK...
Страница 595: ...Appendix I RADIUS Configuration Illustration 576 15 Click Next to continue...
Страница 627: ...Appendix K Integration 608 3 Click OK...
Страница 647: ...Index 629 Z Zero U Connection Ports 74 Zero U Products 2...


