Setting up your computer for work with the scanner
For
the
correct
operation
of
Rаngevisiоn
3D
scanner
you
will
need
to
setup
your
computer. This
procedure
is
performed
once
before
the
first
use
of
the
scanner
.
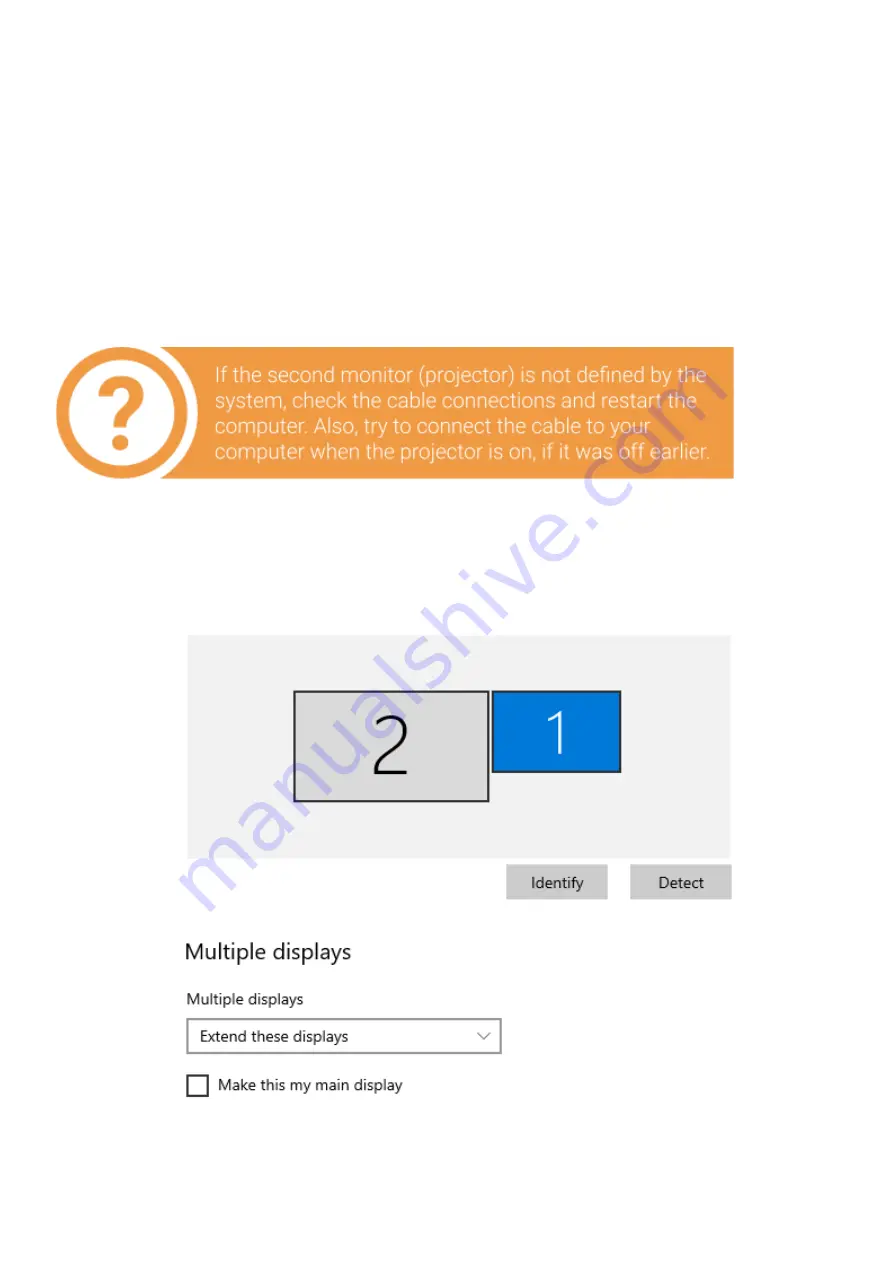
Connecting projector
First, connect the USB to power up the projector and then connect it to the HDMI-port of
your video card. After connecting the projector, it should be displayed in the system. If
the computer has several video outputs, define the one to be used.
1. Right
click
on
the
desktop,
select
Screen
resolution
.
2. Make
sure
that
the
projector
has
been
successfully
recognized
by
the
system
and
that
both
connected
screens
are
displayed.
7
Содержание NEO
Страница 1: ...RANGEVISION Setup and calibration NEO...