19
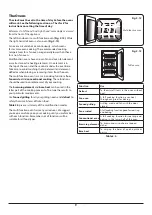
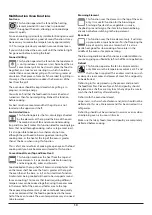
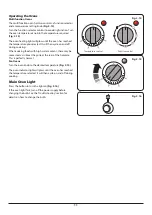
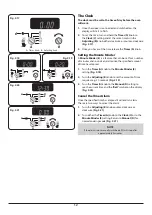
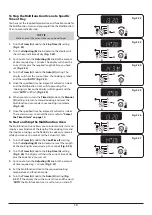
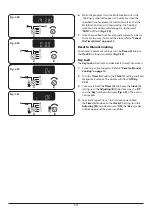
ArtNo.331-0006 Grill pan plan
ArtNo.331-0001Grill pan pulled forwards
ArtNo.331-0003 Grill frame out, no pan
ArtNo.331-0004 Removing the grill frame
ArtNo.331-0005 Removing the grill rail
Glide-out Grill
n
n
Before you remove any of the grill parts for cleaning.
make sure that they are cool, or use oven gloves.
The grill pan and grill pan carriage can be easily removed for
cleaning.
The grill pan and trivet should be washed in hot soapy water.
After grilling meats or any foods that soil, leave to soak for
a few minutes in the sink immediately after use. Stubborn
particles may be removed from the trivet by using a nylon
brush.
Alternatively, the grill pan can be washed in a dishwasher.
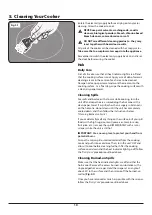
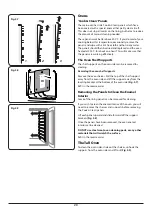
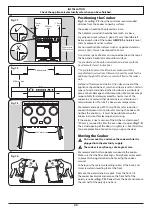
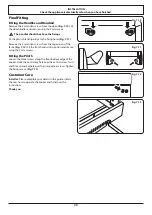
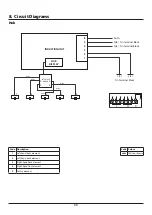
The grill pan can be easily removed for cleaning as follows.
Remove the grill pan support frame by pulling the grill pan
forward
.
Lift the grill pan clear of the support frame.
The support frame
is held to the side rails by two clips on each side
.
For each side, support the side rail with one hand and with
the other hand lift the frame up and out of the side clips
(Fig. 5.4)
.
For safety, push the side rails back into the grill chamber.
If you need to remove the side rails to allow cleaning of the
grill chamber, you can unhook them from the grill chamber
sides
and wipe the sides clean with a soft cloth and
mild detergent.
n
n
DO NOT put the side runners in a dishwasher.
Once you have finished, hook the side rails back onto the
sides of the chamber. To refit the frame, pull the side rails
forward and, for each side in turn, support the side rail and
press the frame down into the side rails. Replace the grill pan.
When refitting the grill pan, make sure that the wide rim is at
the front
.
Control Panel and Doors
Avoid using any abrasive cleaners, including cream cleaners.
For best results, use a liquid detergent.
The same cleaner can also be used on the doors. Alternatively,
use a soft cloth wrung out in clean hot soapy water. You can
use the same method for cleaning the control panel and
knobs.
After cleaning, polish with a dry cloth.
Fig. 5.2
Fig. 5.3
Fig. 5.4
Fig. 5.5
Fig. 5.6
Содержание LECKFORD 90
Страница 1: ...Britain s No 1 Range Cooker USER GUIDE INSTALLATION INSTRUCTIONS LECKFORD 90 Induction...
Страница 4: ...iv...

