background image

Manual-10

To remove a cue point, use the 

x

 button on the right side of 

the cue point panel.

A cue point can occupy any of the 5 slots. You can drag and 

drop cue points to change their order in the list. If you wish to 

have the cue points sorted chronologically, check the 

sort cues 

chronologically

 option in the 

setup

 screen. If you load the 

same track on to both decks, you will be able to add or modify 

cue points from either deck.

When you press a jump to cue point button while you are 

not playing, it plays forward for as long as you hold down the cue 

point button, and jumps back to the cue point when you release 

the mouse button.

Tip: use the keyboard shortcuts 

ctrl-comma

 (for left) and 

ctrl-

dot

 (for right) to place cue points.

Looping

You can save up to 9 loops per track; these 

loops are saved in the file, and will be pres

-

ent when you reload the track. To make a 

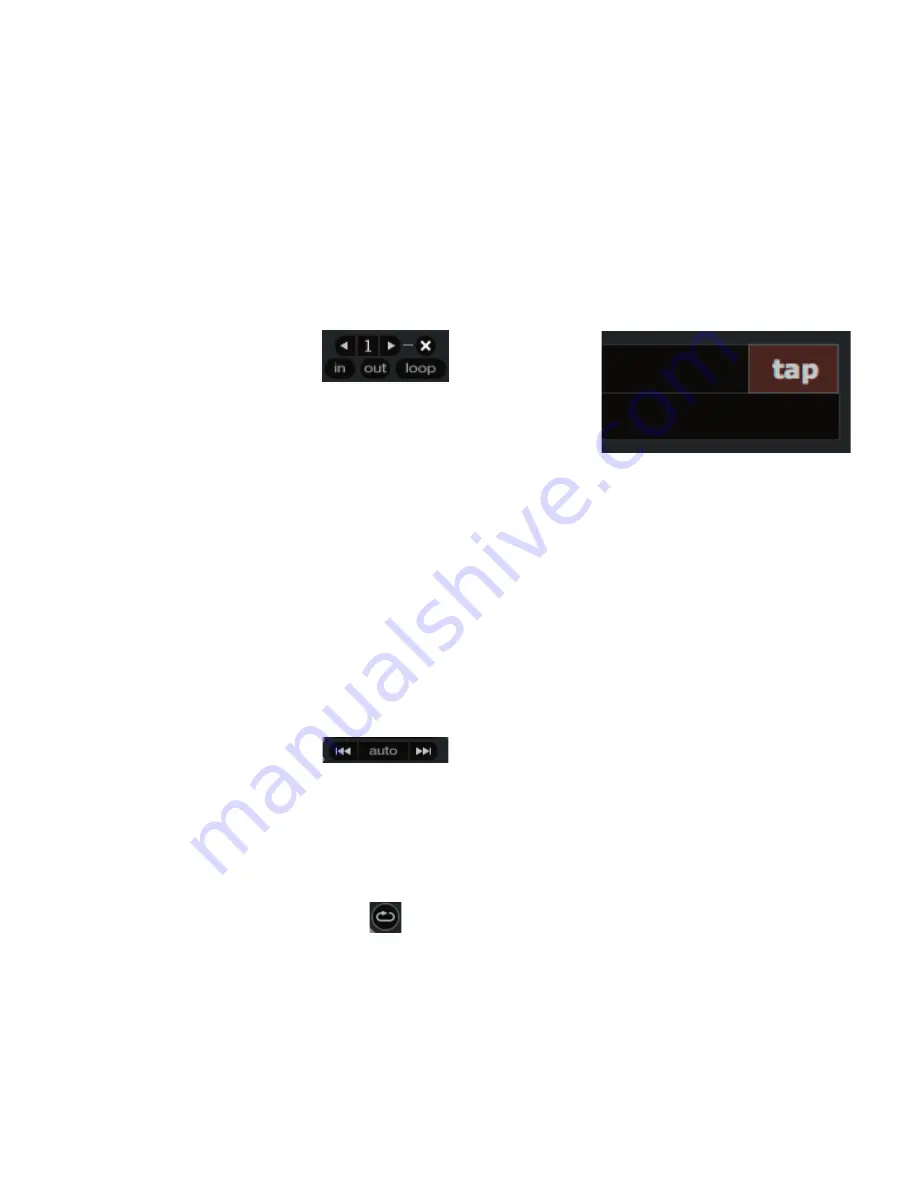
loop, set the in-point by clicking the 

in

 button, and the out-point 

by clicking the 

out

 button. To turn the loop on or off, click the 

loop

 button. If you want the playhead to jump to the start of the 

loop when you enable the loop, hold the control key and press 

the 

loop

 button.

To adjust the in-point of the loop, click the 

in

 button. You 

can use the arrow keys: 


to move the in-point towards the 

start of the track, 

 to move the in-point towards the end of the 

track. Hold down the shift key while pressing the arrow key to 

make coarse adjustments. Click the 

in

 button again to save the 

in-point. The same applies to adjusting the out-point.

There are 9 available loop slots per track. If a loop is set in 

a given slot, the background (behind the loop number) will be 

green. Press the 

x

 button to clear the loop. If you click on the 

number of a occupied loop slot, a red border will appear. This 

indicates the loop is locked, and you will not be able to adjust the 

end points or delete the loop until you unlock it, by clicking on 

the number again.

Autoplay

Click the 

auto

 button to enable autoplay. 

With this setting turned on, when one track finishes playing, the 

next track starts automatically. Load from a crate to play through 

the songs in that crate, or from your library to play through your 

library. Use the next 



| and previous |



 buttons to jump to 

the next track or go to the previous track in the list. 

Play from 

start

 must be checked in the 

setup

 screen.

Repeat

Use the repeat function to repeat the song.

Tip: Short “loop” samples can be turned into a continuous 

track using repeat function. The loops need to be less than 10 
seconds long, and cut at the start and end of a bar.

Tap Tempo 

For tracks with no BPM information, there is a tap tempo button 

displayed where the BPM usually is, in the song info area.

Pressing 

alt-space bar

 activates the tempo tapper (press 

alt-

space bar

 a second time to activate the tempo tapper on the right 

Virtual Deck). Tap the space bar along with the beat. 

After you’ve tapped the first beat, you can switch to double 

time tapping, half time, start of each bar etc. The range is set by 

the first two taps, after that you can switch to any steady rhythm 

you feel comfortable with – quarter notes, half note, whole notes. 

Esc

 resets the BPM, 

Enter

 saves the BPM to the track. You can use 

the mouse if you prefer.

Your CD player or turntable’s pitch slider doesn’t need to 

be at zero, we do the math for you. You can also use the tempo 

tapper when no song is loaded, for finding the BPM of regular 

records, for example.

Содержание Scratch 17357

Страница 1: ...USB LINE USB INPUT INPUT PGM CUE A B MP 4 MIXER A PROGRAM A PROGRAM B CUE PHONES MIC B PAN HOUSE LEVEL POWER 1 2 2 1 1 2 2 1 10 0 2 4 8 6 10 0 2 4 8 6 10 0 2 4 8 6 10 0 2 4 8 6 10 0 2 4 8 6 0 24 12 1...

Страница 2: ...g has two blades and a third grounding prong The wide blade or third prong is provided for your safety If the provided plug does not fit into your outlet consult an electrician for replacement of the...

Страница 3: ...isplay 12 Beat Matching display 12 Gain adjustment 12 Master gain 12 Tap Tempo 12 Organizing your music 13 Grouping tracks into crates 13 Sorting your files 13 Using the song browser 14 Searching 14 P...

Страница 4: ...ed as a generic sound card with other software applications for best performance and support we highly recommend using Scratch LIVE Performance using other applications may vary and compatibility is n...

Страница 5: ...d When it s all the way right only PROGRAM B is heard When it s in the middle both PROGRAM A and B are mixed together equally This is an Active Crossfader which uses a VCA to deliver an extended life...

Страница 6: ...ch out Each of these may be assigned to PROGRAM A or B using the front panel INPUT selectors The PHONO GROUND screw connects those extra wires coming out of the turntables 7 MIC Input jack Accepts eit...

Страница 7: ...with it On the Mac you can use the MP 4 with any audio application though technical support is limited to Scratch LIVE Getting started on Windows Windows XP 1 Disconnect any unneccessary USB devices f...

Страница 8: ...install the Scratch LIVE driver Windows Troubleshooting If you have a USB PCI card your computer may have allocated bandwith to other devices including your mouse preventing Scratch LIVE from recogni...

Страница 9: ...erviews If you run Scratch LIVE with the hardware interface discon nected you will notice a button labeled build overviews on the main screen Click this to automatically build the overviews for all th...

Страница 10: ...hold the shift key and drag the pitch slider to move it slowly Drag the center of the small pitch slider to make fine pitch adjustments or click on either side of the small slider to pitch bend Play...

Страница 11: ...ered from the Crossfader using the fader start feature To start playback using the Crossfader pause the track at the desired position and press the fader start button Now each time you move the Crossf...

Страница 12: ...ehind the loop number will be green Press the x button to clear the loop If you click on the number of a occupied loop slot a red border will appear This indicates the loop is locked and you will not...

Страница 13: ...sync Visual aids When the track is playing several waveforms are displayed Each shows a different aspect of the track being played Track Overview display This view provides a complete overview of the...

Страница 14: ...po Matching display 2 Adjust the pitch of the right deck until the blue peaks sit under the orange peaks in the Tempo Matching display Once they are aligned the two tracks have the same tempo 3 Next a...

Страница 15: ...the setup screen applies to removing editing and renaming crates Check this option to prevent changes to your crates If you do delete a crate by ac cident you can get it back from the recycle bin tras...

Страница 16: ...e or playlist that you might be in and into your main library so you can find any track in your collection If you then click on a crate or playlist the search query will be cleared To select which fie...

Страница 17: ...p to add tracks to the prepare window Tip Select the contents of the prepare window and drag them onto the new crate button to save the selection Review window The review window shows the tracks you...

Страница 18: ...ram B respectively The mic function will ignore all other inputs saving only the microphone input Press the red record button to start and stop recording Enter a name for the recording in the text fie...

Страница 19: ...track from library remove track from crate delete crate does not delete the file ctrl shift del and ctrl shift backspace Delete the file from your library and send to the recycle bin Note to iTunes us...

Страница 20: ...te and looping settings copied This setting overrides the play from start and play from first cue point options Play from first cue point Enable this option to start all tracks from the first cue poin...

Страница 21: ...is setting to automatically generate the track overview as soon as a track is loaded If this setting is not enabled the track overview will be generated as the track plays Automatically generating the...

Страница 22: ...on visit www support microsoft com I want to backup my library and crates or move them to another machine so where are they stored Your database and crates are stored in the folder Home Mu sic Scratch...

Страница 23: ...dB EQ 12 dB 12 A LOW HI EQ LOW HI 12 dB EQ 12 dB 12 B MAIN RIGHT MST REC LEFT MST REC RIGHT LEFT RIGHT MIC LEVEL 24 0 12 24 0 12 USB 2L USB 1L RIAA PHONO LINE IN 1 RIAA PHONO LINE IN 2 USB 2R USB 1R S...

Страница 24: ...frames belonging to multiple MPEG layers Scratch LIVE does not support MP3s that contain frames from multiple layers some frames may be output as silence Unsupported file This file is more than 2GB in...

Отзывы: