5-17
SpycerBox Cell | Hardware Guide | Version 1.0
Rohde & Schwarz DVS GmbH
Maintenance
Controller Maintenance
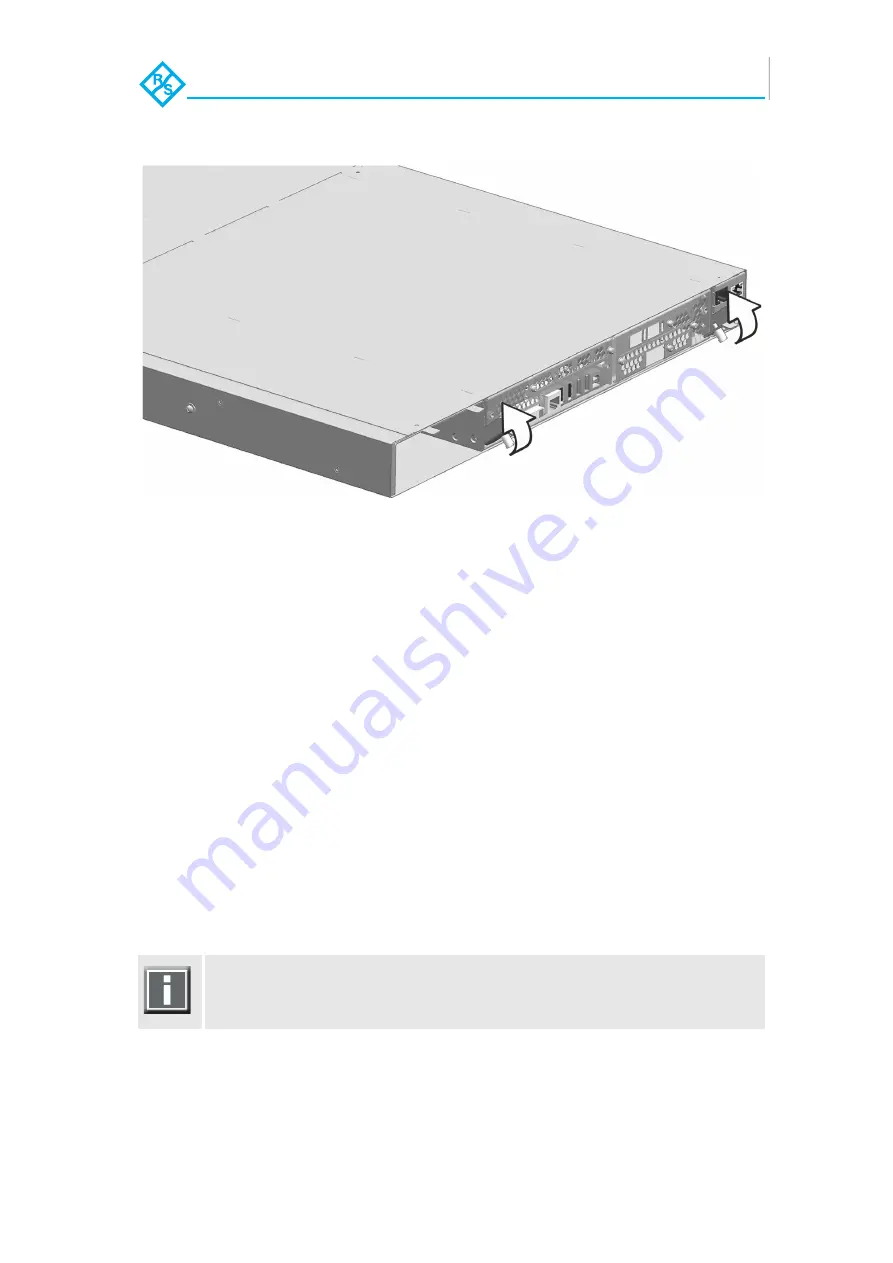
Figure 5-11: Fixing the anchoring
With the last step finished you have successfully replaced the defective
controller module. Now, you have to integrate the new controller mod-
ule in the existing configuration:
3.
Switch the system on as described in section “Starting the Sys-
tem” on page 4-2.
After the initial booting you will see an output that is similar to the fol-
lowing lines:
Following foreign Arrays are found:
<Array>
Press <Enter> to accept the current configuration
Press <Ctrl-A> to enter Adaptec RAID Configuration
Utility
Press <Ctrl-H> to Pause Configuration Messages
(Default i s not to accept if no valid key pressed in 30
seconds)
4.
Press [Enter] on the keyboard to accept the configuration
detected by the system.
After this, the newly installed controller module automatically initiates
a verify of the connected hard disks which may take some time. When
finished, the system will continue its booting procedure until the oper-
Depending on the system you have purchased, you may see different
lines on the screen and you may have to press e.g. [F] on the
SpycerBox Cell to accept the configuration.
Содержание SpycerBox Cell
Страница 1: ...SpycerBox Cell Hardware Guide Version 1 0 Storage Solution R S SpycerBox Cell Hardware Guide...
Страница 2: ...SpycerBox Cell Hardware Guide Version 1 0 Rohde Schwarz DVS GmbH...
Страница 14: ...Introduction Important Notes 1 8 SpycerBox Cell Hardware Guide Version 1 0 Rohde Schwarz DVS GmbH...
Страница 38: ...Operation Shutting Down the System 4 6 SpycerBox Cell Hardware Guide Version 1 0 Rohde Schwarz DVS GmbH...
Страница 78: ...Index I 4 SpycerBox Cell Hardware Guide Version 1 0 Rohde Schwarz DVS GmbH...


