background image

1

2

3 4

5 6

1.

Input jack:

1/4” input for your guitar.  Connect you guitar to this input jack.

2. 

Channel switch:

Push and release button to switch between channels 1-2.  Each module can be selected by either pushing this button

or by the single footswitch (included)
3. 

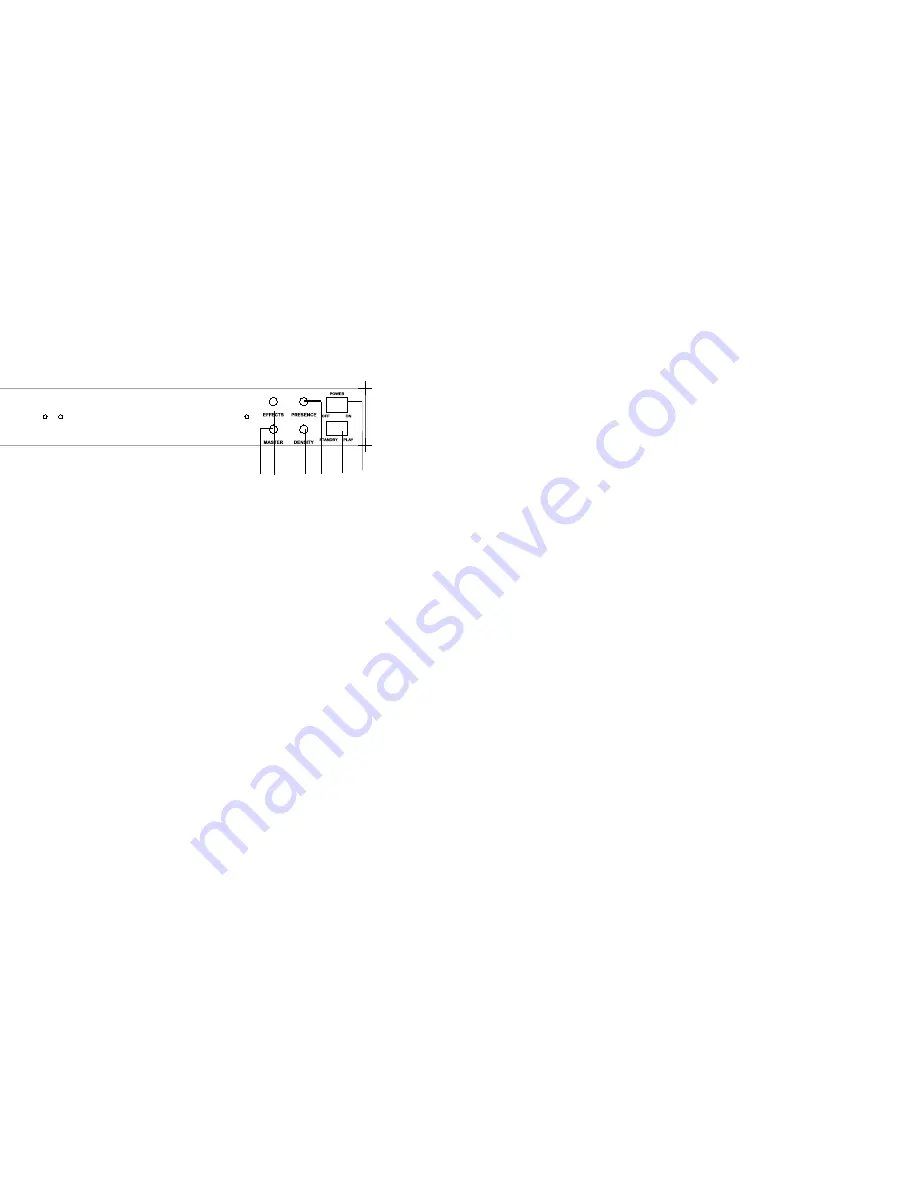
Master level:

Each module has it own level control.  This adjusts the desired amount of volume for each module.  Please adjust each

module to similar volume level,  than use this master volume control to adjust overall volume. 
4.

Effects control:

This knob is used when using the parallel effects loop on the rear panel.  Hook up your external effects processor to the

parallel effects loop, and control the amount of effect with this front panel knob.  Turn to dry for no effects, or wet for maximum effects.
You can also adjust the level control on your effects processor for additional control of the effects.   It is important to set your effects
processor to 100% wet,  before using the front panel control.  
5. 

Density:

This knob control is the master low end control for your tone.   Adjust this knob up an down to control the amount of low end

density.  Set each module to the desired tone, than use this knob to boost or cut the overall low end frequencies.  
6.

Presence:

This knob controls the amount of overall high end presence control.  Once you set each module to your desired tone, this

knob can be used as a cut or boost of the extreme high end frequencies. 
7. 

Standby/Play switch: 

The switch is mainly used to protect and save the life of your power tubes.  Once the power has been turned on,

this switch puts your amplifier in standby or play mode.  Please switch to standby position when not using the amp, to save the life of your
power tubes.  Select to the Play position when ready to use the amplifier.   Always switch to Standby position before turning off the power
switch.  It is recommended to turn on the main power switch, and allow the amplifier to warm up shortly before turning this switch to play
mode. 
8.  

Power switch:

This is the main AC power switch.  The switch turns the power on or off for the amplifier.     

7

8

Содержание RM100

Страница 1: ...F I E R S 100 TUBE HEAD M A N U A L...

Страница 2: ...lvents to clean the unit wipe off the exterior WARNINGS AND SYMBOLS LIGHTNING FLASH The lightning flash with an arrowhead within an equalateral triangle is intended to alert the user of the presence o...

Страница 3: ...tput to the input of your power amp If the foot controller optional connect the foot controller to the o the front panel input Select the desired preamp module and until your reach the desired volume...

Страница 4: ...anel Simply k panel and adjust the level on RM100 front panel he preamps adjust each preamp level to your desired level than guitar tone A master low end control that should be set to your our guitar...

Страница 5: ...effects It is important to set your effects Adjust this knob up an down to control the amount of low end st or cut the overall low end frequencies control Once you set each module to your desired tone...

Страница 6: ...just this switch for s loop for time based effects such as delays reverb etc The e detailed uses of the parallel loop on page 9 10 of this manual loop not to be used with the front panel mix control S...

Страница 7: ...to the bias adjust on page 10 11 internal and external speaker cabinet your internal speakers This can also be used as the main out It is very important that you select the correct impedence when ect...

Страница 8: ...connecting the return cable You can check this by ng there is no substantial volume difference this is called taining your dry signal it doesn t mess with your tone while el loop is a bit different M...

Страница 9: ...s more apt to mess with your tone es but has the distinct advantage of not messing with your ed effects This includes delay reverb chorus flanging gnal is always present You cannot use effects that re...

Страница 10: ...asic type of ey typically cost anywhere from 10 to 25 About the cost tment control knobs all the way down he meter instructions for how to do this properly Since all understand what you are looking at...

Страница 11: ...rongly suggest replacing the pair Remember your ver and your voltmeter with you If a tube fails at a gig you ny other amp o current draw but are making measurements in millivolts Ohms tance R Inside t...

Страница 12: ......

Отзывы: